[Desktop Chassis] ROG Strix Helios Front Panel Module (Glass / Left & Right Aluminum) Front Panel Module (Glass / Left & Right Aluminum) disassembly and assembly precautions
Notice
1. Kindly wear gloves to protect your hands before proceeding with disassembly or assembly. Pay special attention to the corners of the parts to avoid any scratches.
2. When the side panel or front panel is made of glass, please handle it with extreme care during disassembly to avoid any collisions, falls, or undue stress.
3. When disassembling, please lay the casing flat on a stable surface to prevent the side panel from falling during the process.
4. Kindly ensure that the relevant wires are neatly arranged during assembly to prevent any damage to the wires throughout the process.
5. Keep track of all screws and small components during disassembly and assembly to avoid losing any parts.
Tools required
- Phillips screwdriver PH2

1. Remove the left/right glass side panels
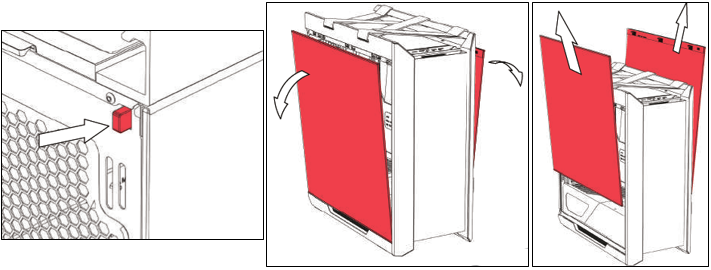
2. Open and remove the cable cover.
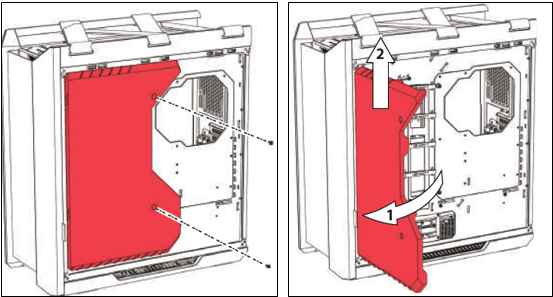
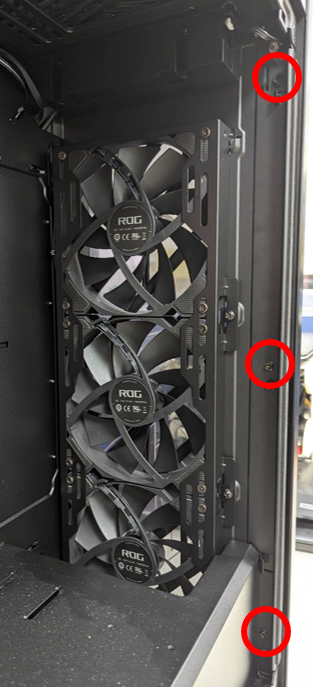
3. Remove the 3 screws on the right side and pull out the right front panel aluminum part.
4. Separate the right side aluminum panel from the front glass (be careful to hold the front glass tightly to prevent it from falling).
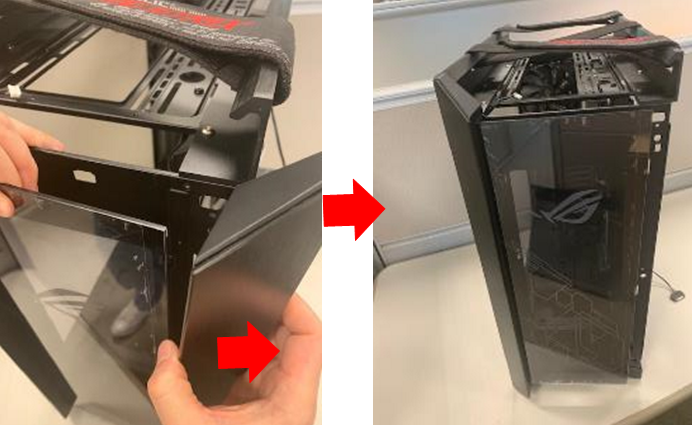
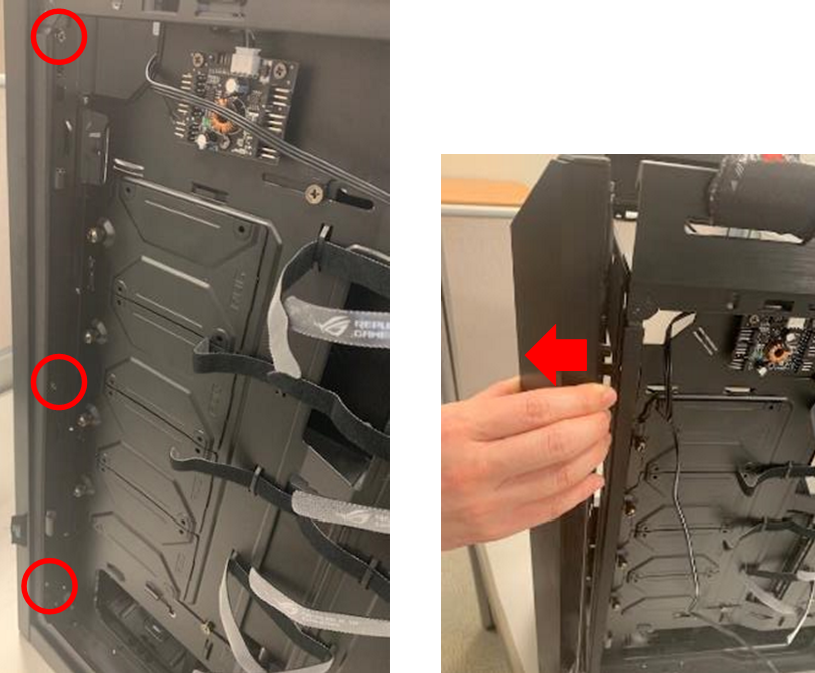
5.Remove the three screws on the left side (you need to hold the front glass panel at the same time to avoid falling), and take out the front glass and the aluminum parts on the left front of the panel.
6.After completing the above steps, you can remove the front panel glass and the left and right front panel aluminum parts.