[Gaming Chassis] ROG Z11 Case Side Panel Replacement
Preparation
Tool: Philips Screwdriver PH2

Disassemble the side panel
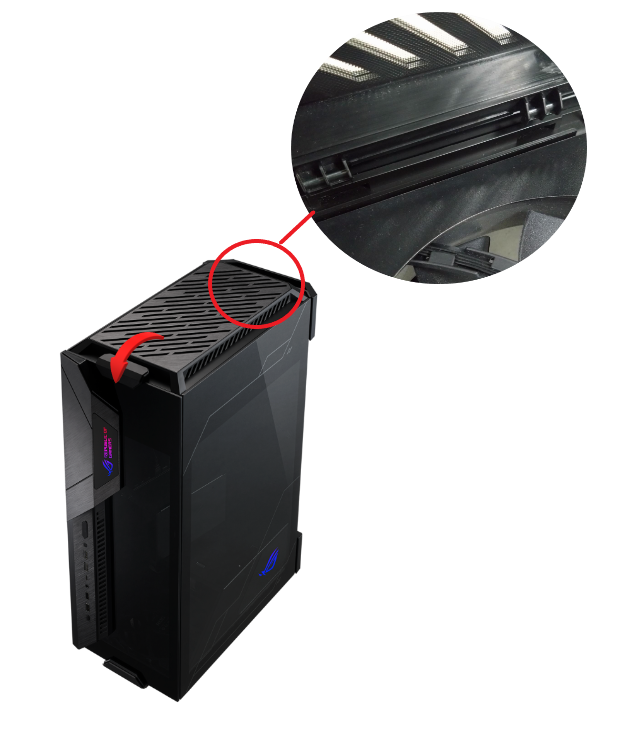
1. Remove top cover.
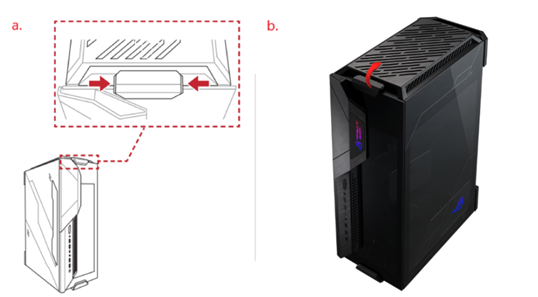
a. Press the clip at the latch of top cover (refer to picture for position and press direction)
b. Lift up top cover to remove.
2. Remove side panel
Note: Please put the case on a flat table to prevent the side panel from falling during disassembly and assembly.
Please handle with care when disassembling and assembling the glass side panel to avoid collision/drop/heavy pressure.
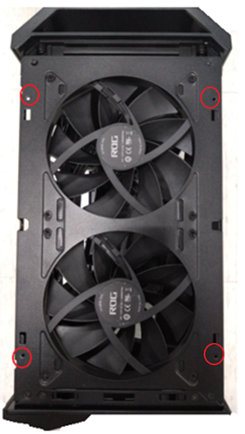
a. Use Phillips screwdriver to release 2 screws in the red circle.
b. Lift up side panel to remove.

Assemble the side panel
Note: Please put the case on a flat table to prevent the side panel from falling during disassembly and assembly.
Please handle with care when disassembling and assembling the glass side panel to avoid collision/drop/heavy pressure.
1. Aim 2 panel latches of into the holes at lower side of the case, then places panel back to case.

2. Tighten 4 screws of panel on the top of case (position refer to picture in the red circle)
3. Close top cover.
Place top cover latch into the groove around handle, then push down top cover until hear the “click” to close cover.