[ExpertWiFi] How to set up ASUS ExpertWiFi router via ASUS ExpertWiFi App? (QIS, Quick Internet Setup)
To provide you more detailed instruction, you can also click ASUS Youtube video link below to know more about What is ASUS ExpertWiFi App?
The ExpertWiFi offers a fast, secure, and scalable network with rich features tailored for small-to-midsized businesses, including companies, hotels, and more. It makes business network easy to set up whenever you want, wherever you go and provides full-function management to a complete product line with the mesh system, router, access point, and switch as your business expands.
You can set up your ASUS ExpertWiFi router by wired or wireless.
This article describes how to set up ASUS ExpertWiFi router to connect to the internet via ExpertWiFi app.
If you want to set up ExpertWiFi router through a browser, please refer to [ExpertWiFi] How to use the QIS (Quick Internet Setup) to set up ExpertWiFi router? (Web GUI).
Note: Different models have different specifications, please refer to ASUS Download Center to download the product user manual to check the specifications.
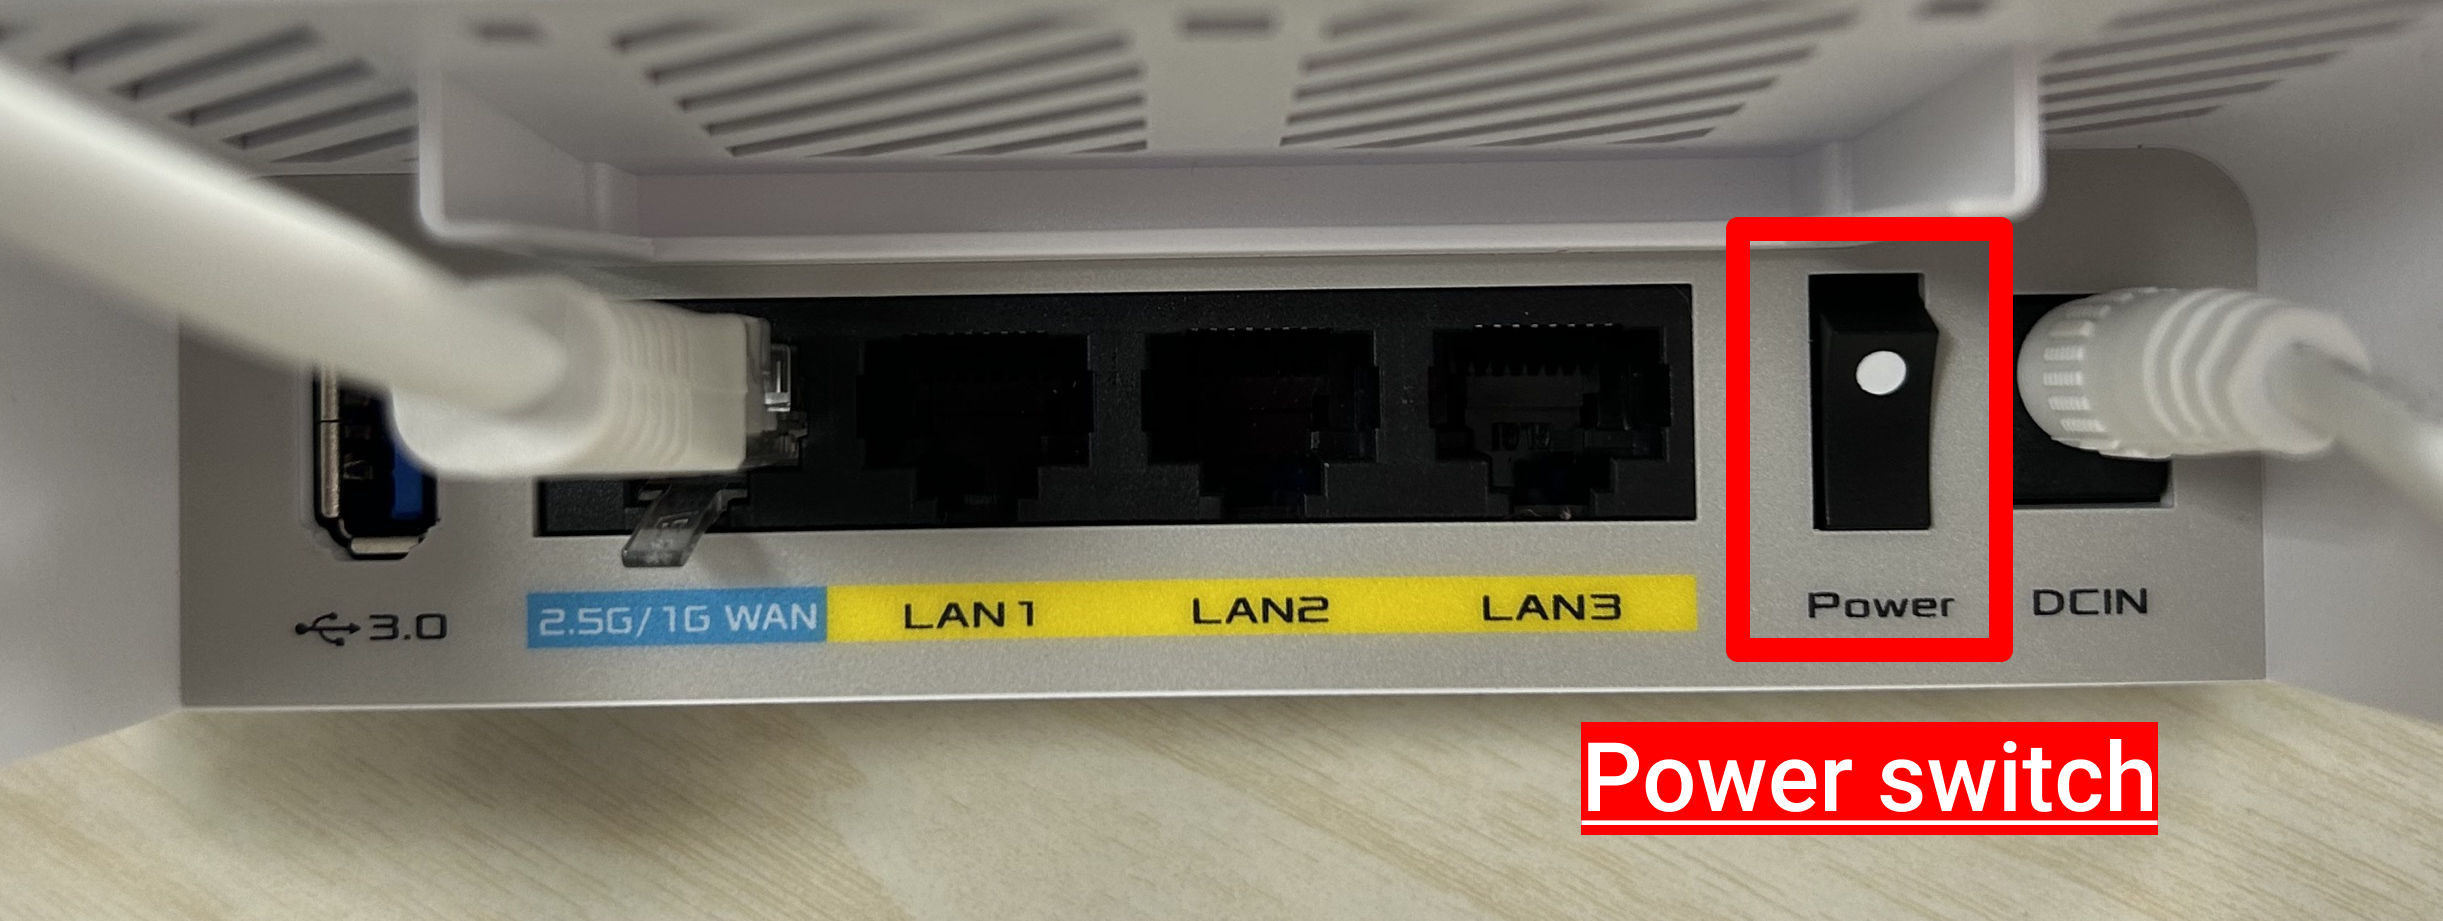
- Connect the RJ45 cable provided by your Internet Service Provider (ISP) from the modem to the WAN port of ExpertWiFi router.
- Insert your ExpertWiFi router’s AC adapter to the DC-IN port and plug it to a power outlet.

- After connecting to the power supply, remember to press the Power switch to turn on the ExpertWiFi router.
Introduction
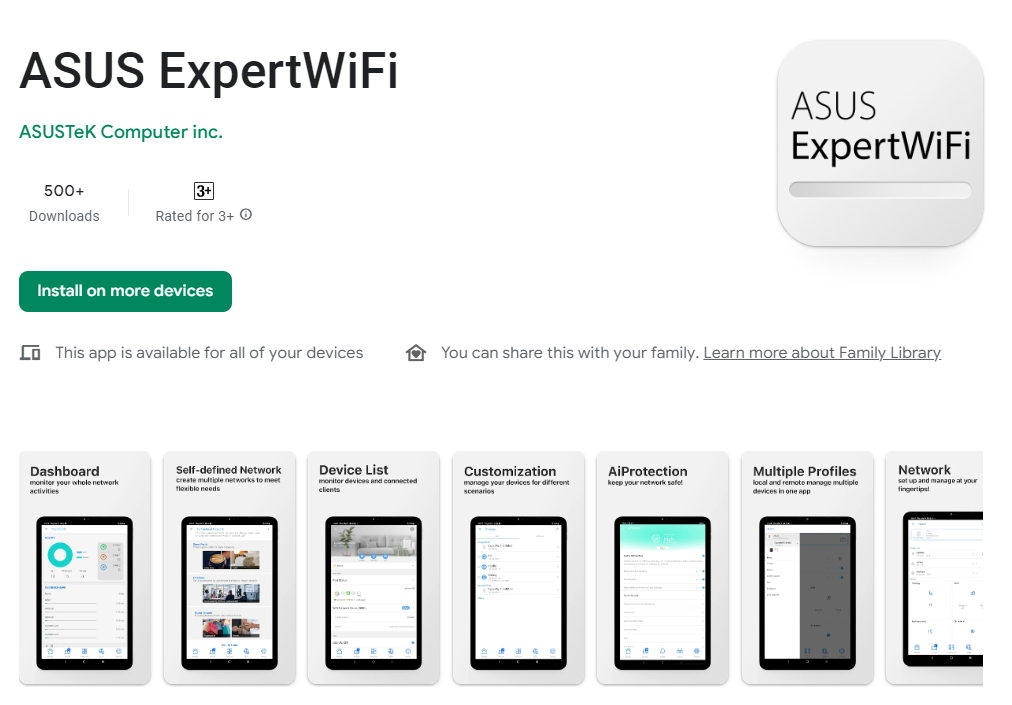
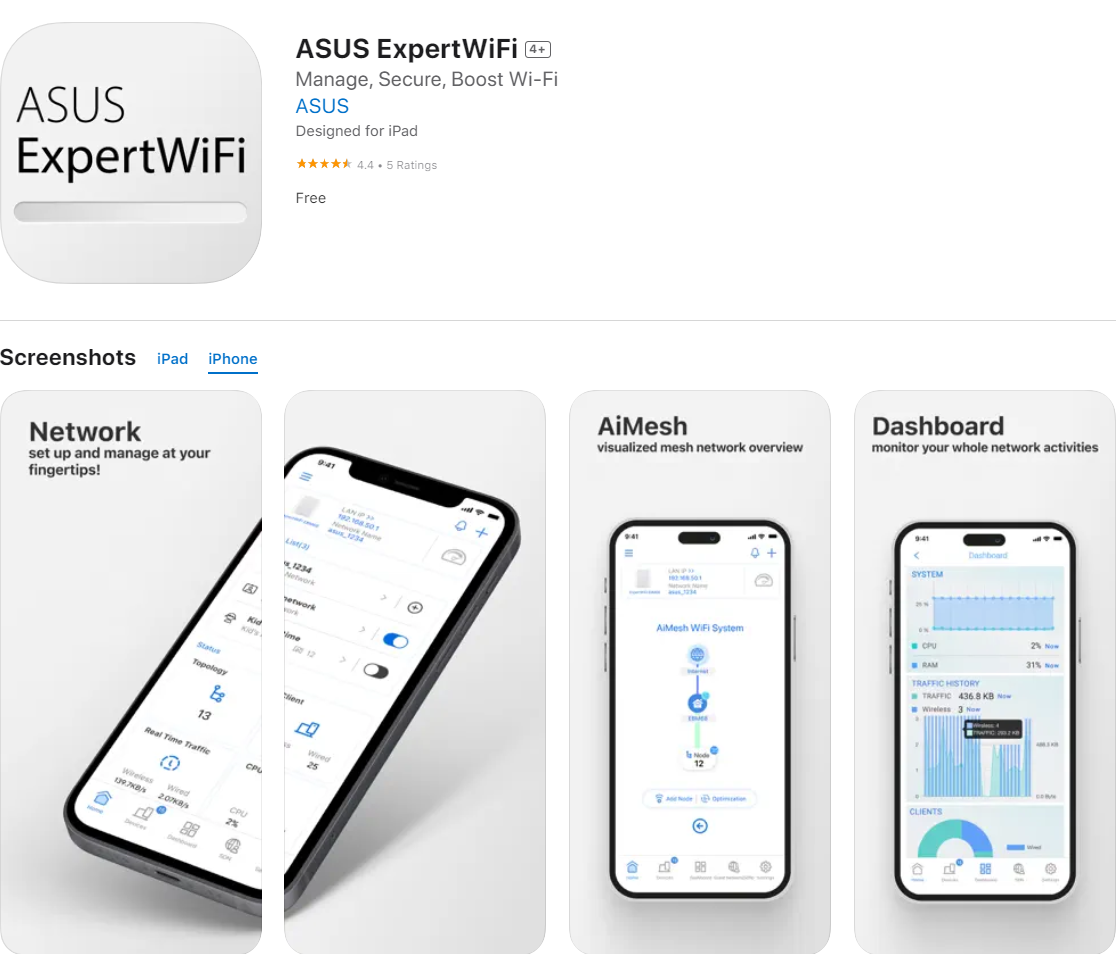
First, go to Google Play or iOS App Store and search for ASUS ExpertWiFi, or use your phone to scan the QR code to download the App.


Before using ExpertWiFi App, please set up ExpertWiFi router first. For how to set up, please refer to here.
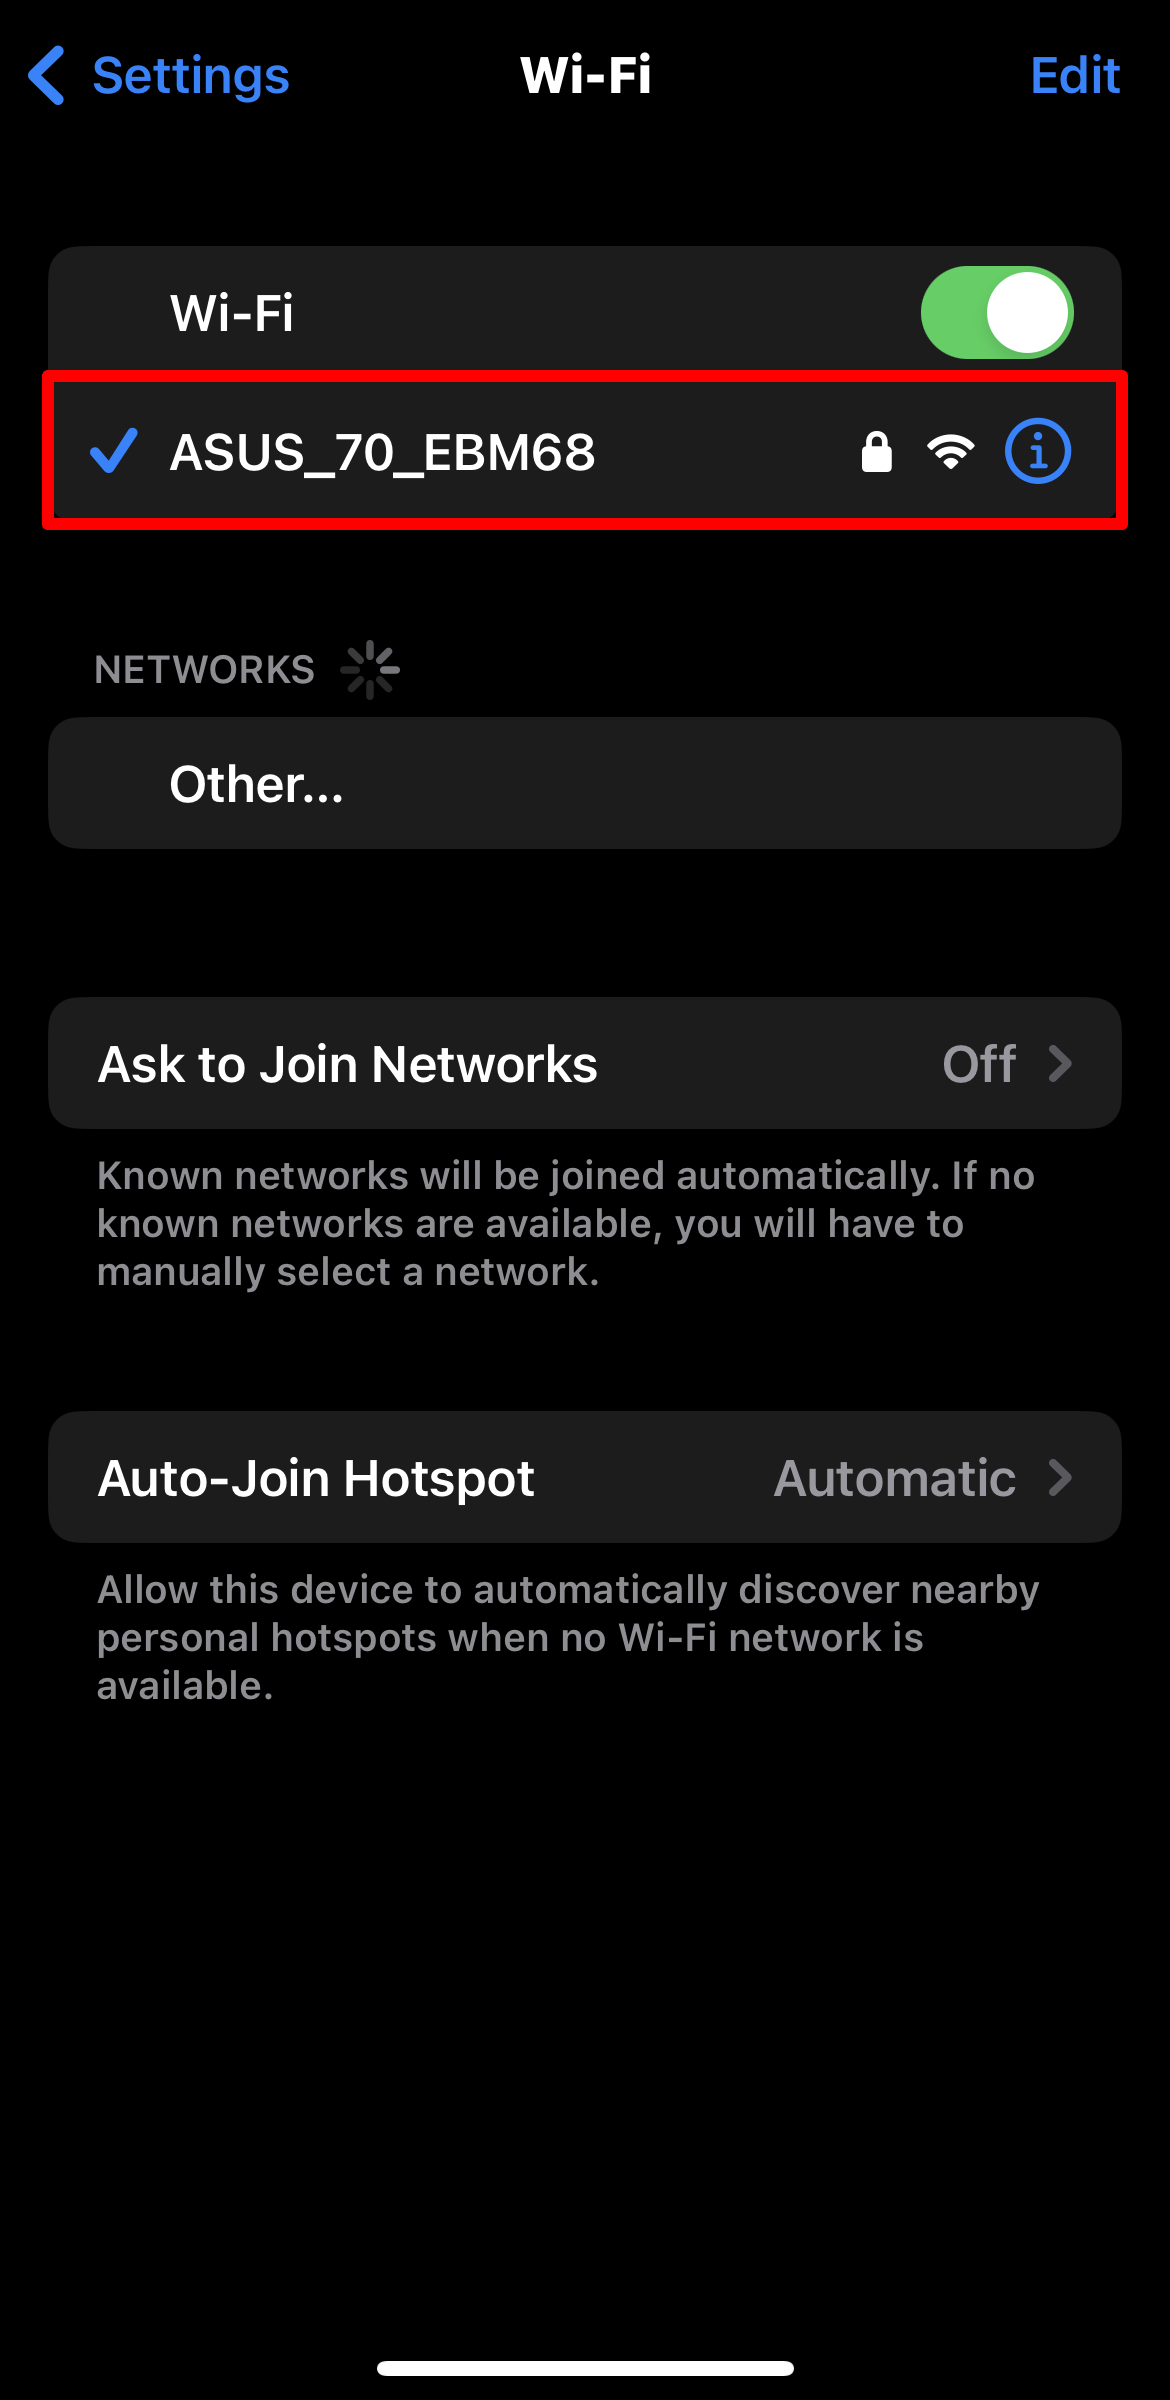
1. Connect to ExpertWiFi router's default network name (SSID)
Network name (SSID): ASUS_XX_model
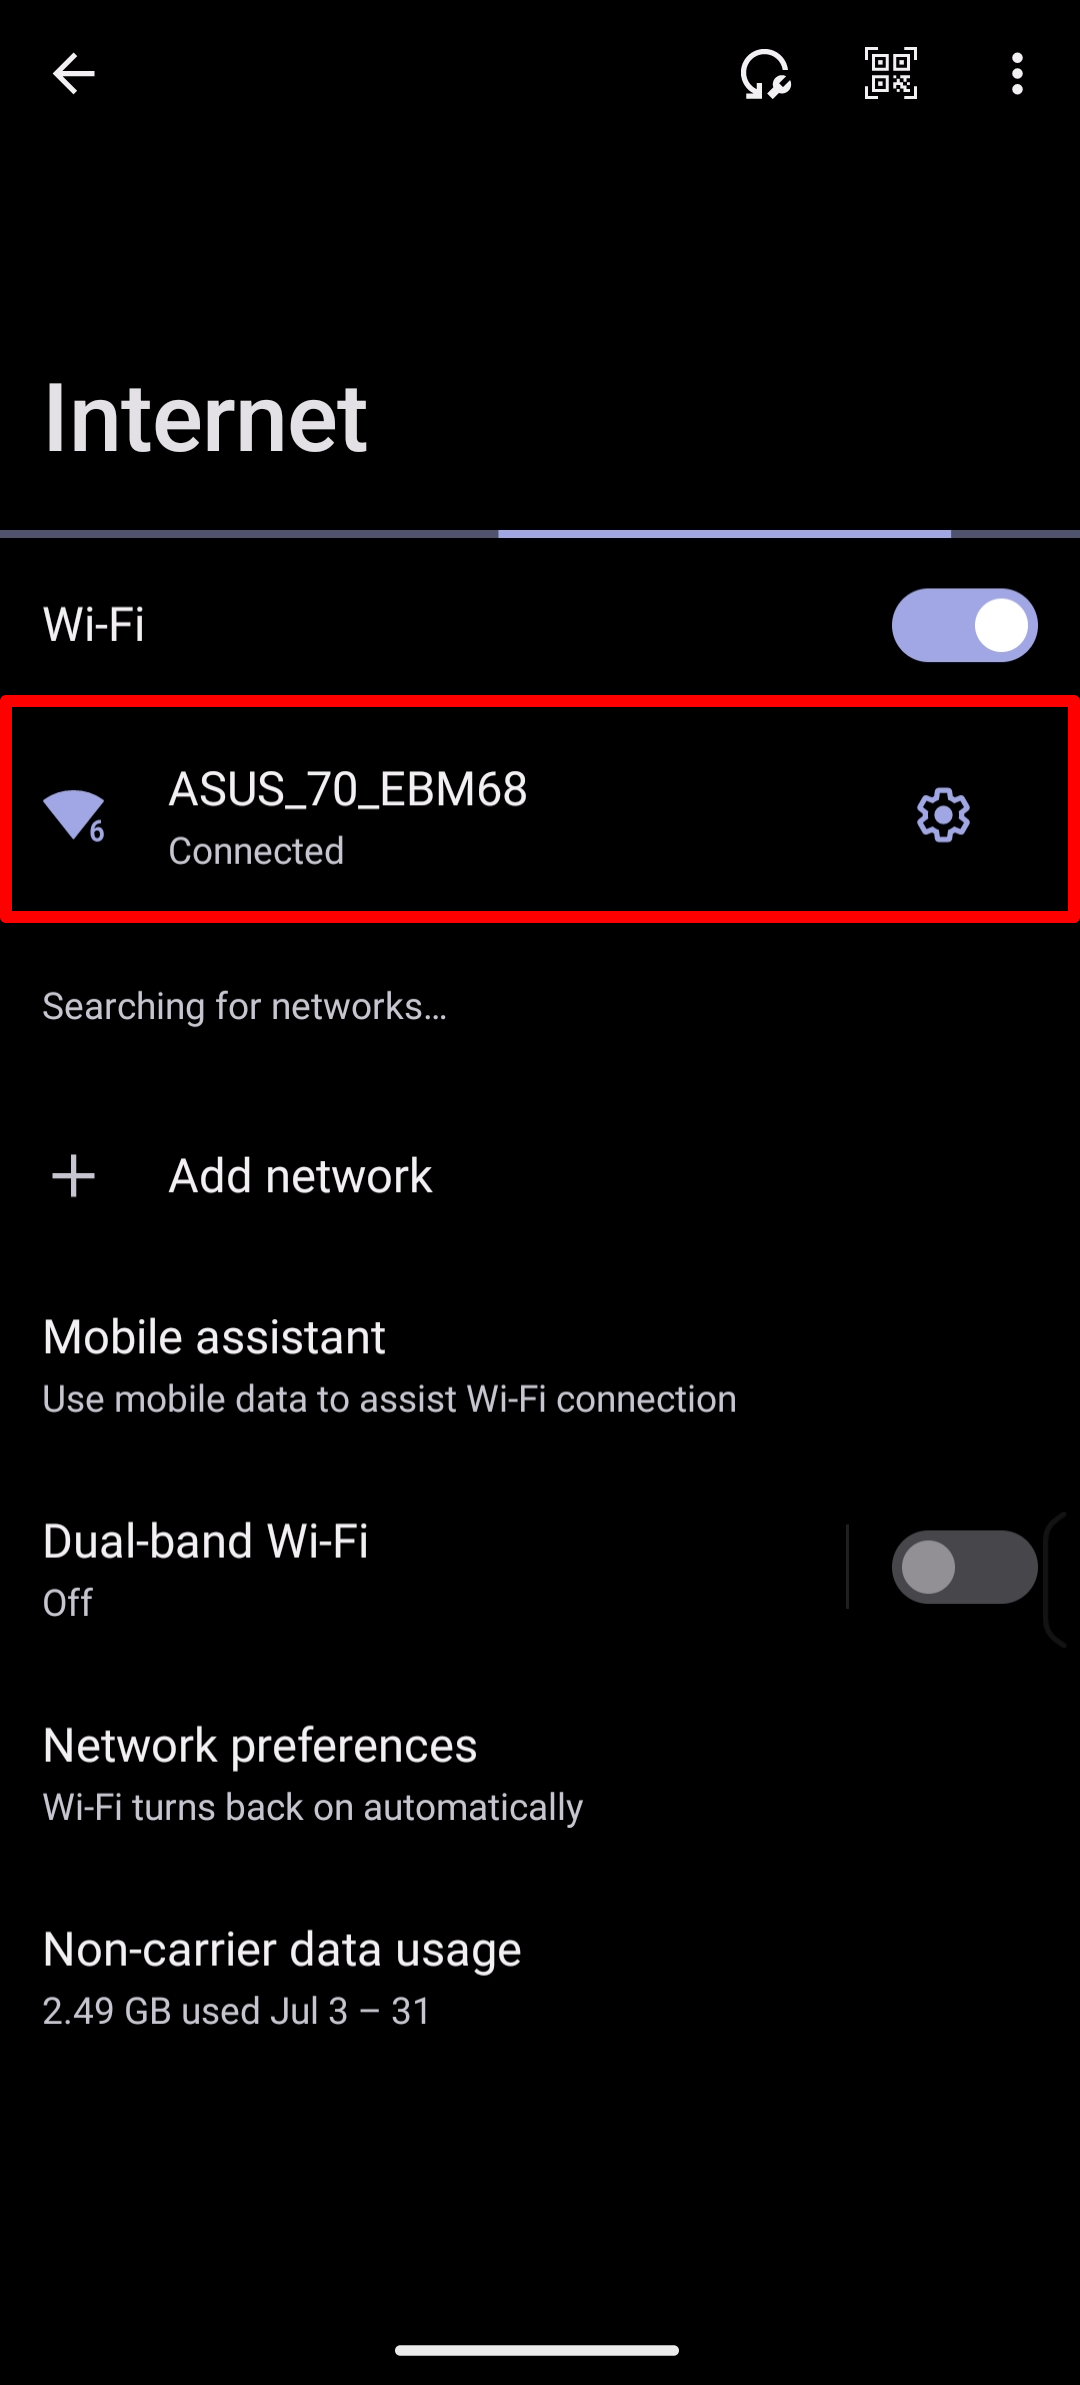
Connect to the network with SSID shown on the product label on the bottom of the ExpertWiFi router.
Note: The location of labels for different models will vary.

2. Execute the ASUS ExpertWiFi App.

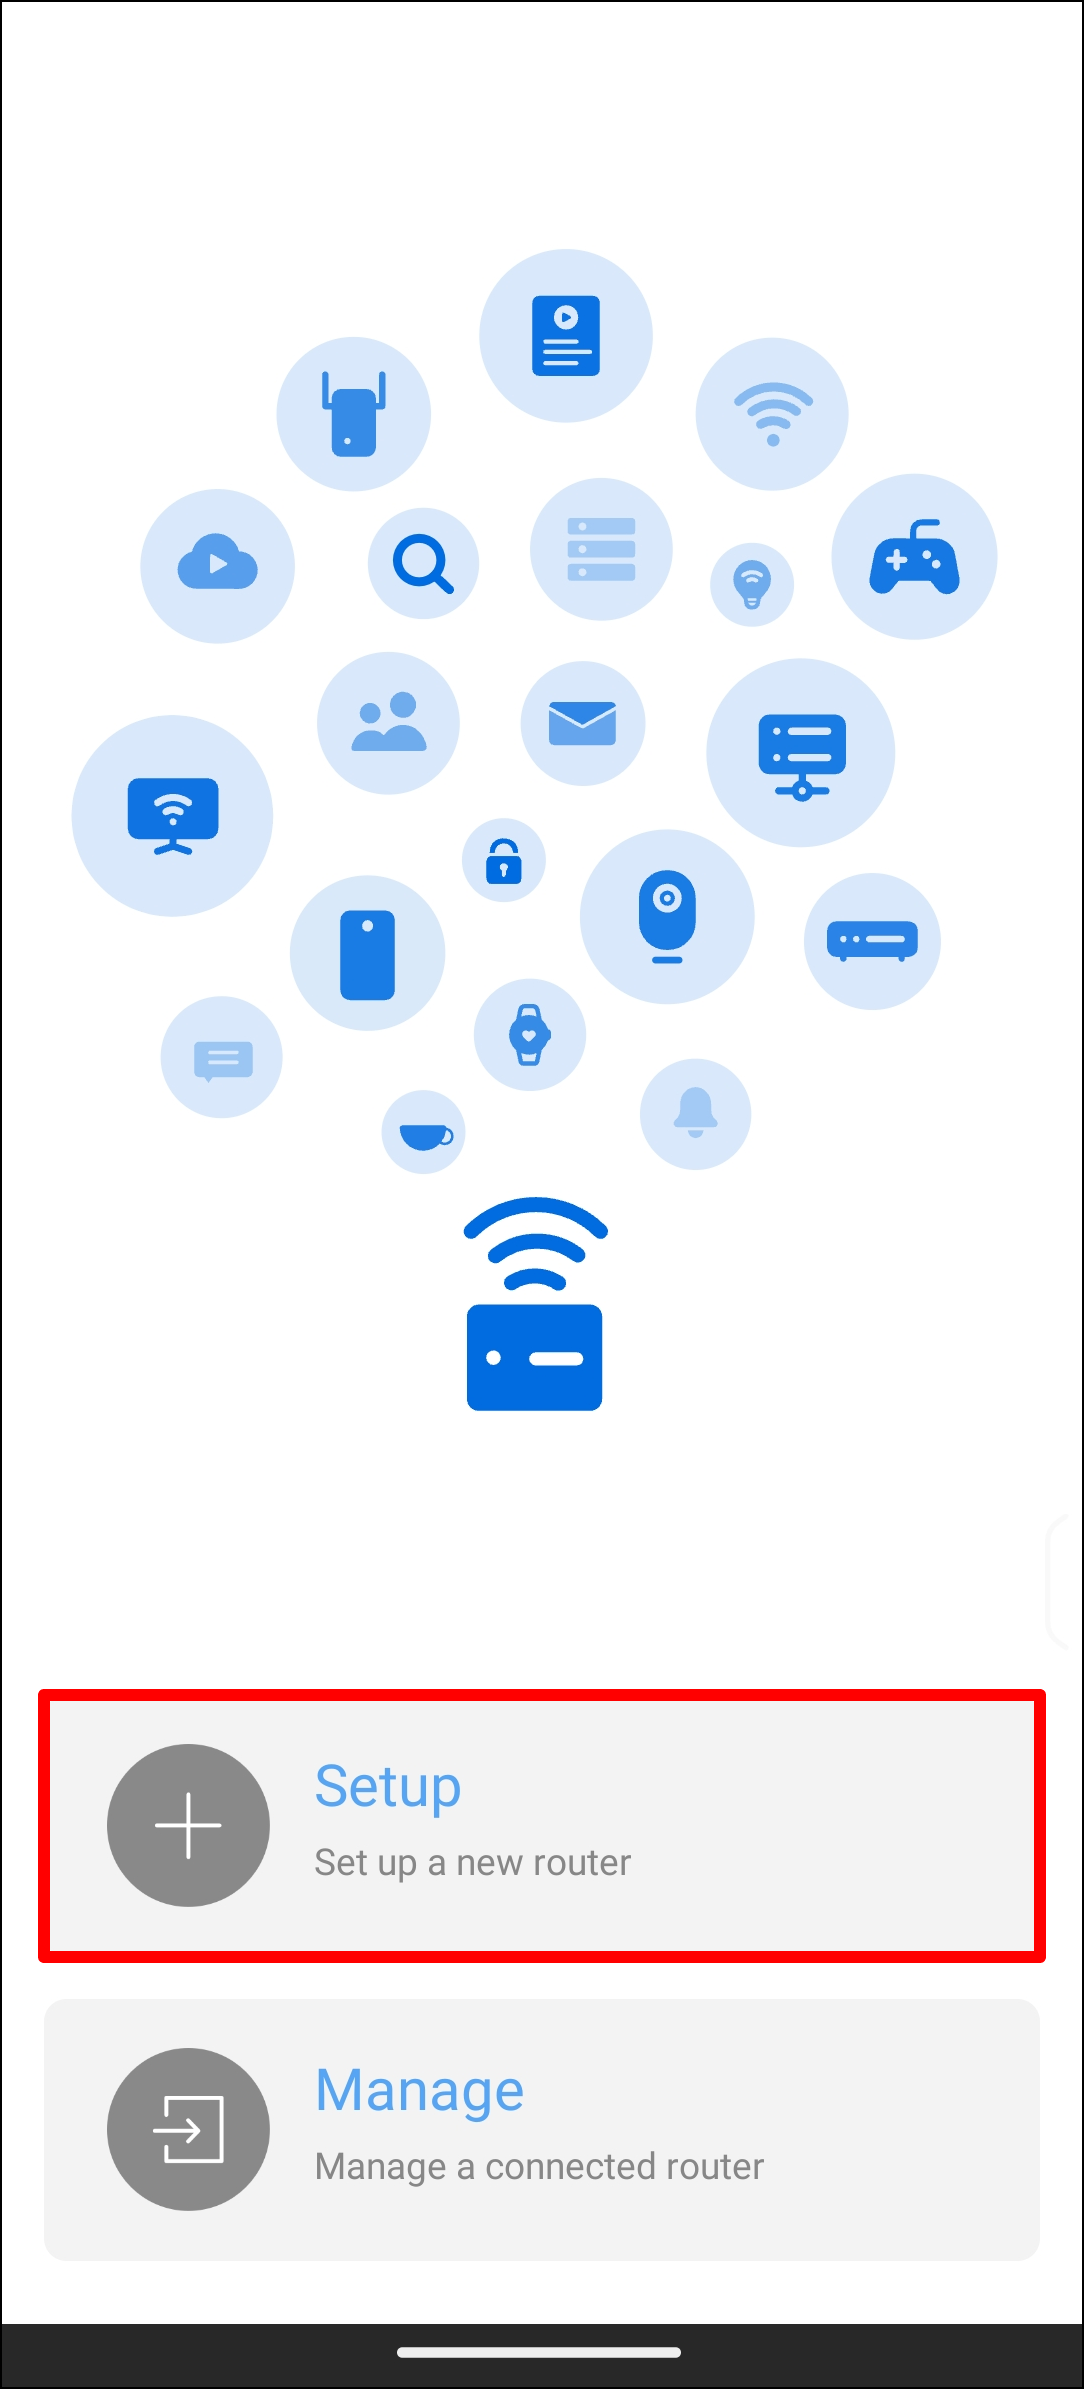
3. Tap [Setup].
4. Choose either [While using the app] or [Only this time] according to your usage.

5. Tap [Get Started].

6. Set the WAN type based on your network condition.

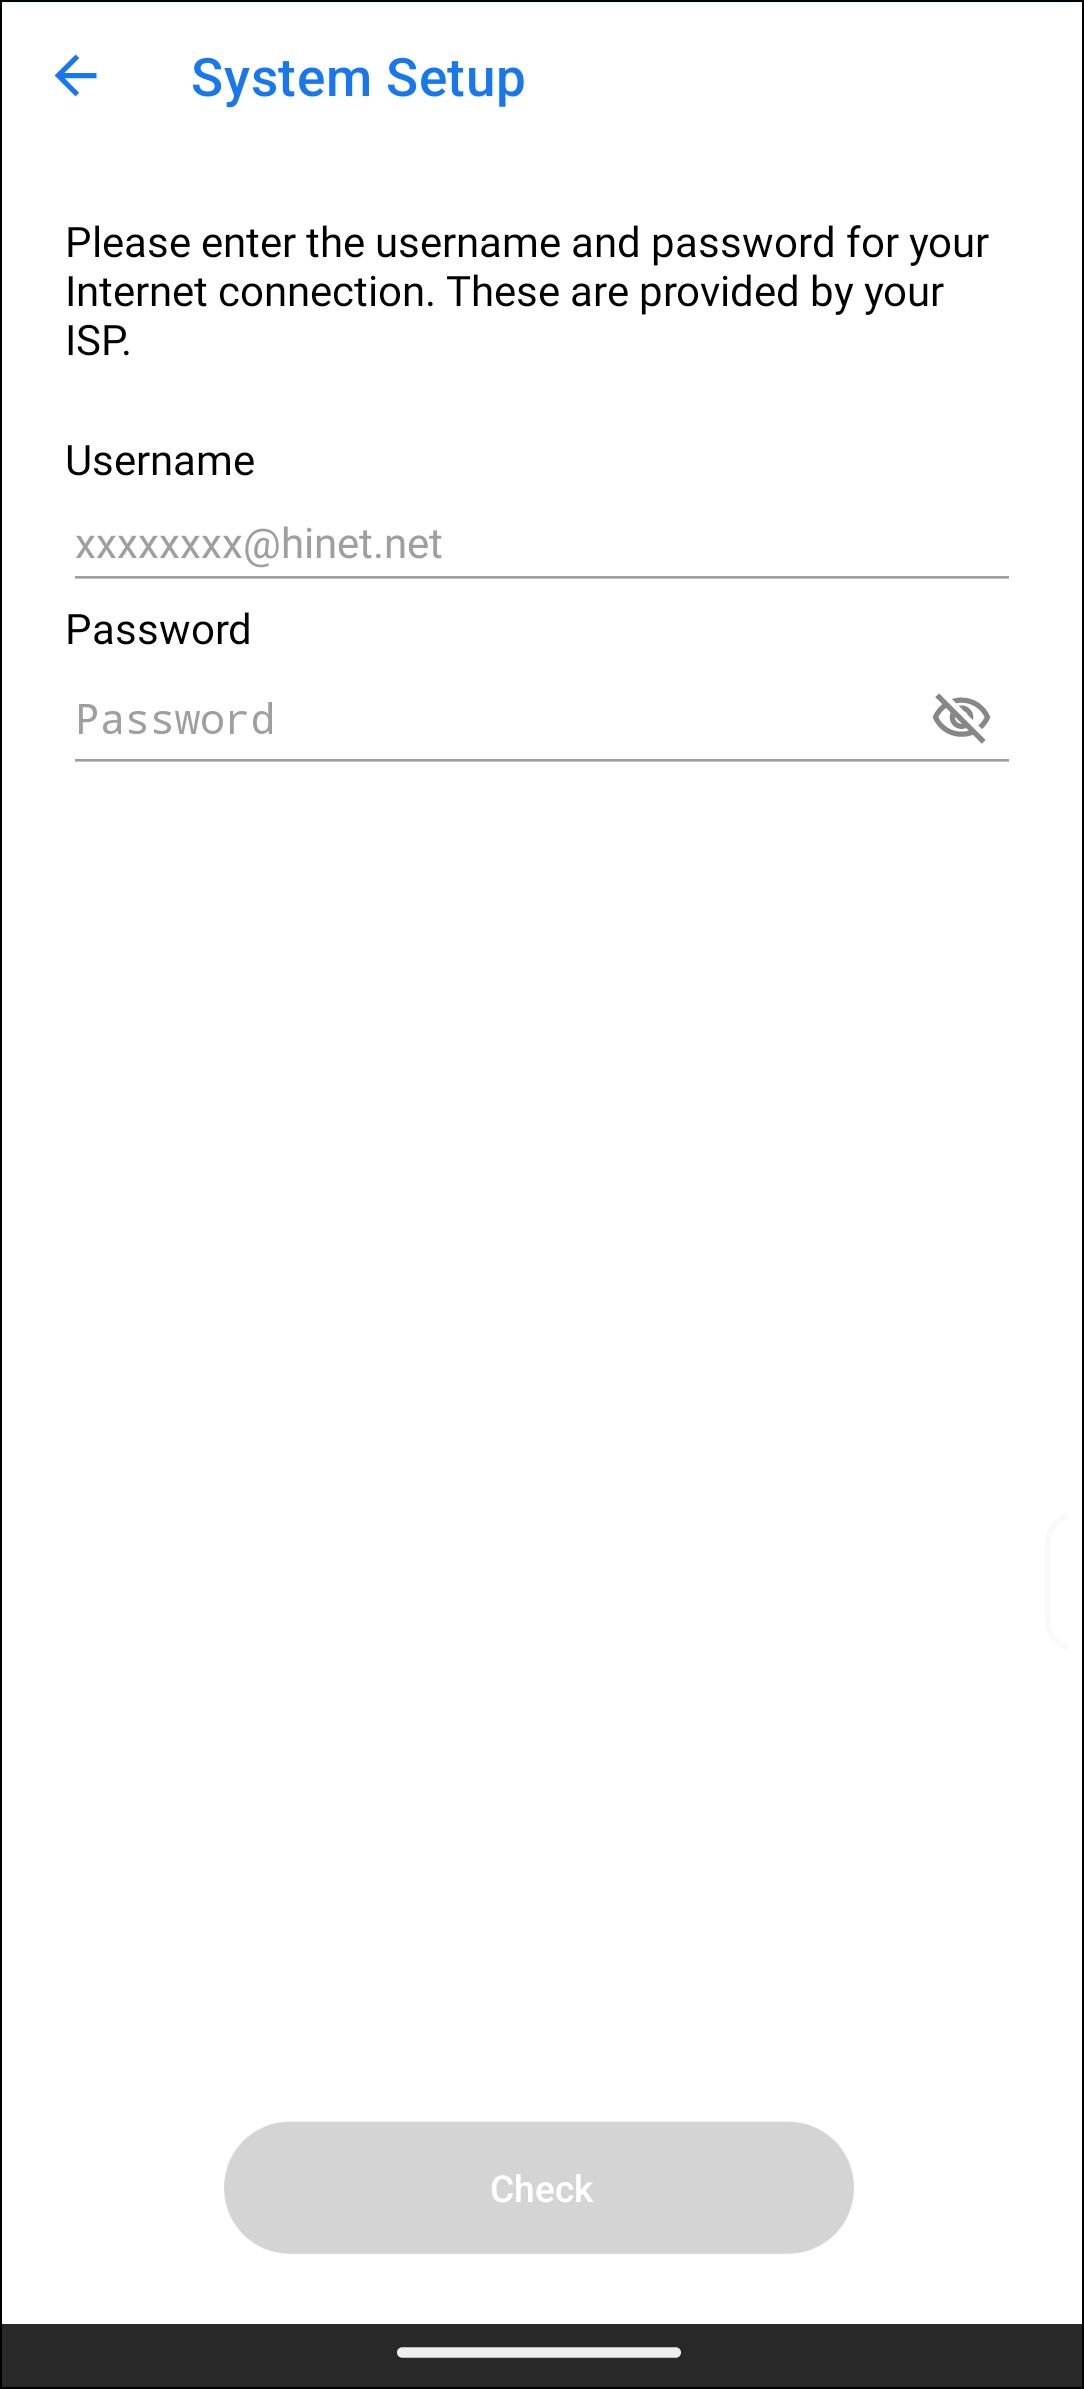
- WAN type - PPPoE: Type username and password provided by ISP.
Note: If you're not sure about user name and password, we recommend to ask your Internet Service Provider (ISP) which you are under contract.
- WAN type - DHCP: No information required to fill in here, jump directly to next step.
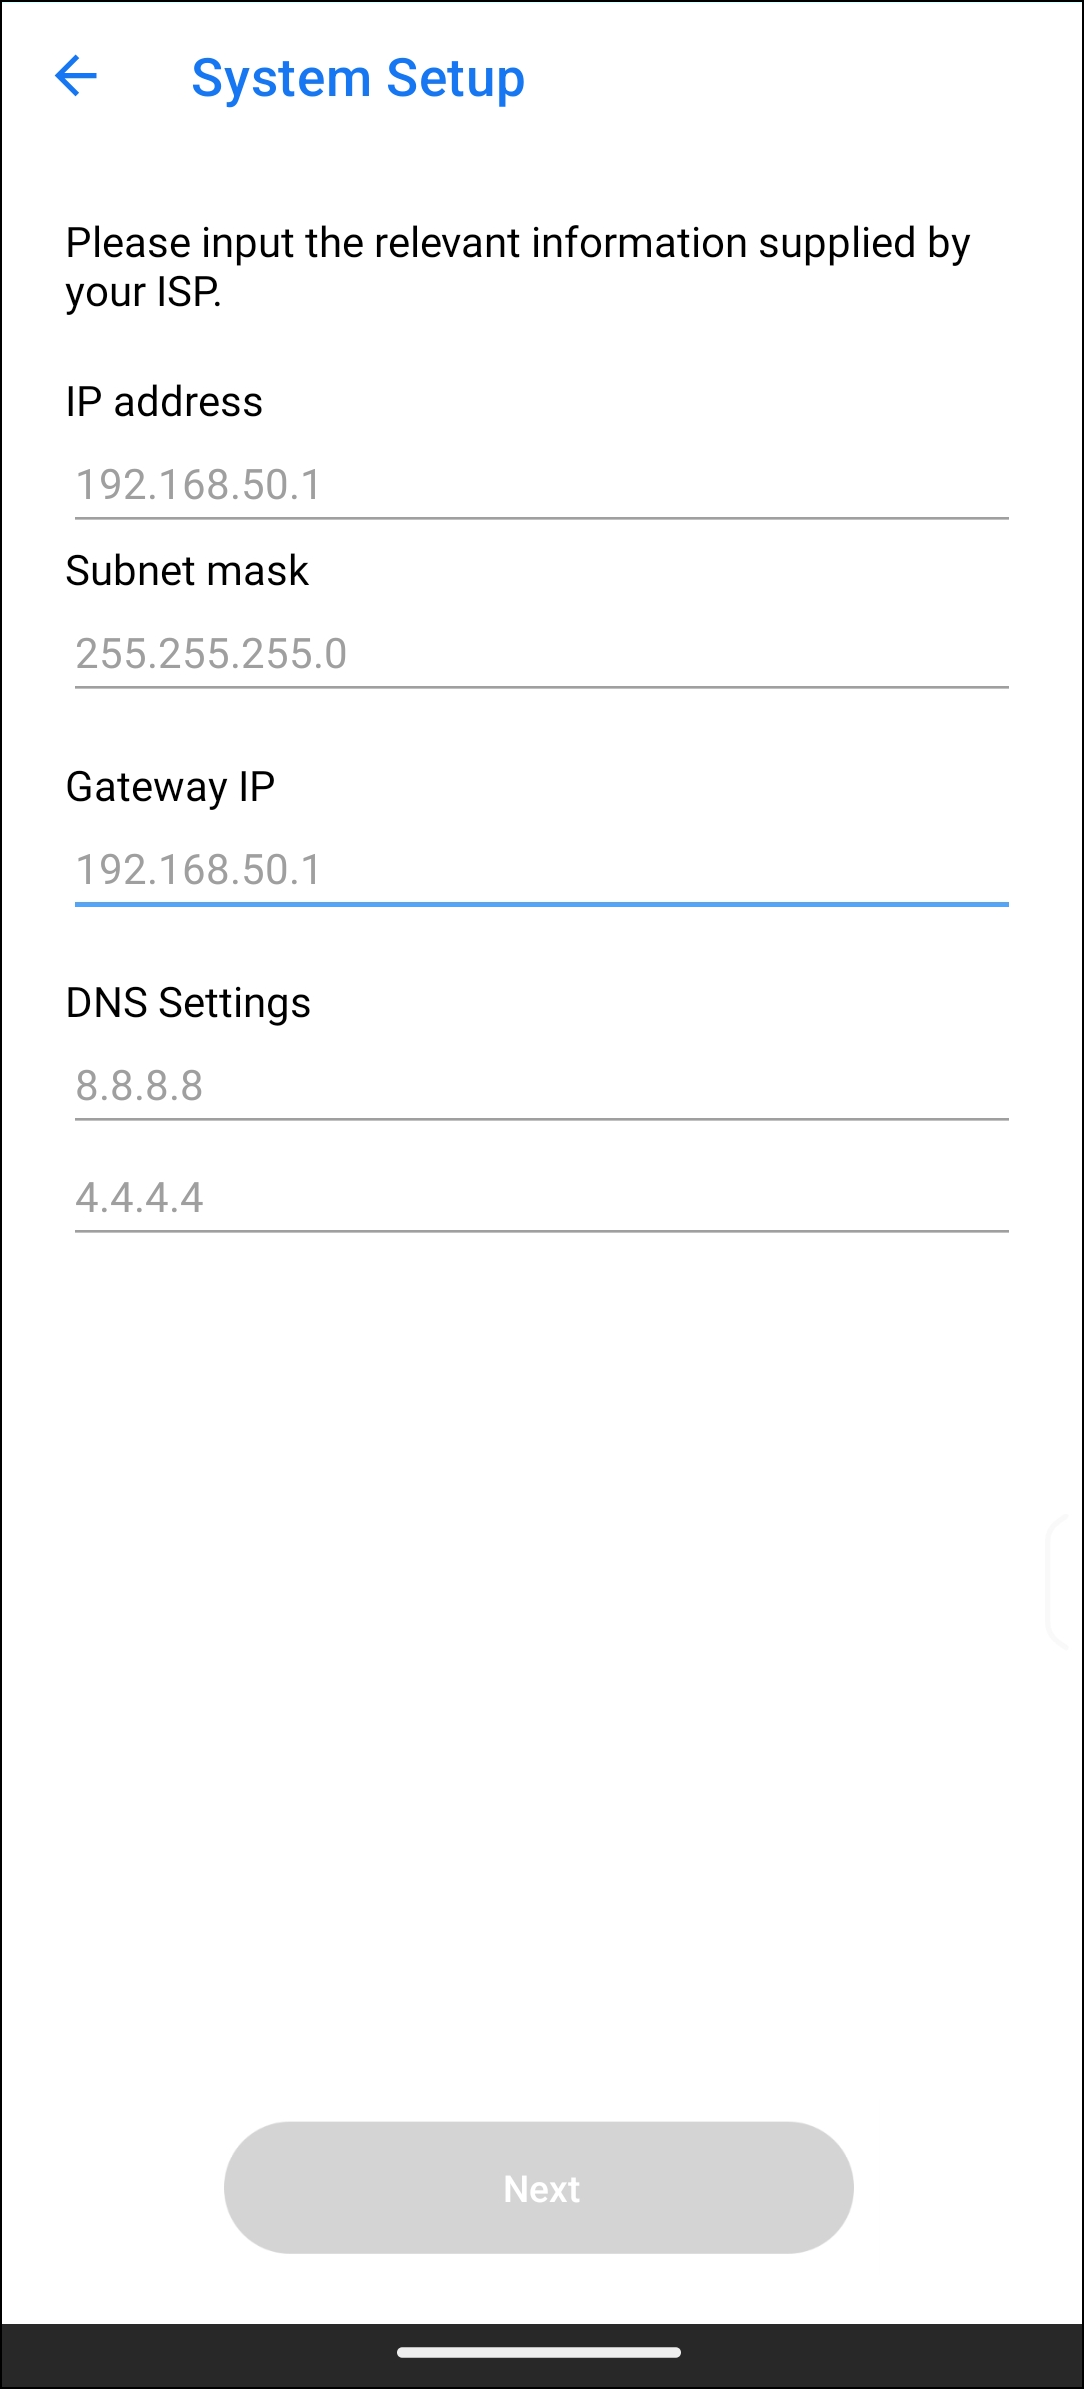
- WAN type - Static IP: Type the relevant information supplied by your ISP.
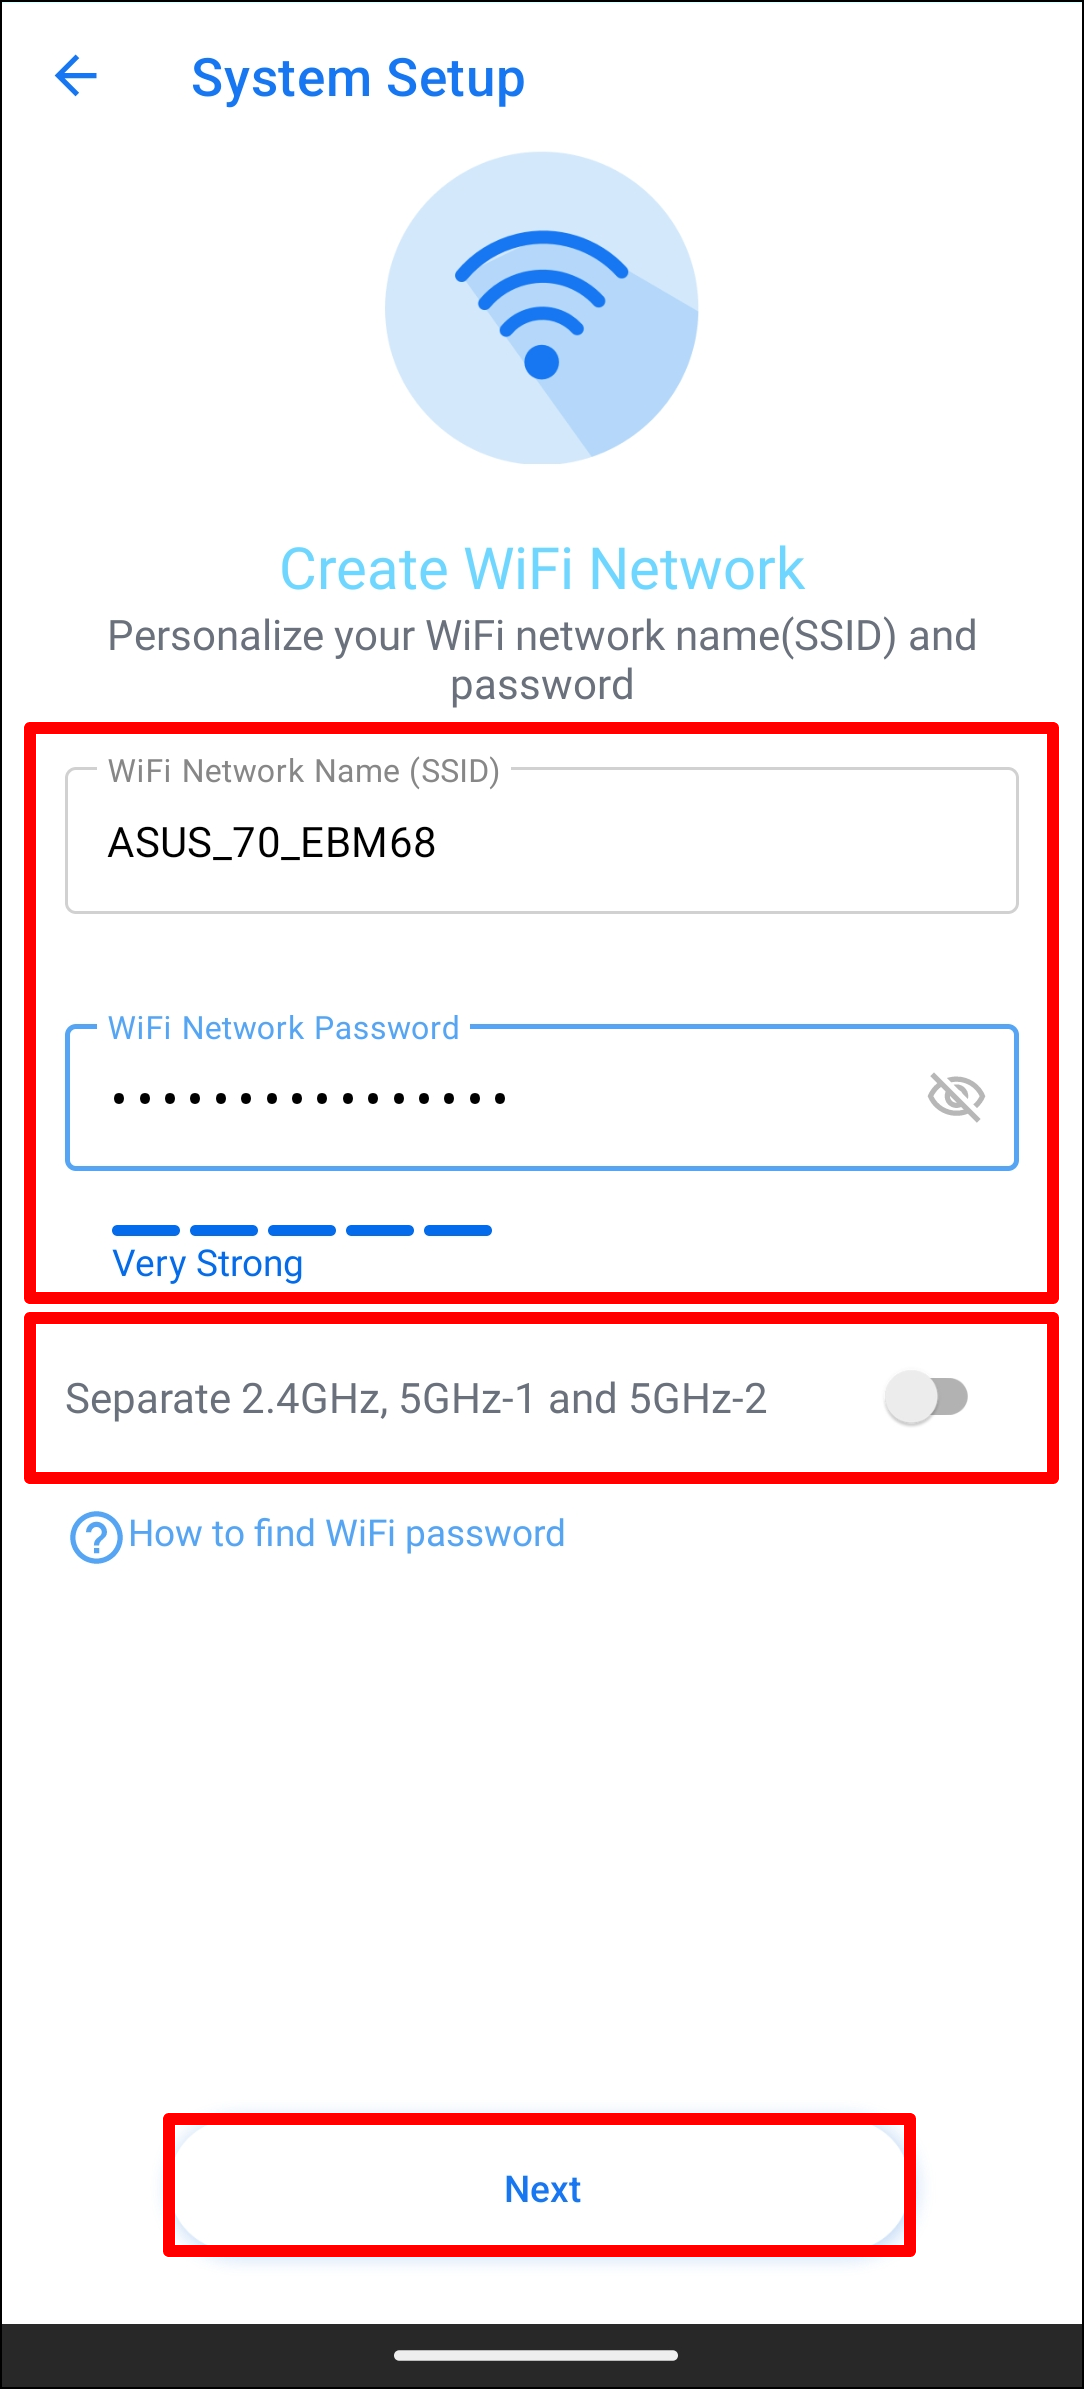
Note: If you want to set up 2.4GHz and 5GHz separately, tick the checkbox for the setup of each band.
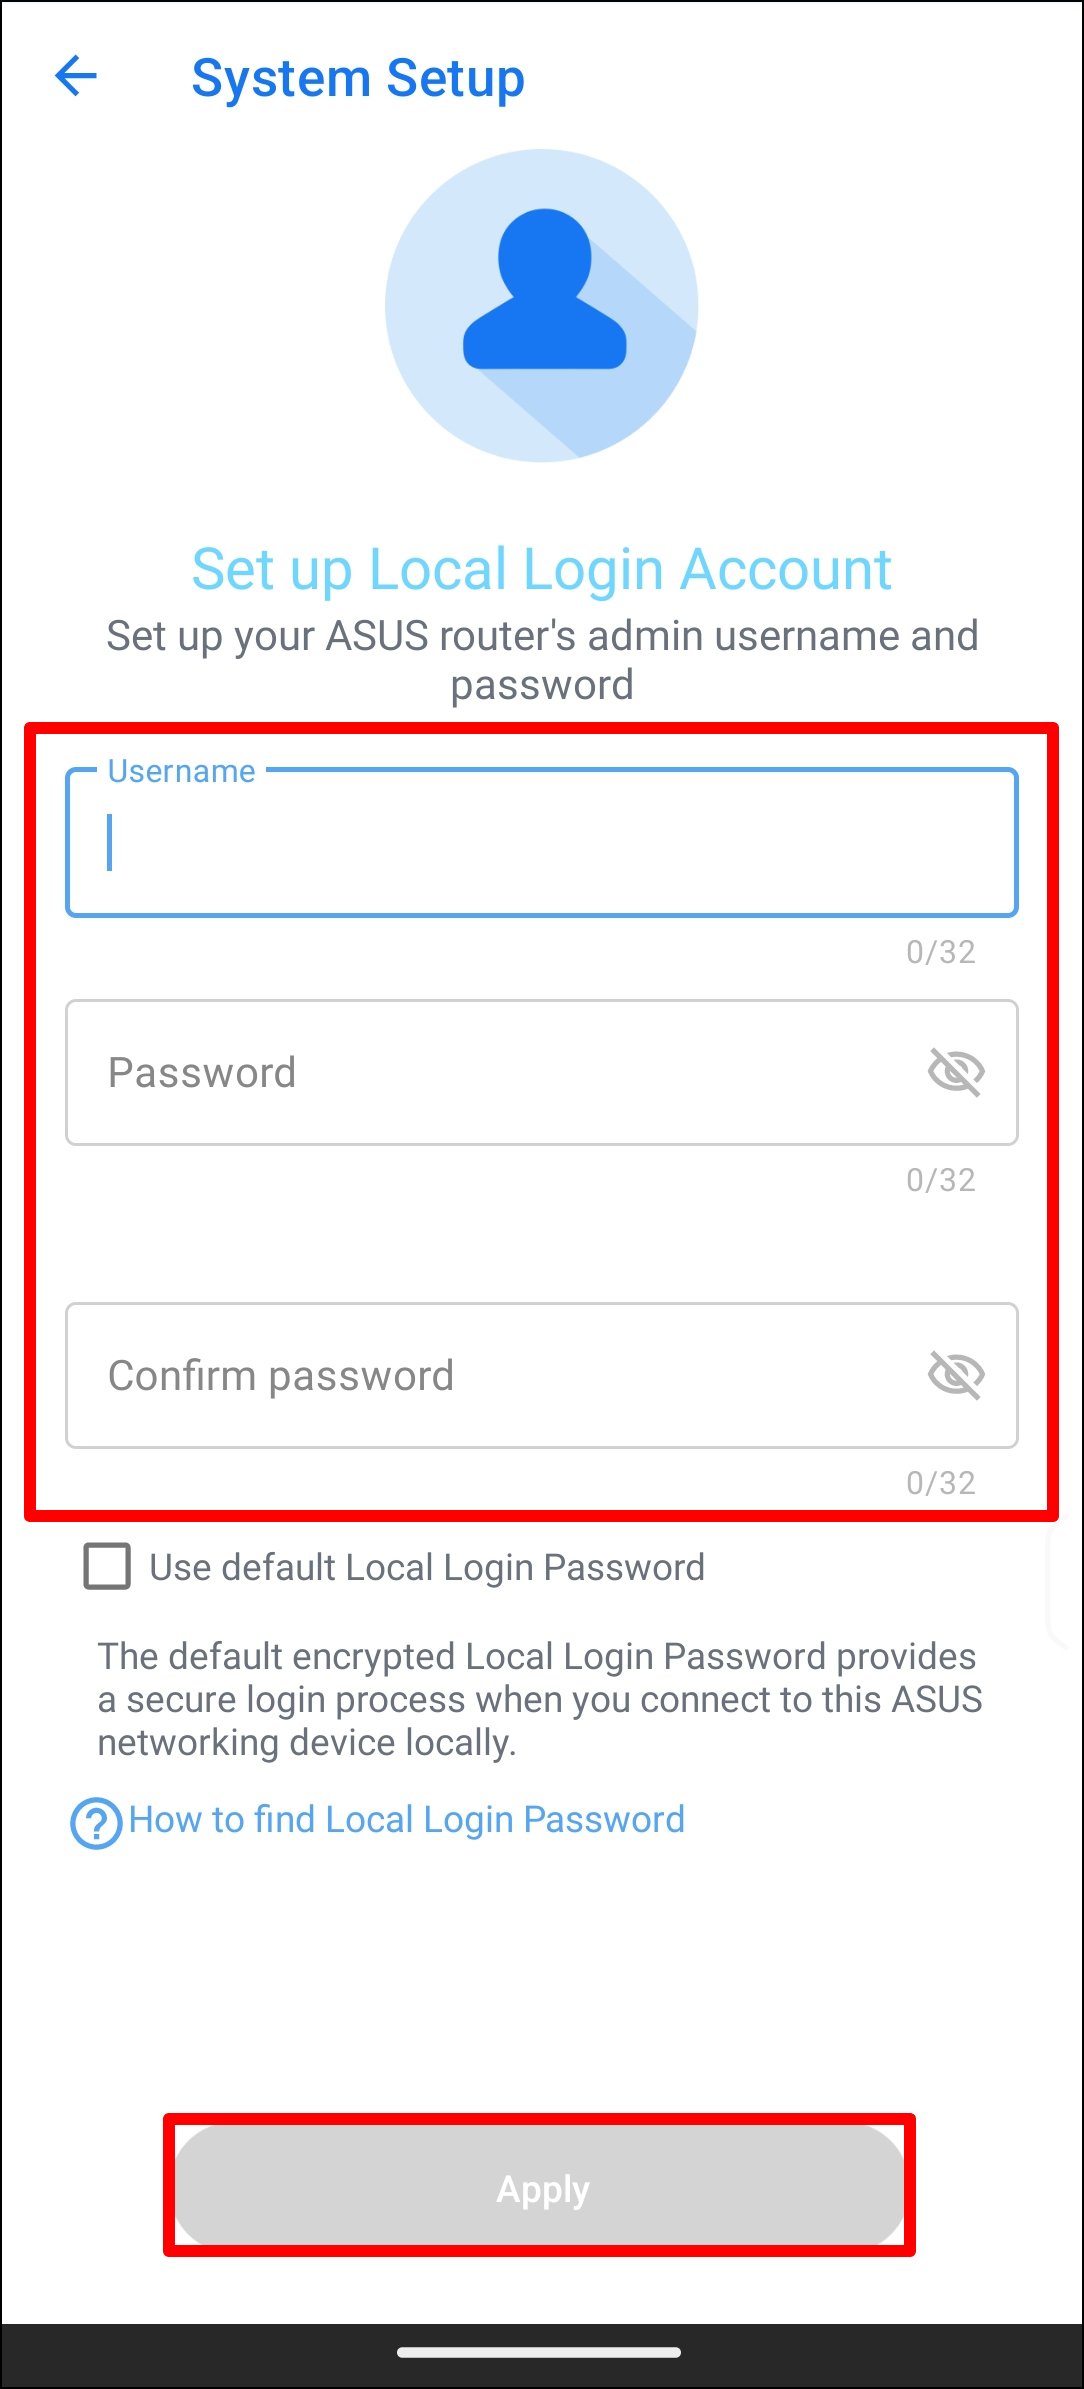
8. Set up your ExpertWiFi router’s login username and password and tap [Apply].
Note: Login username and password are required when accessing to ExpertWiFi router configuration page.
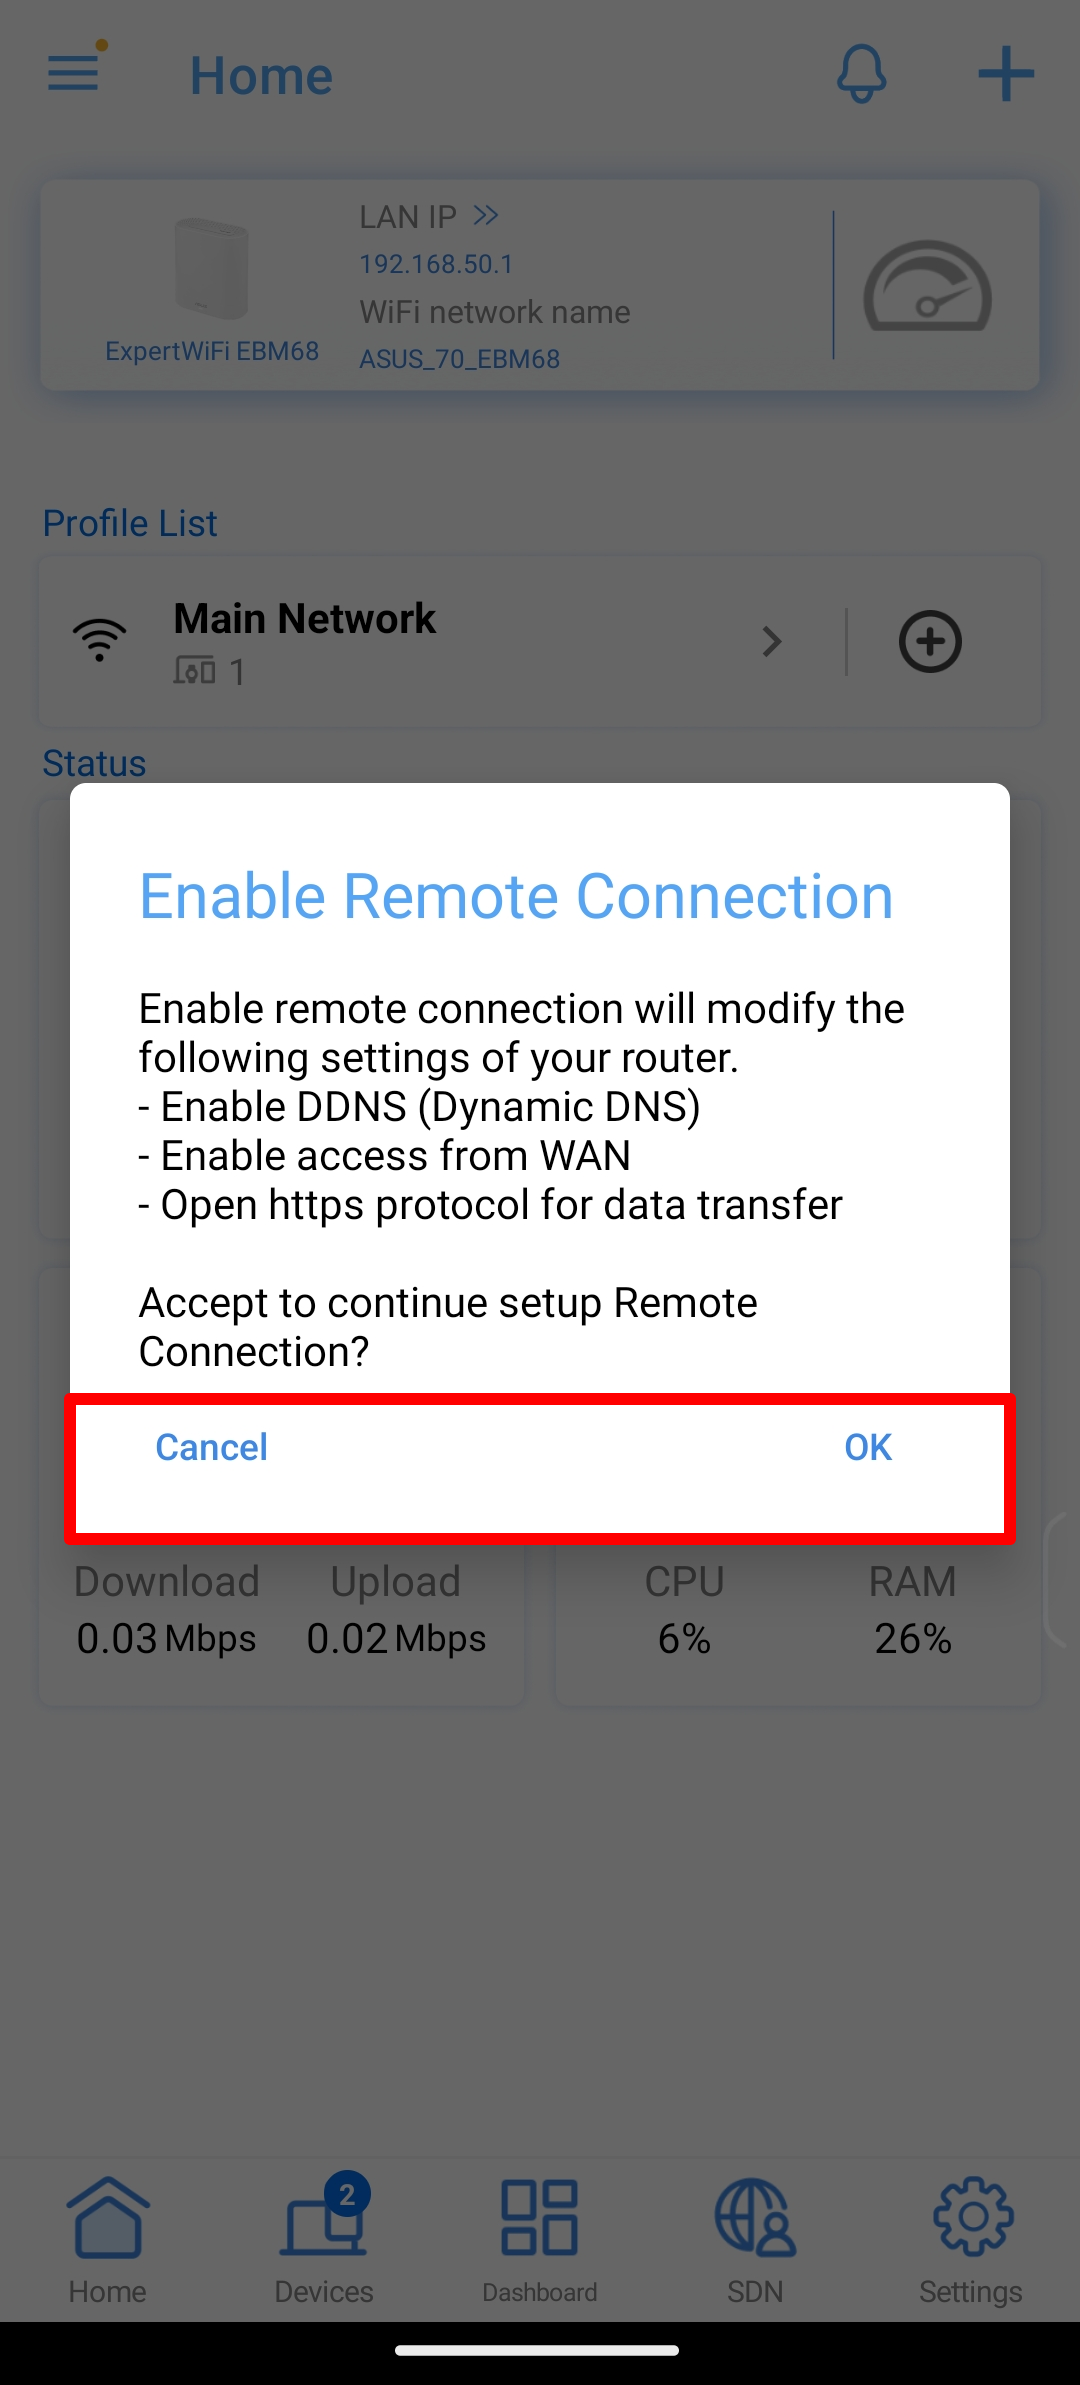
9. After you complete the setup, open the home screen, and remote connection pop-up appears. Choose [OK] to either accept or [Cancel] to decline on your network condition.
Note:
- If you want to access from the external environment, choose [OK].
- If the home screen and the pop-up window don't show, choose new wireless network on your device, and return to ASUS ExpertWiFi App.
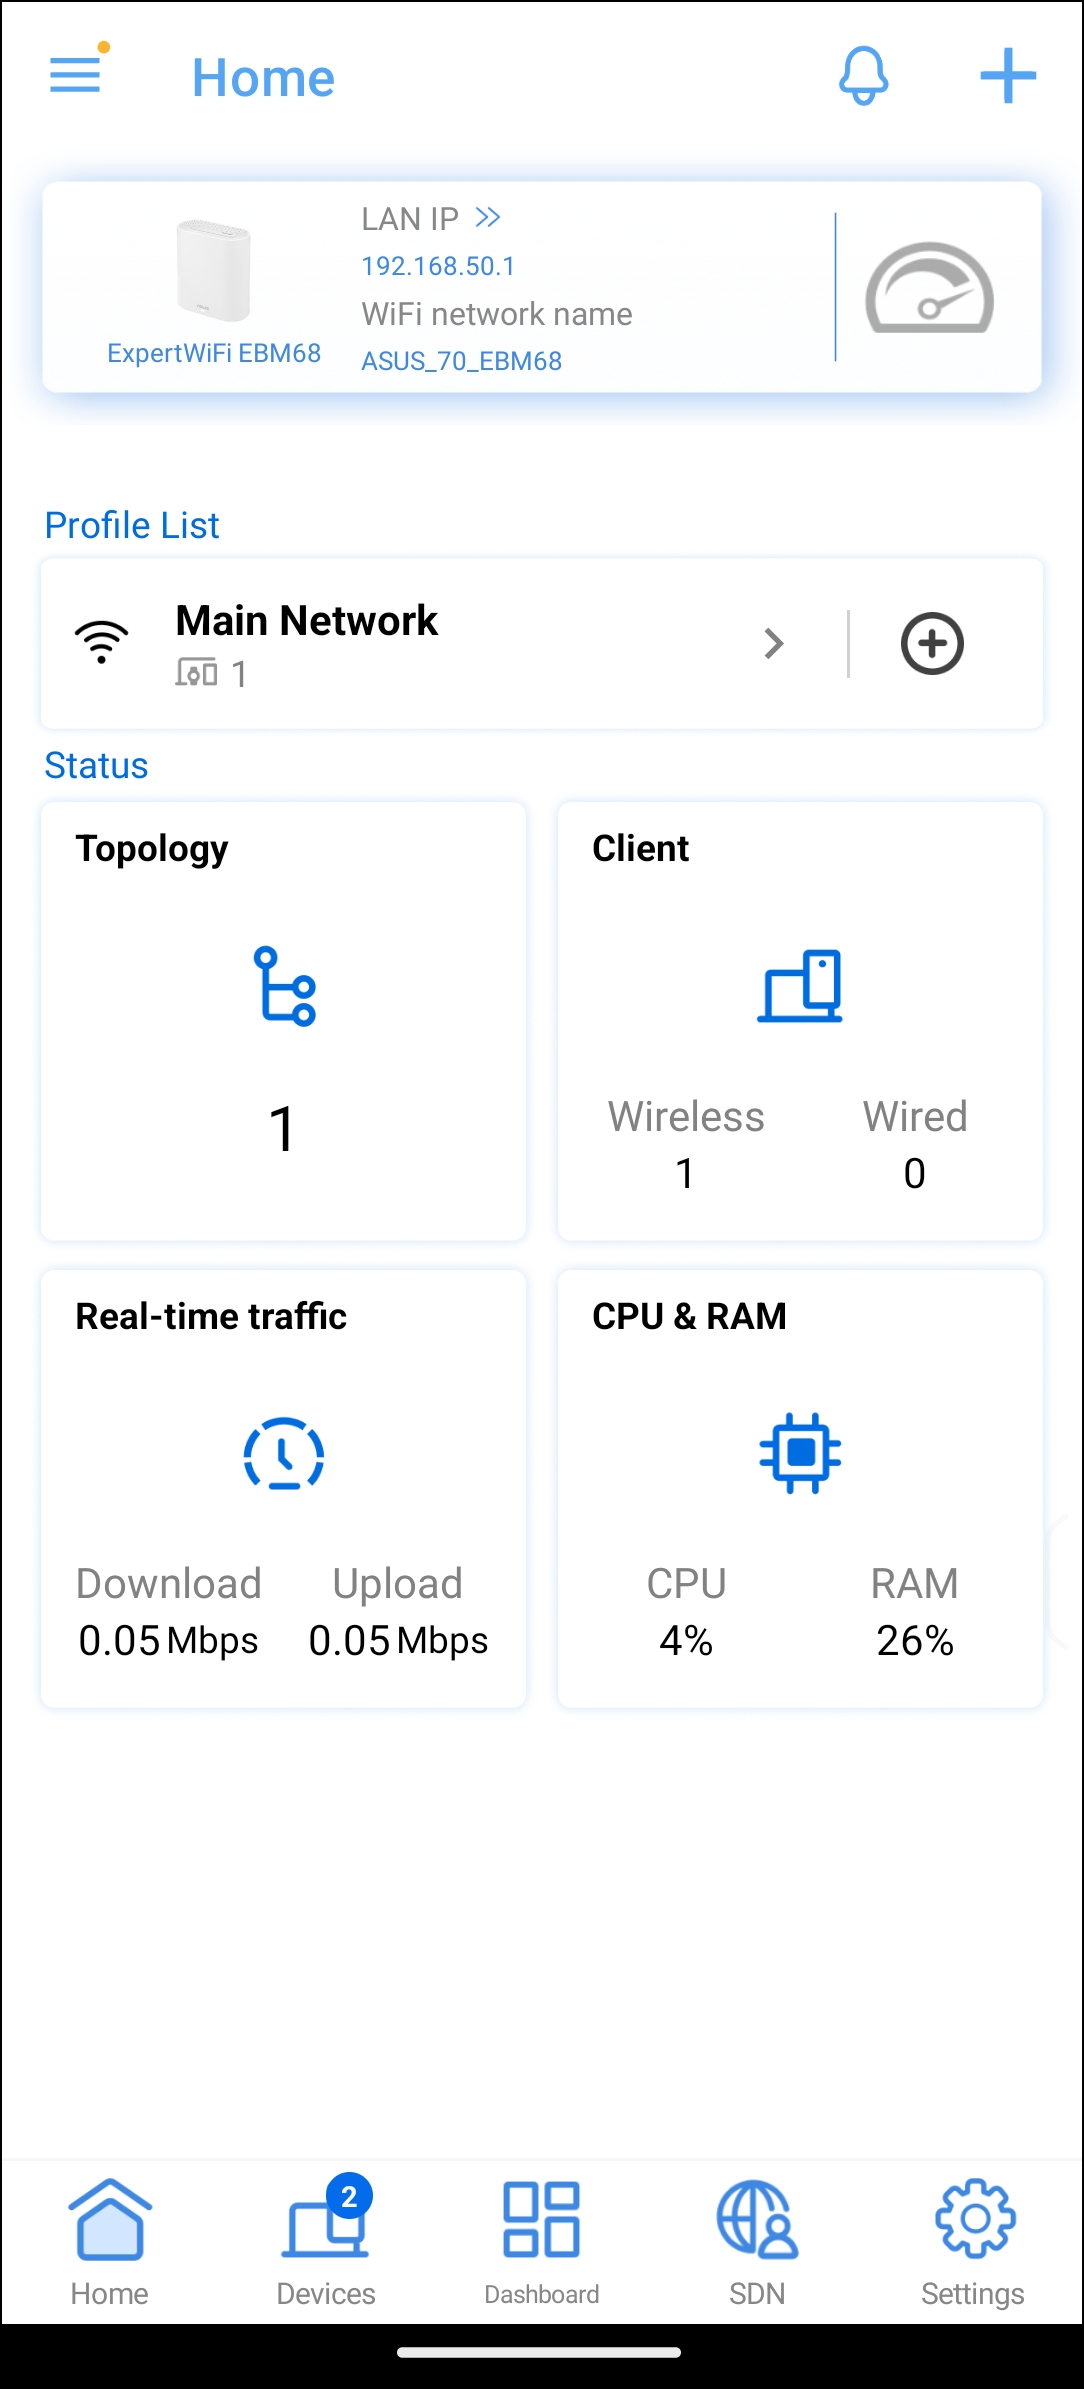
10. When the home screen shows, all the steps are completed.
Before using ExpertWiFi App, please set up ExpertWiFi router first. For how to set up, please refer to here.
1. Connect to ExpertWiFi router's default network name (SSID)
Network name (SSID): ASUS_XX_model
Connect to the network with SSID shown on the product label on the bottom of the ExpertWiFi router.
Note: The location of labels for different models will vary.
2. Execute the ASUS ExpertWiFi App.

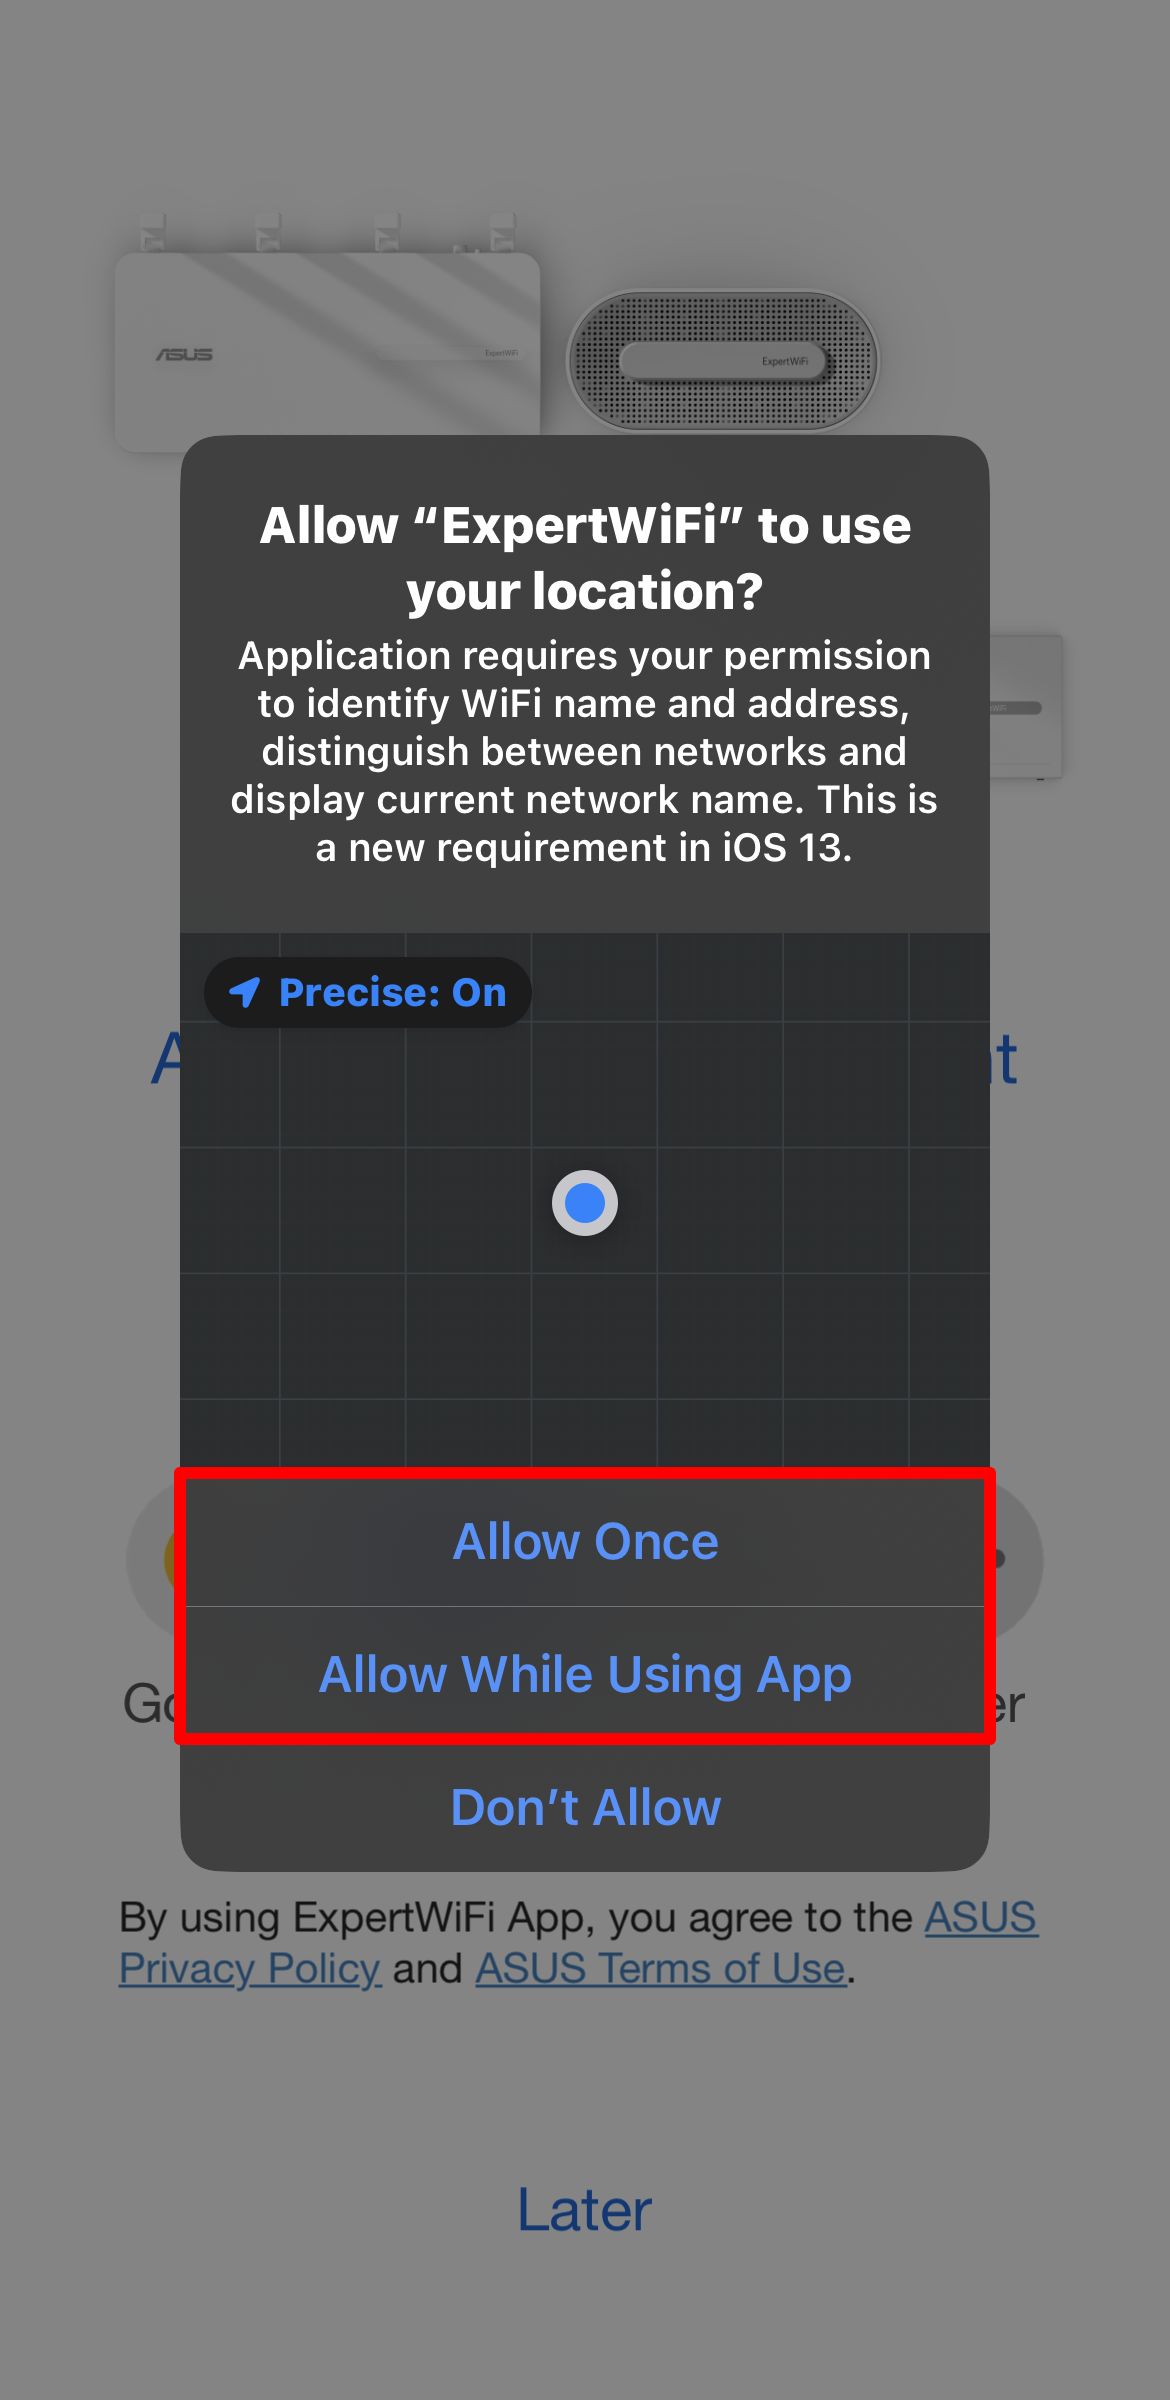
3. Choose either [Allow Once]or [Allow while using app] according to your usage.
4. Tap [Setup].

5. Tap [Get Started].

6. Set the WAN type based on your network condition.
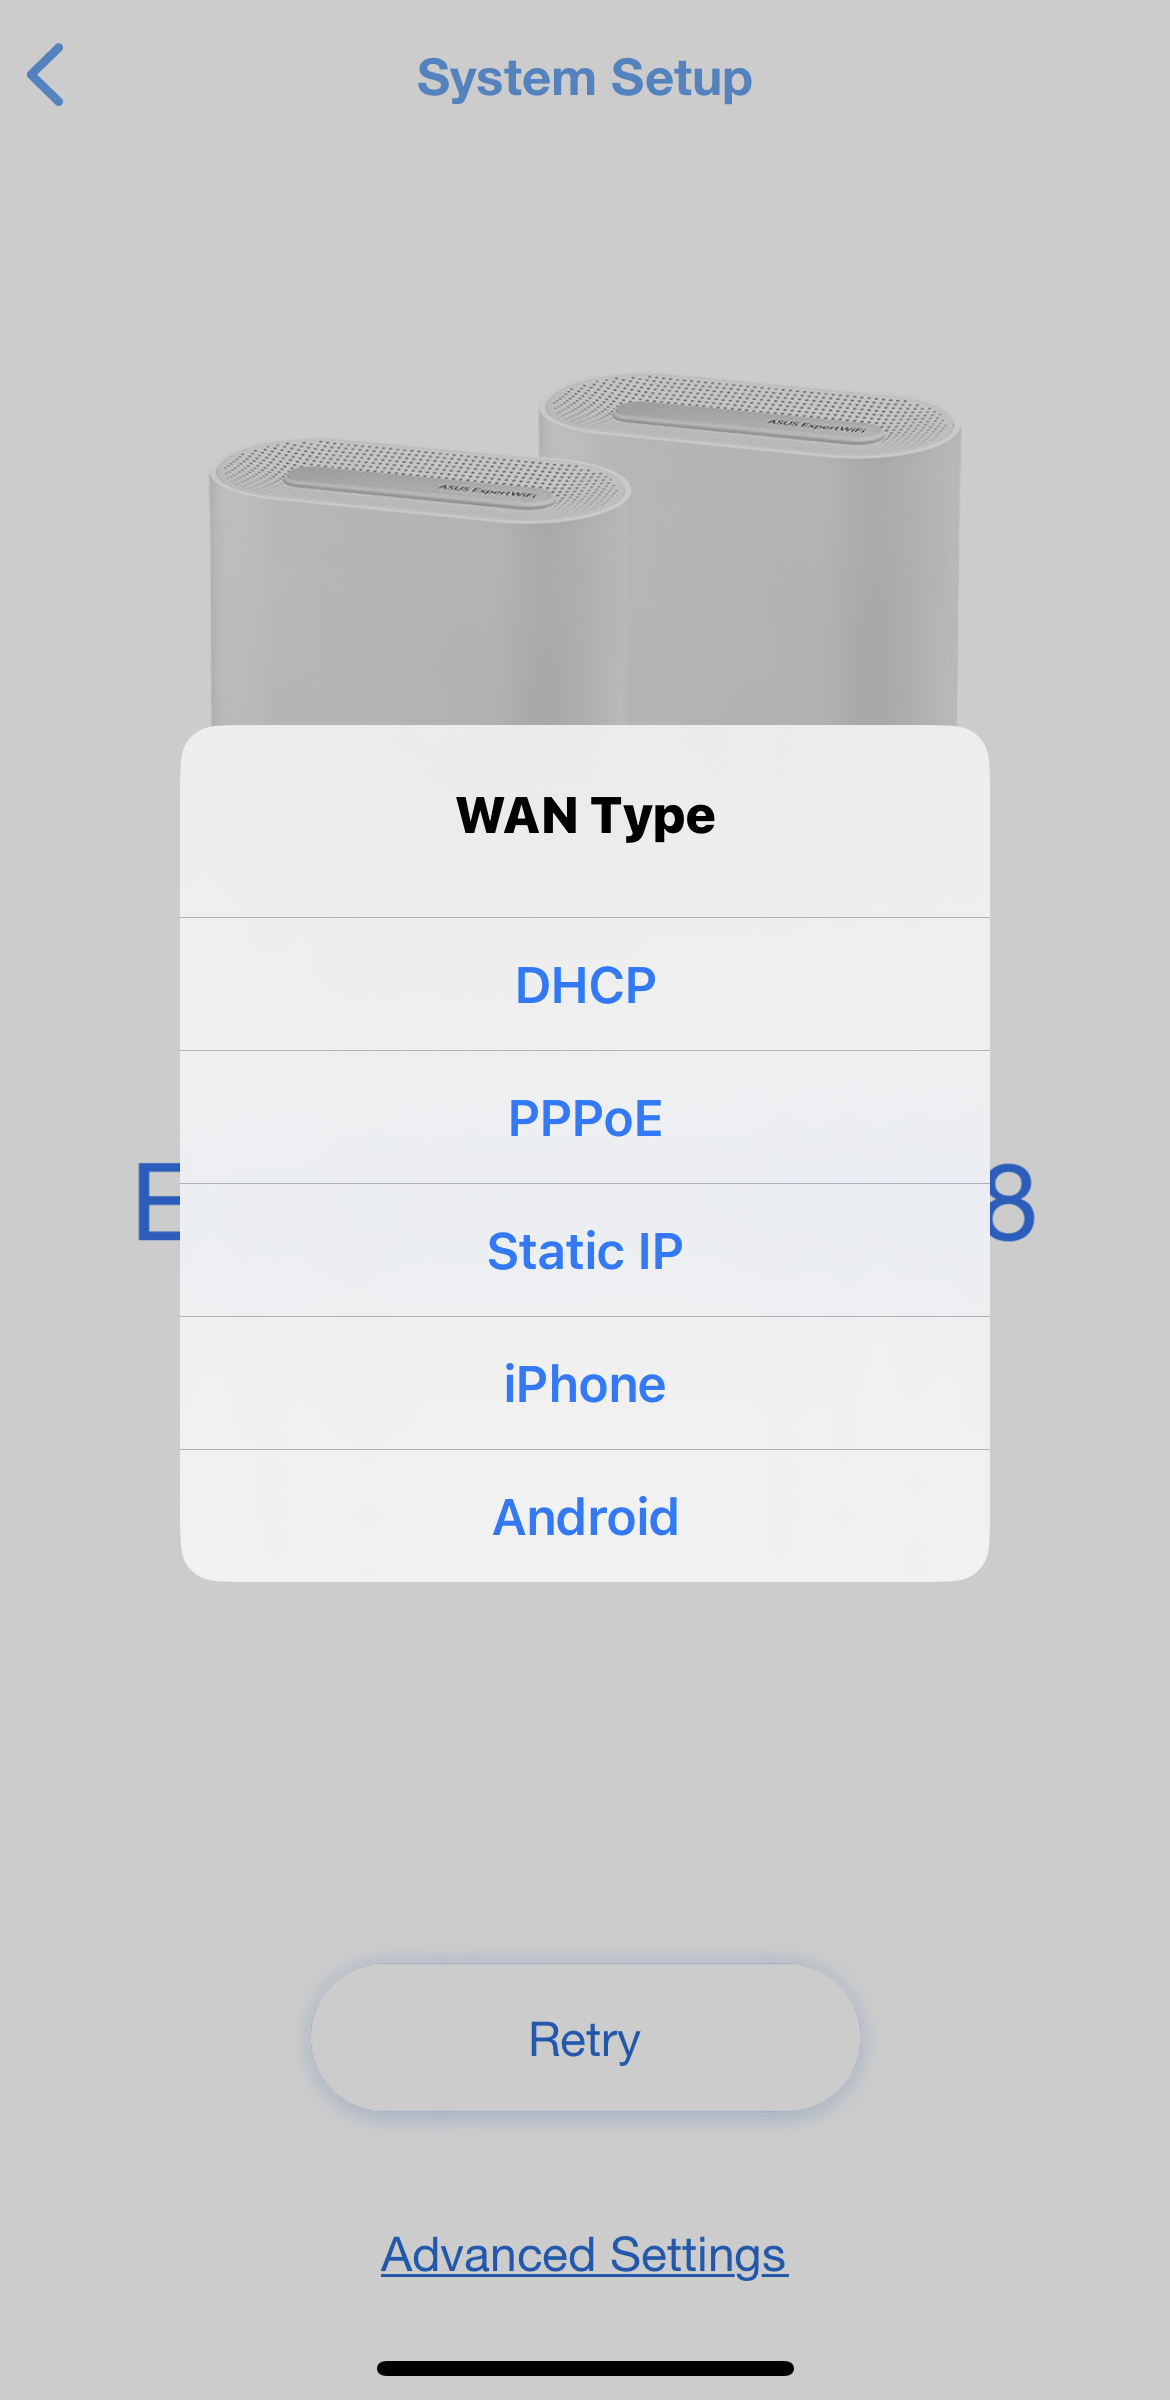
- WAN type - DHCP: No information required to fill in here, jump directly to next step.
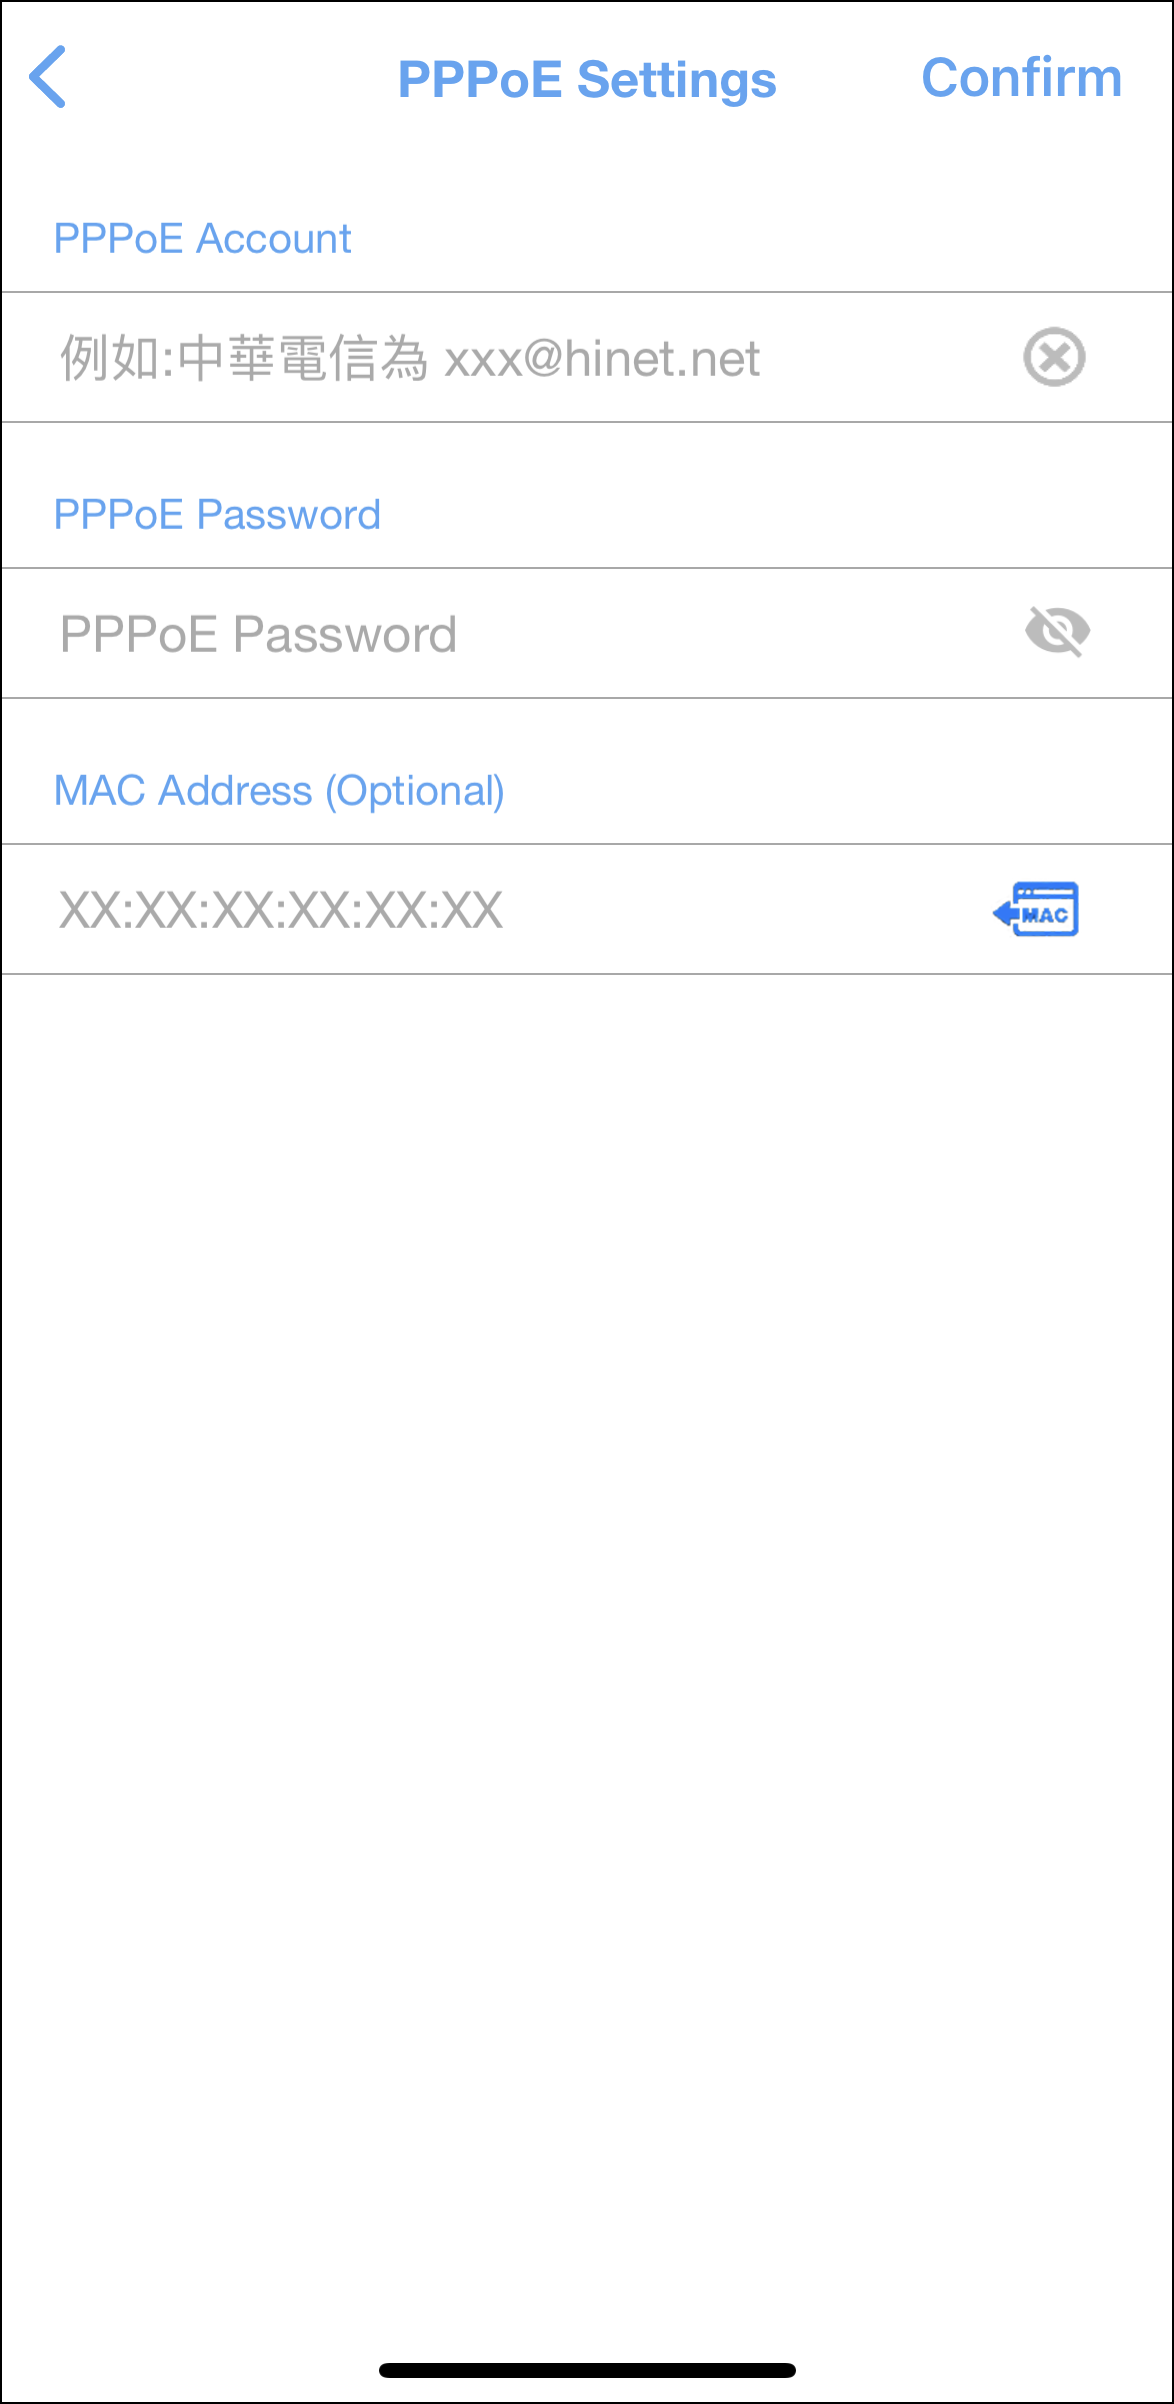
- WAN type - PPPoE: Type account and password provided by ISP.
Note: If you're not sure about account and password, we recommend to ask the ISP which you are under contract.
- WAN type - Static IP: Type the relevant information supplied by your ISP.

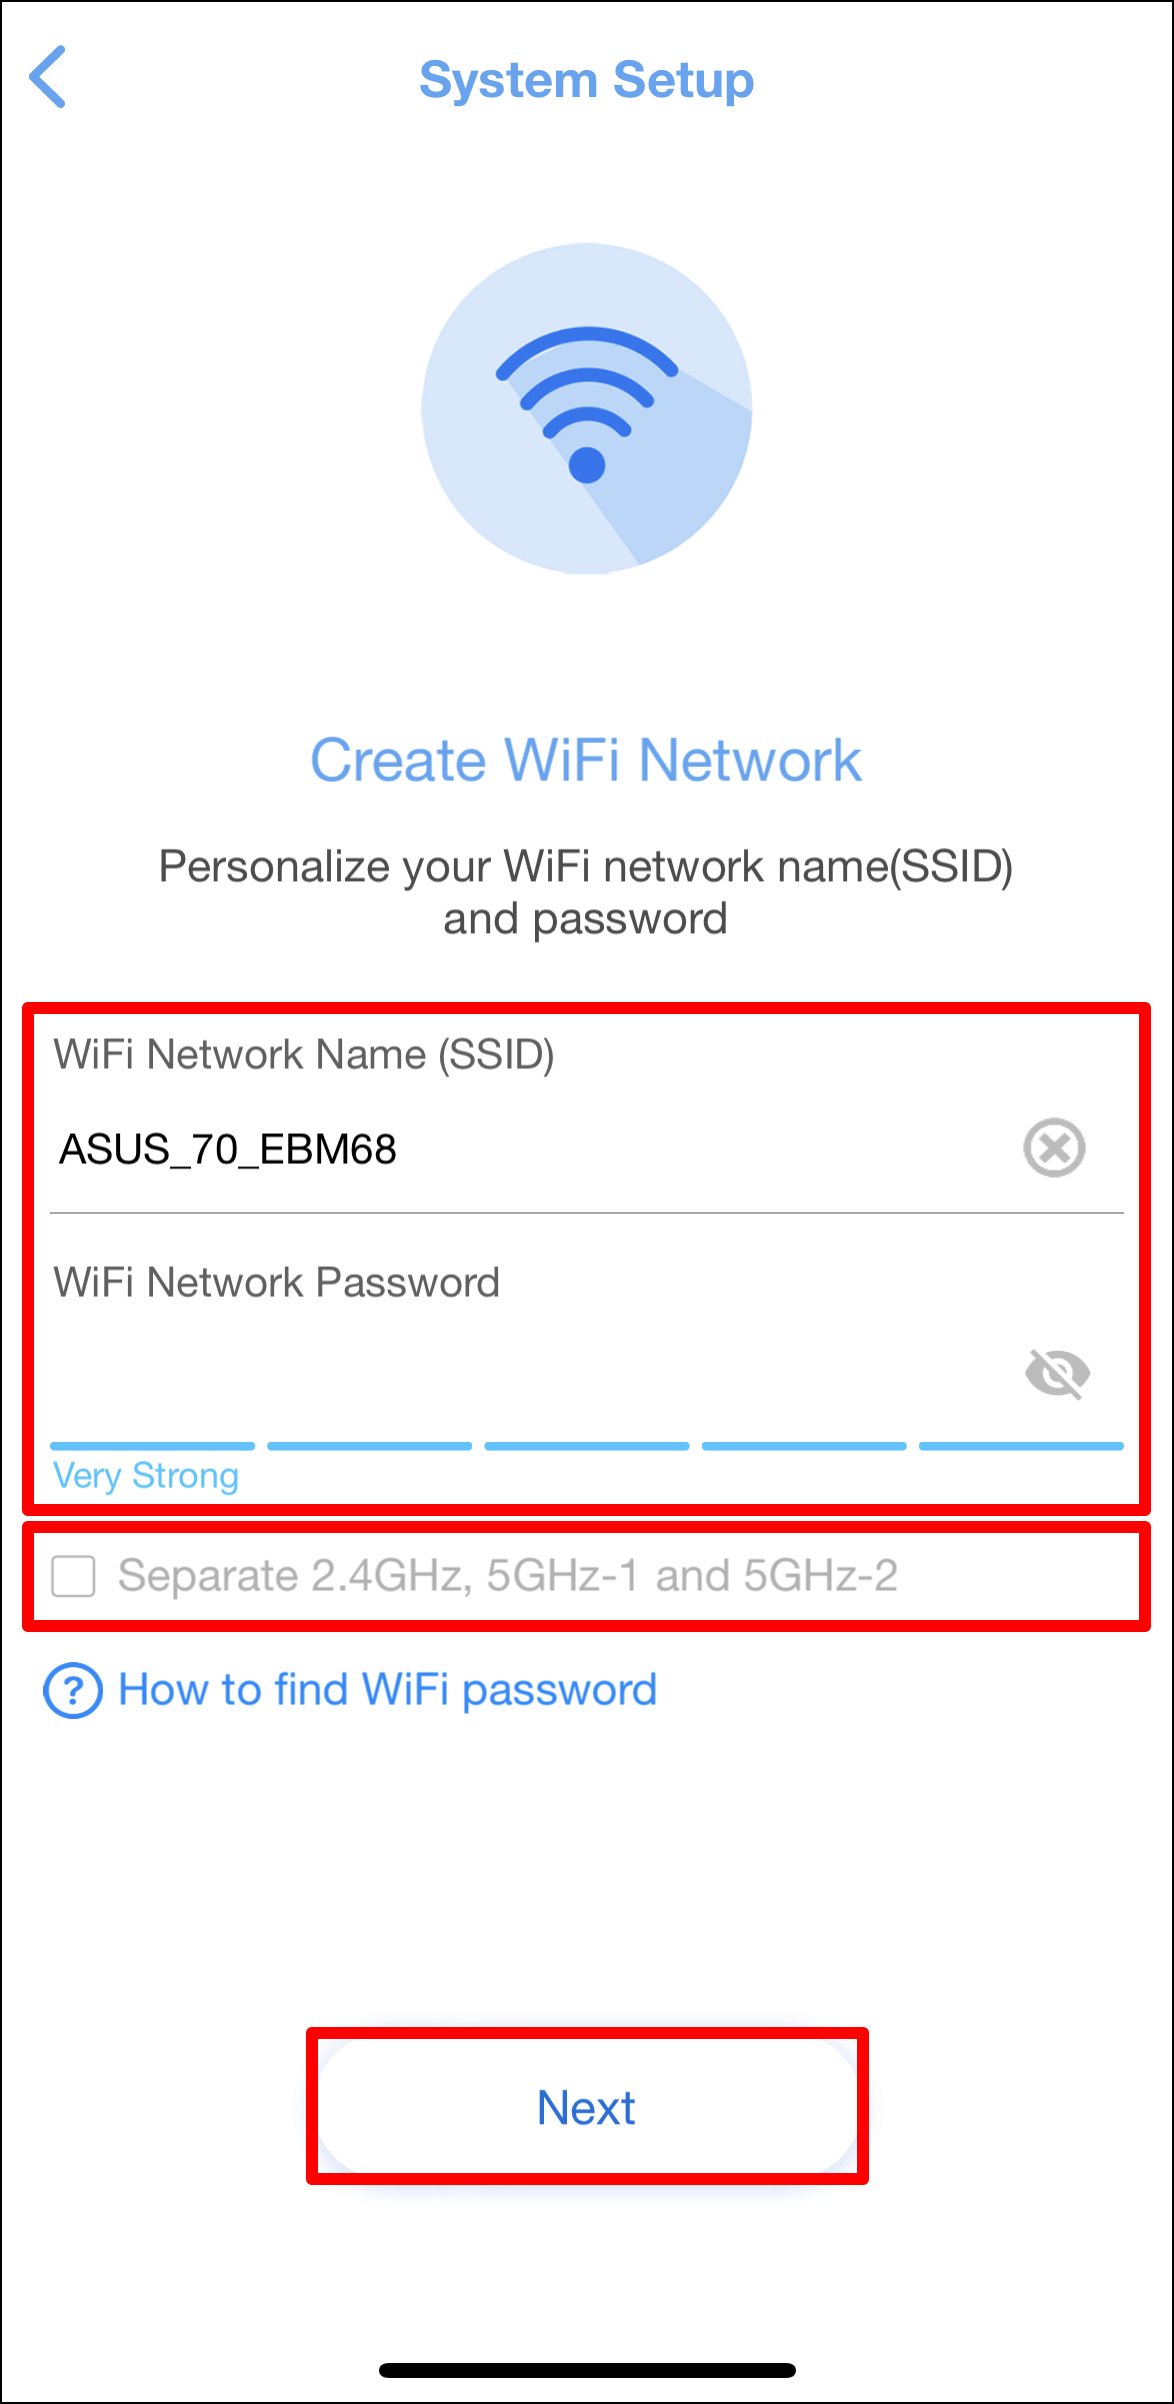
Note: If you want to set up 2.4GHz and 5GHz separately, tick the checkbox for the setup of each band.
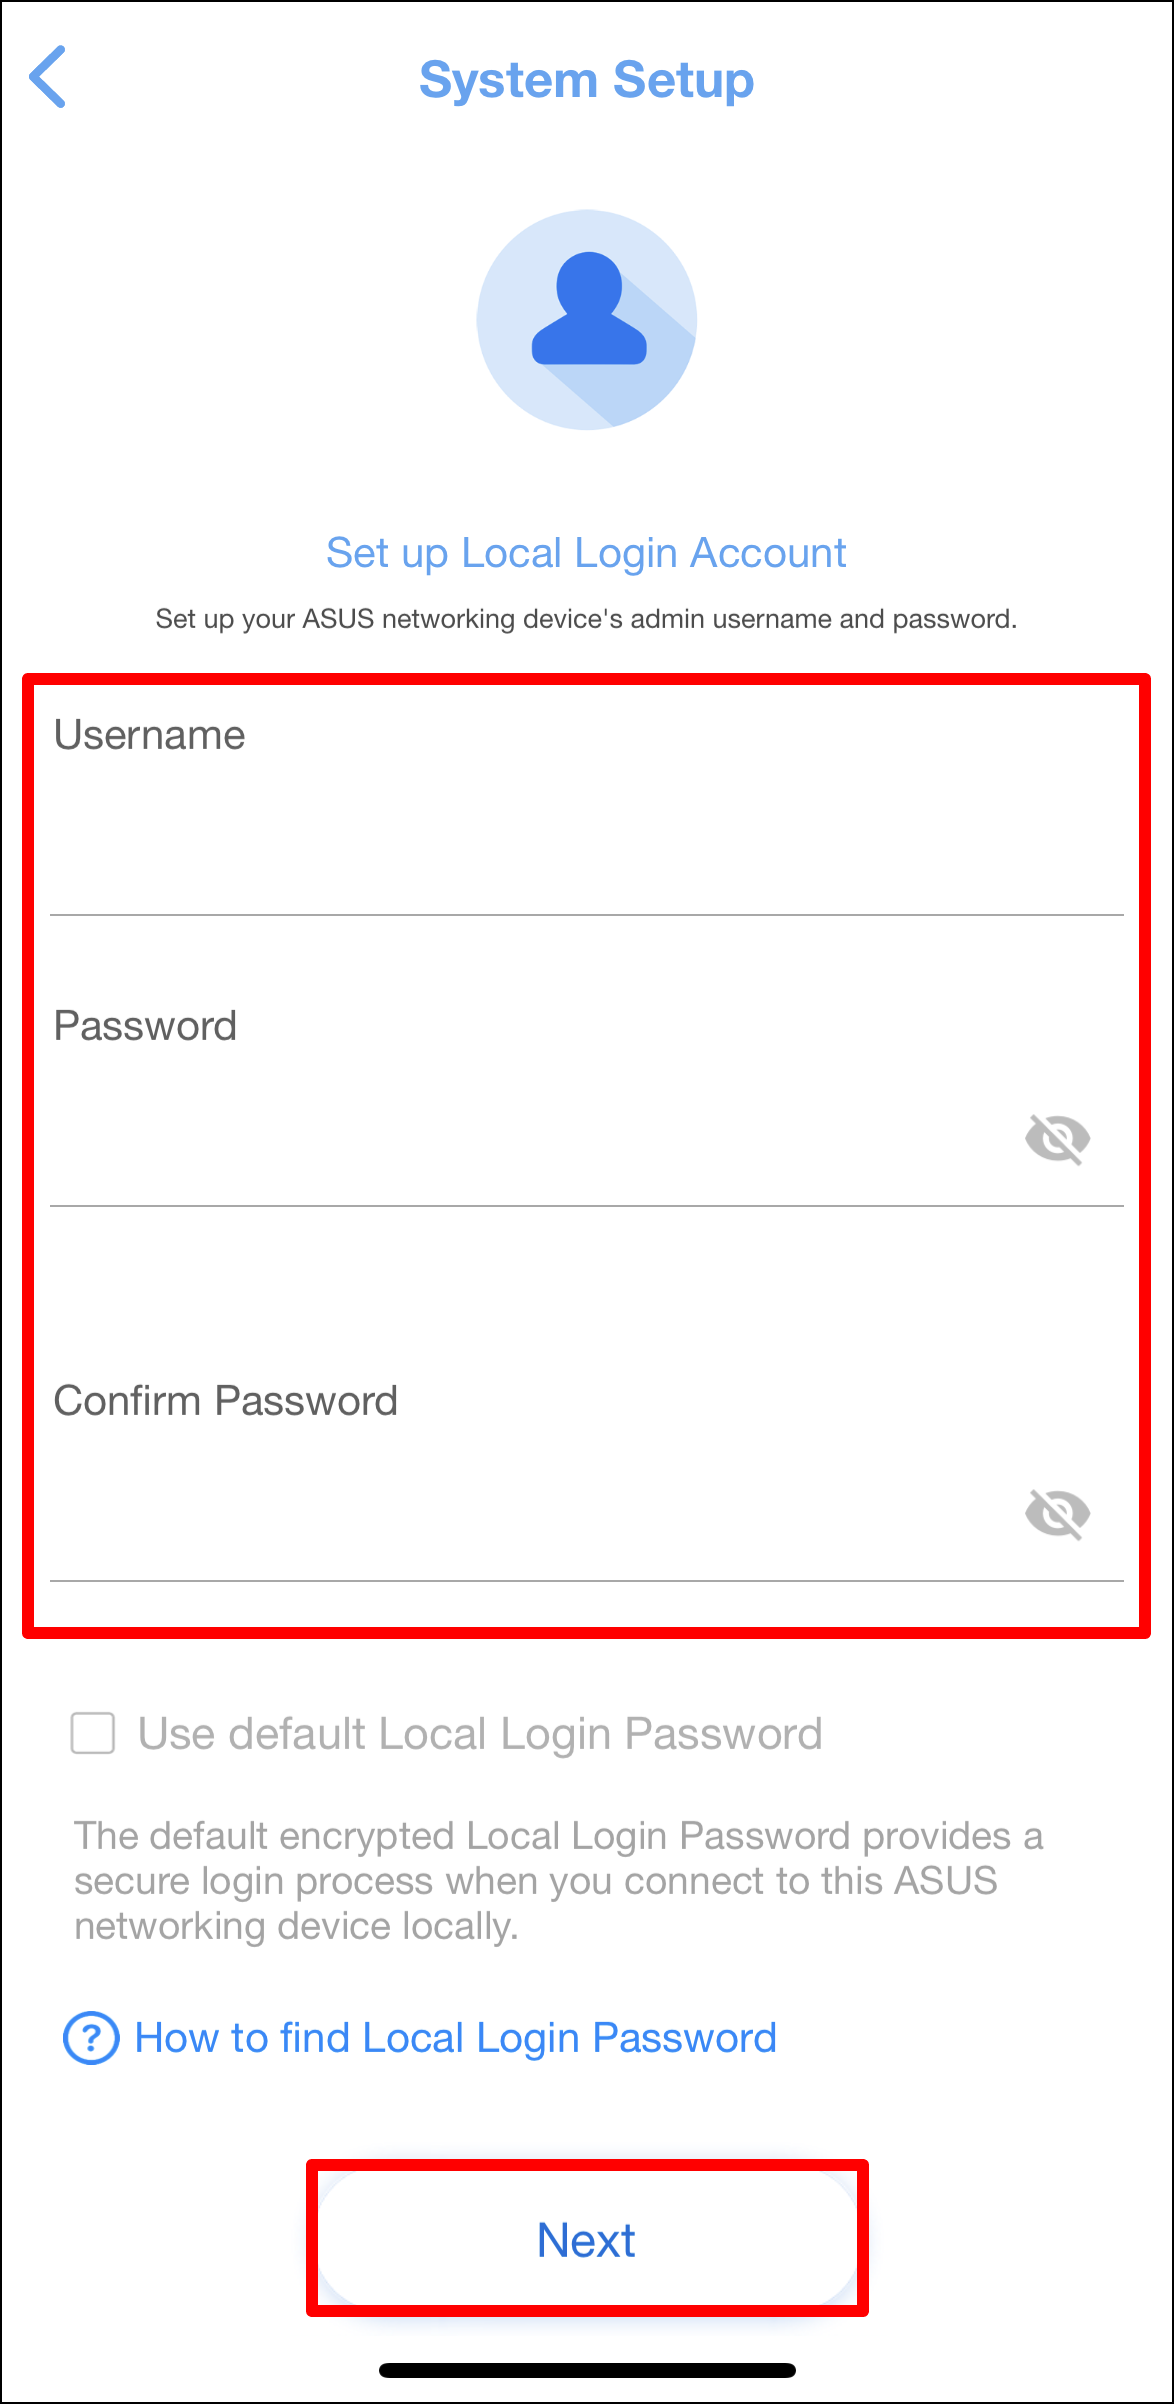
8. Set up your ExpertWiFi router’s login username and password and tap [Next].
Note: Login username and password are required when accessing to ExpertWiFi router configuration page.
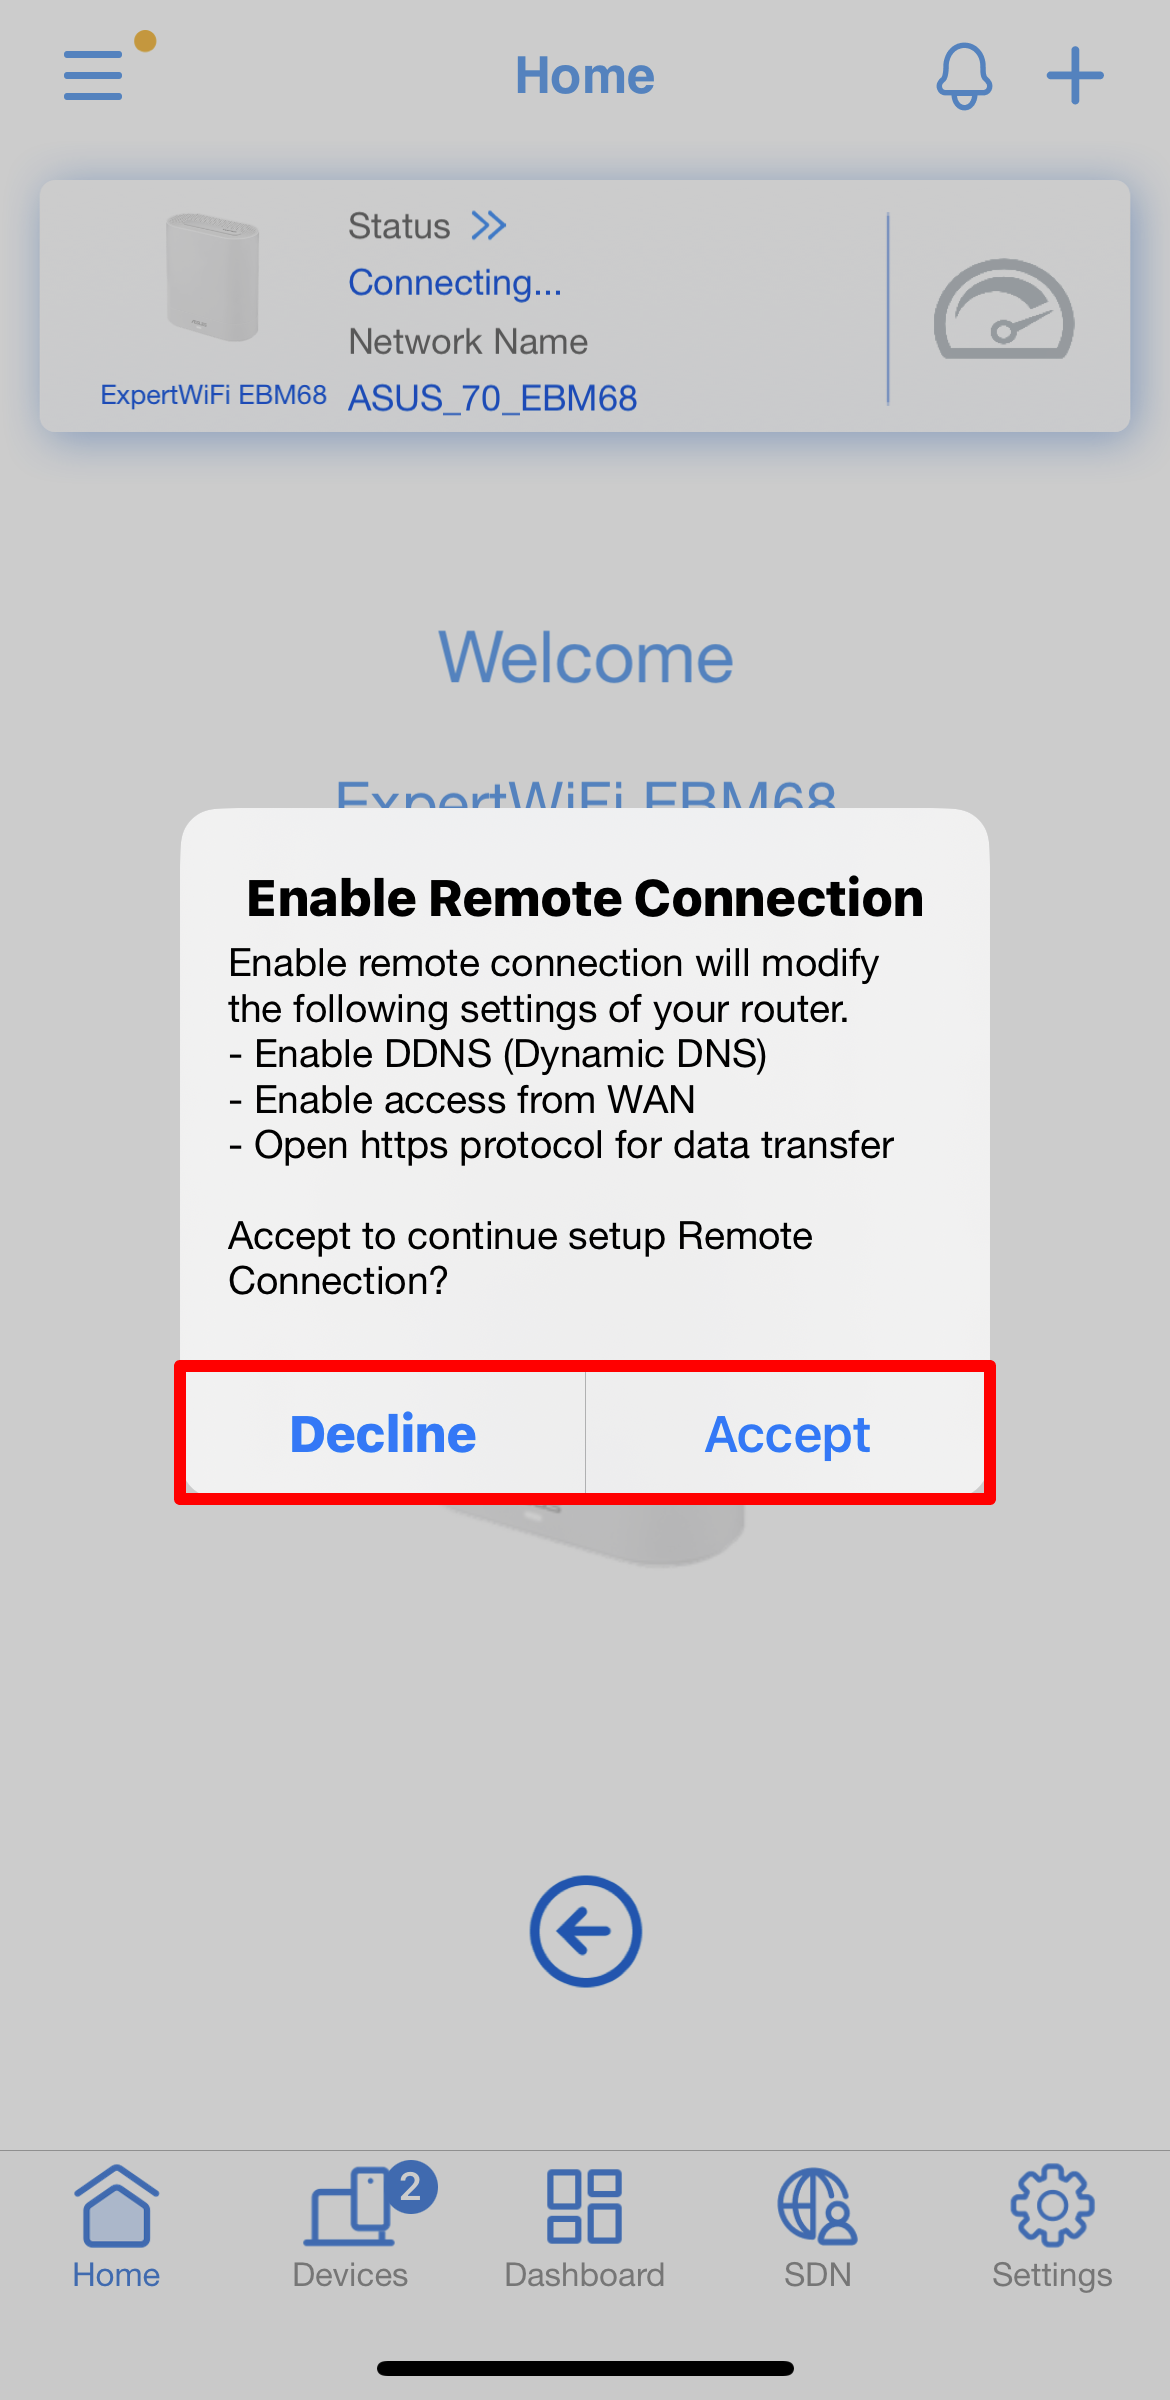
9. After you complete the setup, open the home screen, and remote connection pop-up appears. Choose either [Accept] or [Decline] on your network condition.
Note:
- If you want to access from the external environment, choose [Accept].
- If the home screen and the pop-up window don't show, choose new wireless network on your device, and return to ASUS ExpertWiFi App.
10. When the home screen shows, all the steps are completed.

FAQ
1. What should I do if I can't complete the above steps and want to reset my ExpertWiFi router?
Please reset your ExpertWiFi router to default setting and set up ExpertWiFi router again from scratch via QIS wizard.
How to get the (Utility / Firmware)?
You can download the latest drivers, software, firmware and user manuals in the ASUS Download Center.
If you need more information about the ASUS Download Center, please refer to this link.