[NUC] VESA Mount Information for the NUC
VESA developed a set of standards for manufacturing flat-screen televisions and PC monitors, such as mounting interfaces. Most manufacturers adhere to an industry-wide hole pattern on the back of displays for mounting.
Click or the topic to view the hole patterns on the VESA mount bracket:
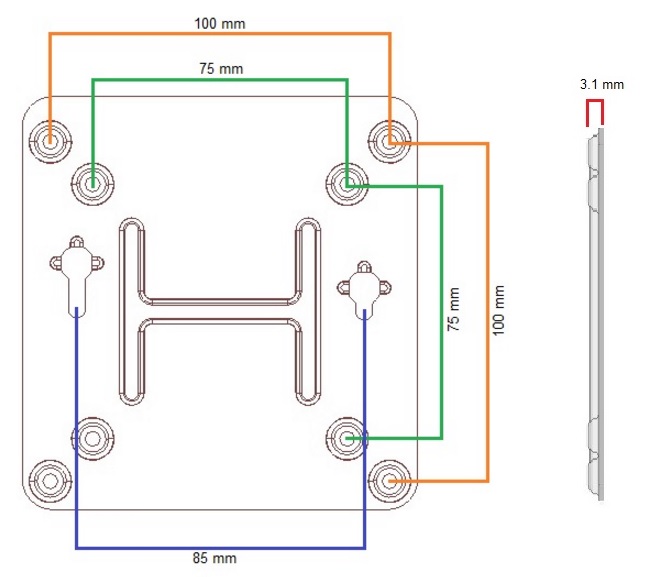
NUC Kit NUC11PHKi7C, NUC11PHKi7CAA
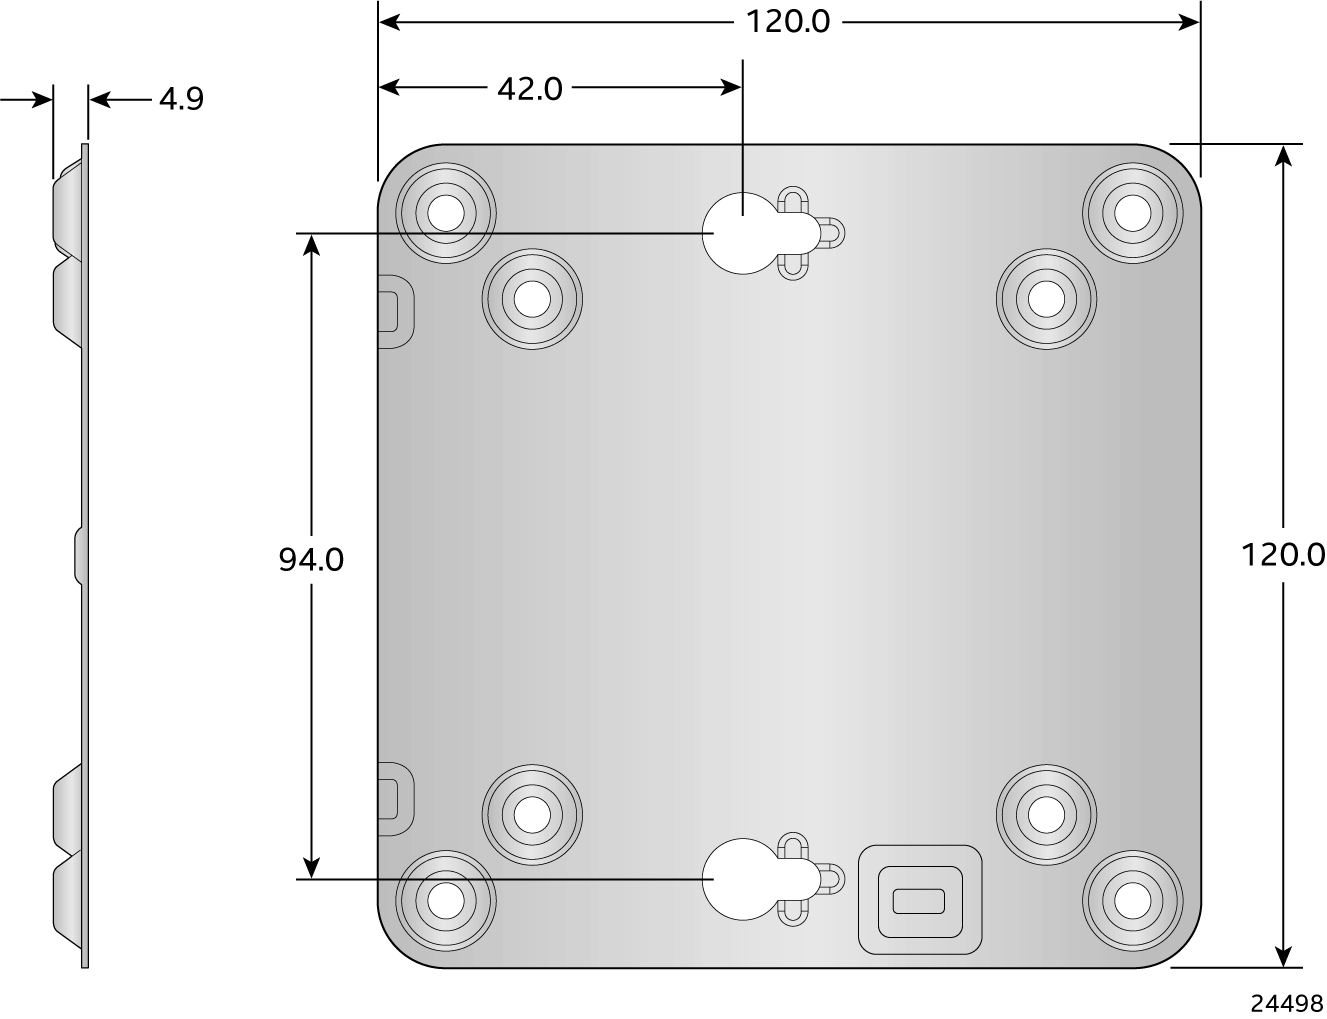
NUC Kit NUC8i7HNK, NUC8i7HVK, NUC8i7HNKQC, NUC8i7HVKVA, and NUC8i7HVKVAW
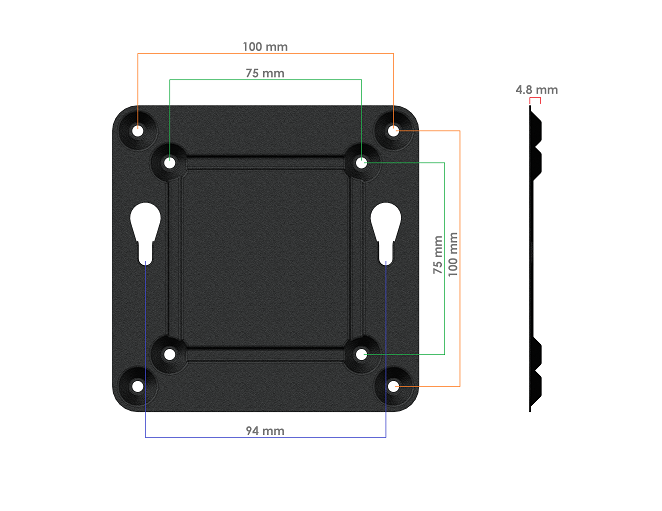
All other NUC Kits
Installation instructions
Attach the VESA mount bracket to the back of the display using the four small monitor screws (size M4) included in the box. The bracket has a 3 mm standoff from the monitor. 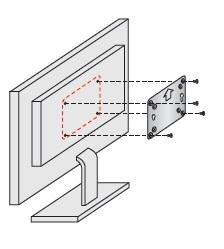
Attach the two large screws (size M3) to the bottom of the NUC chassis. 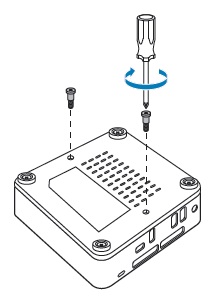
Insert the heads of the two screws on the NUC chassis into the holes on the VESA bracket. Slide the chassis down to secure. 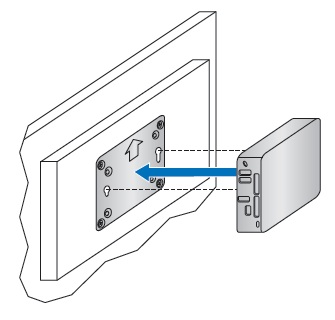
If your television or display has VESA holes in a larger pattern (example: 200 mm × 200 mm), you can use a VESA mount adapter plate.
You can mount your NUC behind your monitor, even if you're already using you use the VESA holes for a swing arm or wall attachment. To do this, use an extension bracket that connects the NUC to the swing arm. See the image below.
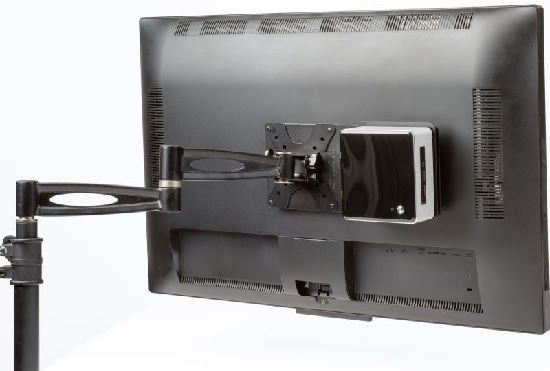
| Note | VESA extension brackets are available from third-party vendors, such as Simply NUC and iiyama Corporation. |
For more information, download the mechanical drawings in STEP format below. STEP is the file format for a 3-D graphics file used by CAD software, such as AutoCAD* or SolidWorks*. ASUS provides these materials as-is, with no express or implied warranties.
| NUC Kits | STEP Format |
| NUC11PHKi7C, NUC11PHKi7CAA | NUC11PHKi7C-VESA-Mount.STEP |
| NUC8i7HVK, NUC8i7HNK | NUC8i7HNK-NUC8i7HVK-VESA-Mount.STEP |
| All other NUC Kit models | NUC-VESA-Mount.STEP |