


[NUC] NUC's Audio Doesn't Work When Connected to TV, Monitor, or AV Receiver HDMI Port
We recommend you install the latest BIOS version for your NUC before trying the troubleshooting suggestions below. To install the latest BIOS:
Try the following suggestions.
Click or the topic for details:
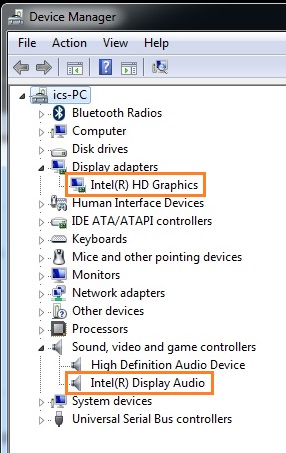
Verify that Display Audio Drivers are installed
- Open the Device Manager using the steps provided for your operating system:
- Press the Windows key and the x key together, and then select Device Manager.
- Under Display adapters, look for HD Graphics. The exact graphics name can vary by NUC model.
- Under Sound, video and game Controllers, look for Display Audio.
If either of these items are missing or have errors associated with them, try the following
Try uninstalling and reinstalling drivers
Follow the steps to do a Clean Installation of Graphics Drivers in Windows*.
Verify that HDMI audio is selected as your default playback device
In the Windows* taskbar, right-click the Speaker icon:
Select Playback devices: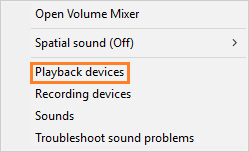
Select Sounds, and then select the Playback tab: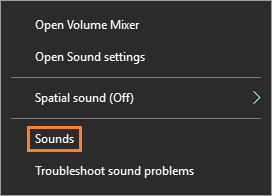
Check the Playback devices listed to make sure that HDMI audio is set as the Default Device. If not, right-click the device and select Set as Default Device. Click OK.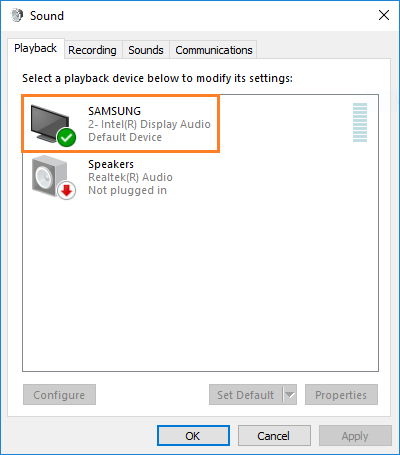
Check your HDMI cable
- Unplug the cable on both ends and plug it in again or switch ends.
- Try a different cable.
If 4K/60 Hz content is playing, an HDMI category 2 cable is necessary, similar to the one below.
Finding the right cable

Check the audio output settings on the TV
Some TVs require changing the sound output from TV to Digital.
If the issue persists, contact ASUS customer support.
