[Gaming NB] System Diagnostics within MyASUS in UEFI Introduction
- System Diagnostics Introduction
- System Requirement
- Executing System Diagnostics
Into BIOS Utility (UEFI)
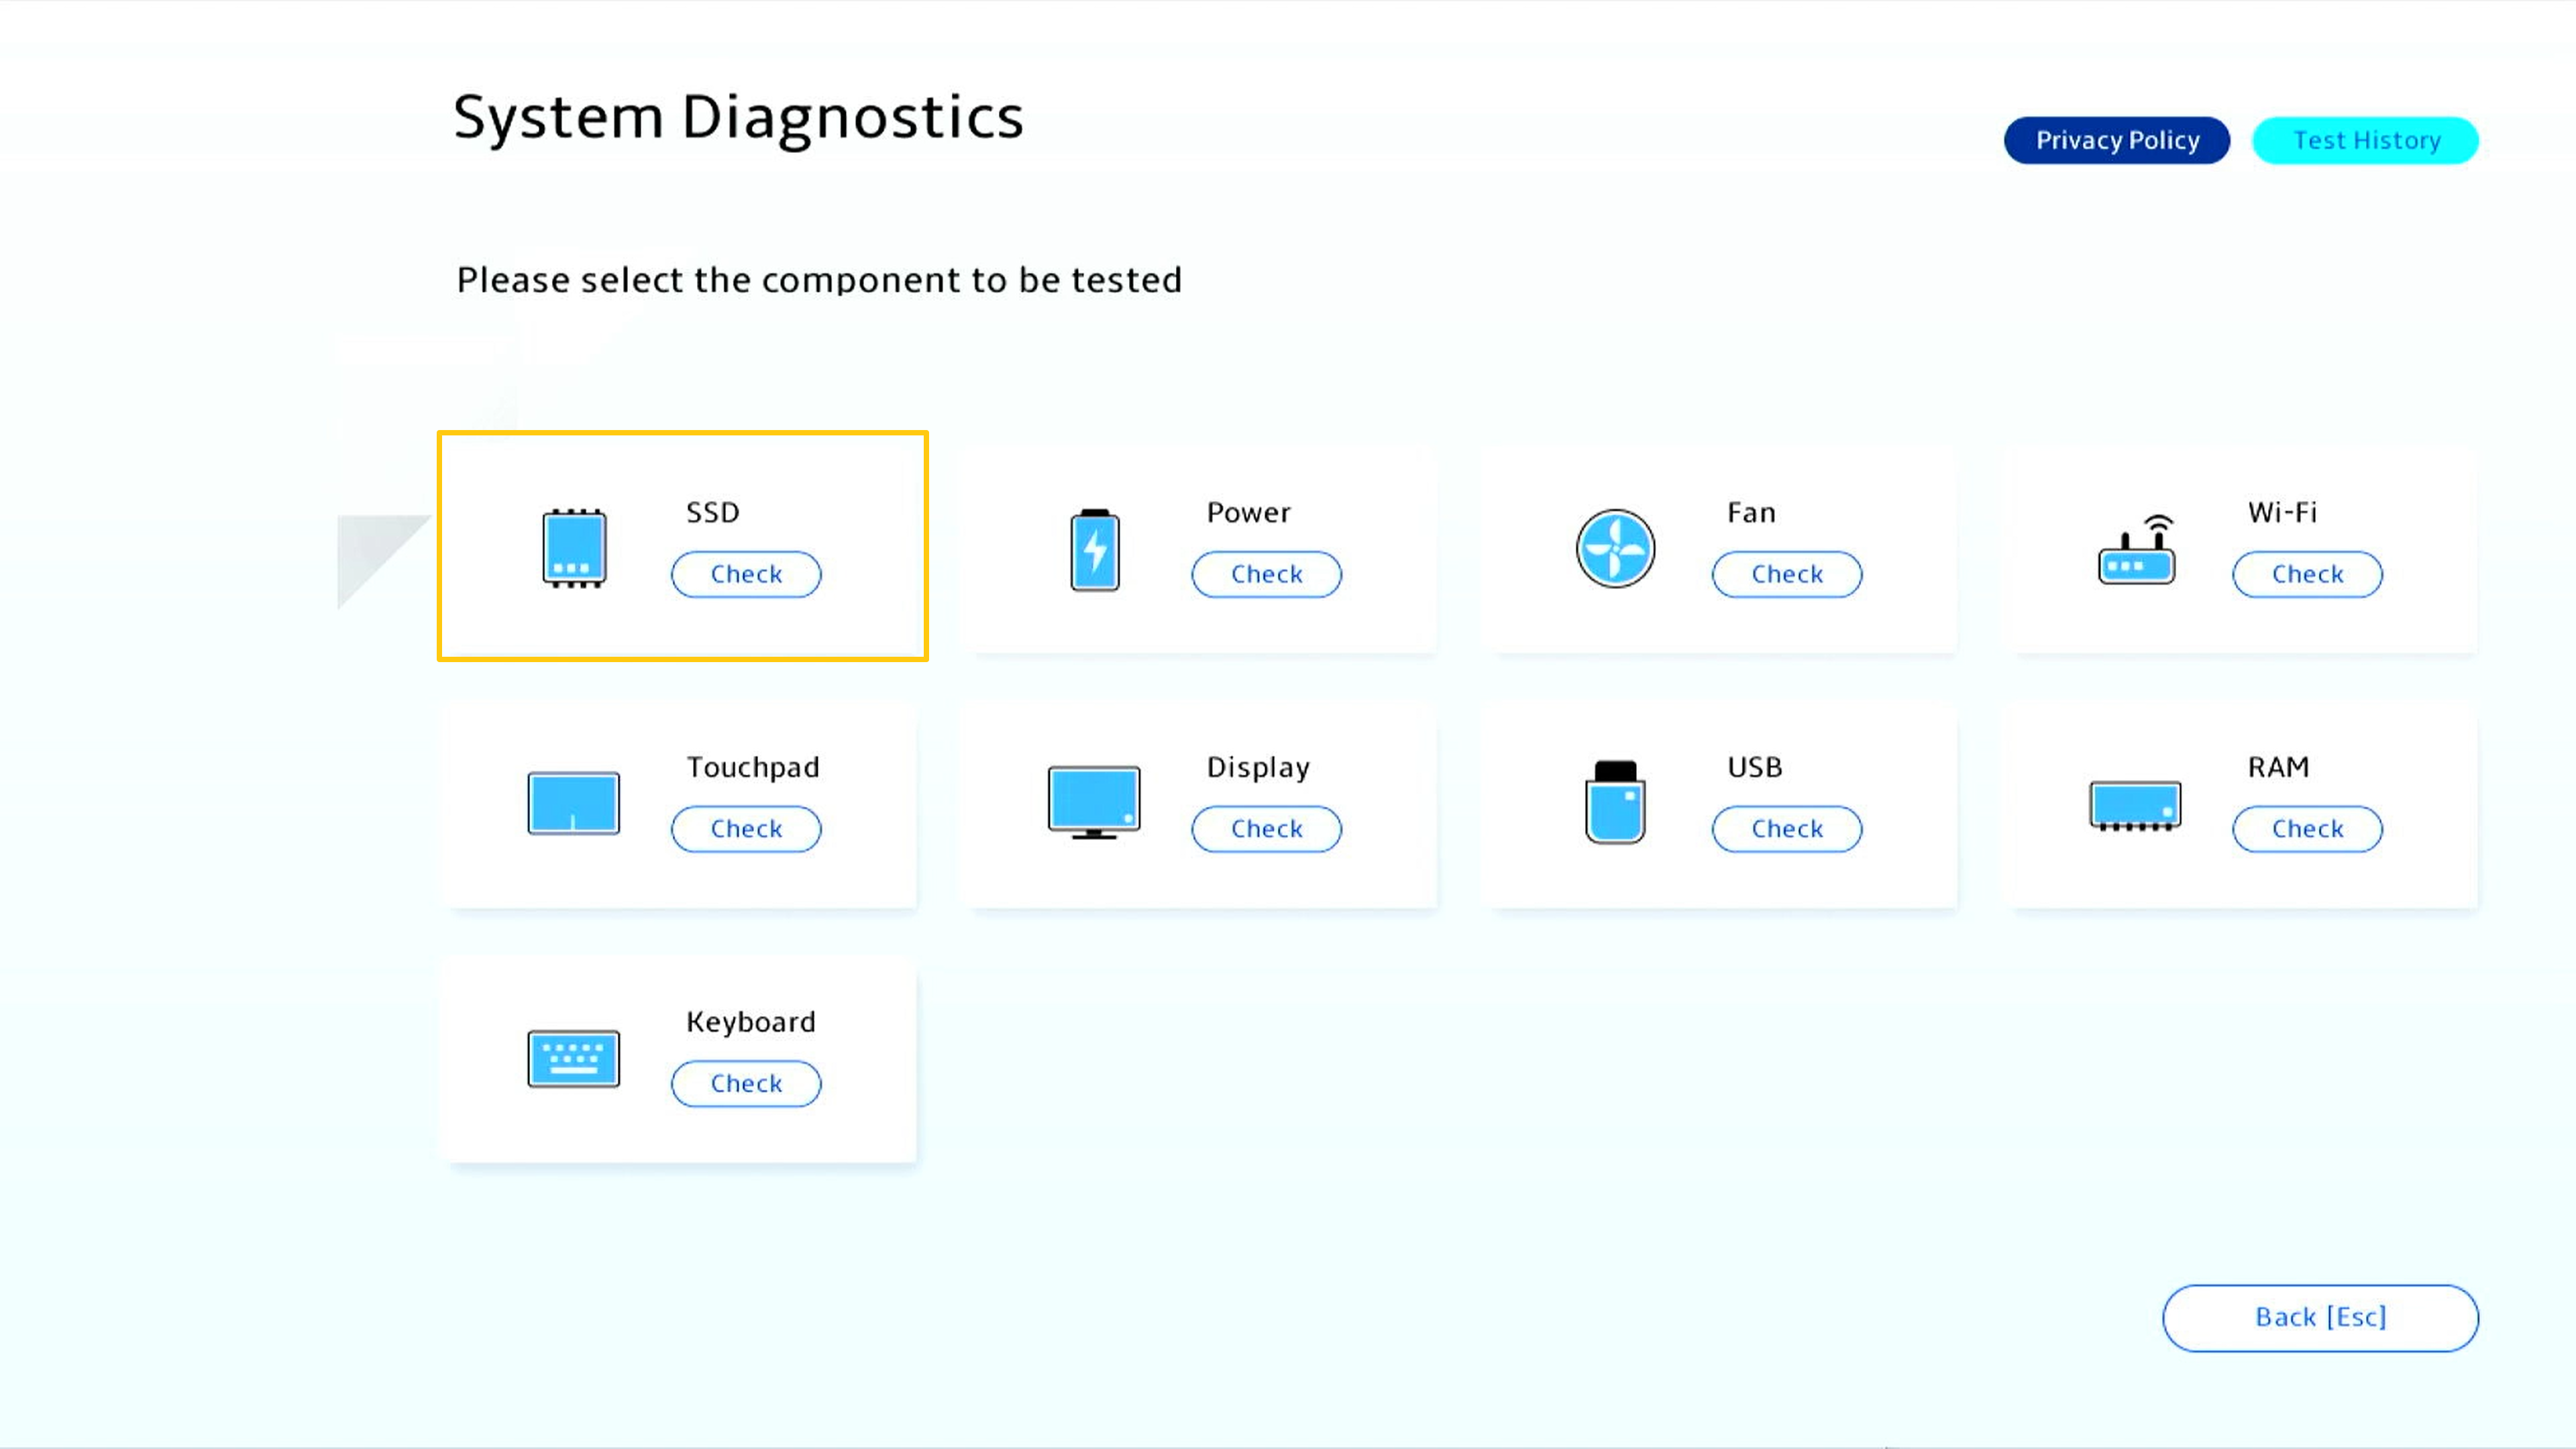
System Diagnostics Homepage
Privacy Policy
SSD Test
Wi-Fi Test
Touchpad Test
Display Test - Test Results
- Q&A
System Diagnostics Introduction
System Diagnostics in MyASUS in UEFI consists of a full set of diagnostic tests that can help you identify and troubleshoot hardware problems. These handy tools are already installed on your ASUS laptop, and you can access them at any time, even if operating system is not running or won't boot up. The simple software interface is intuitive and easy to use, and gives you access to instant assistance.
If the diagnosis result shows that the component is abnormal, System Diagnostics will generate QR Code, test report and diagnosis code. You can scan the QR Code with your mobile phone and other devices to access ASUS online RMA.
* Repair service and policy may vary by country. Please check the service information on ASUS support website.
* You must agree to System Diagnostics Privacy Policy in MyASUS in UEFI in order to upload test results to the Service Request system.
Supports some Intel 12th Gen Intel® Core™ processors (Alder lake) or later. (More reference)
Supports AMD's Ryzen 7000 processors (Rembrandt Plus) or later. (More reference)
Local backup requires an external storage device
Cloud Recovery require LAN or Wi-Fi network
Power supply
Please press [F2] key on the keyboard at boot up time until BIOS Utility page display, or refer to [How to enter the BIOS configuration] thru Windows OS to setup into BIOS Utility (UEFI).
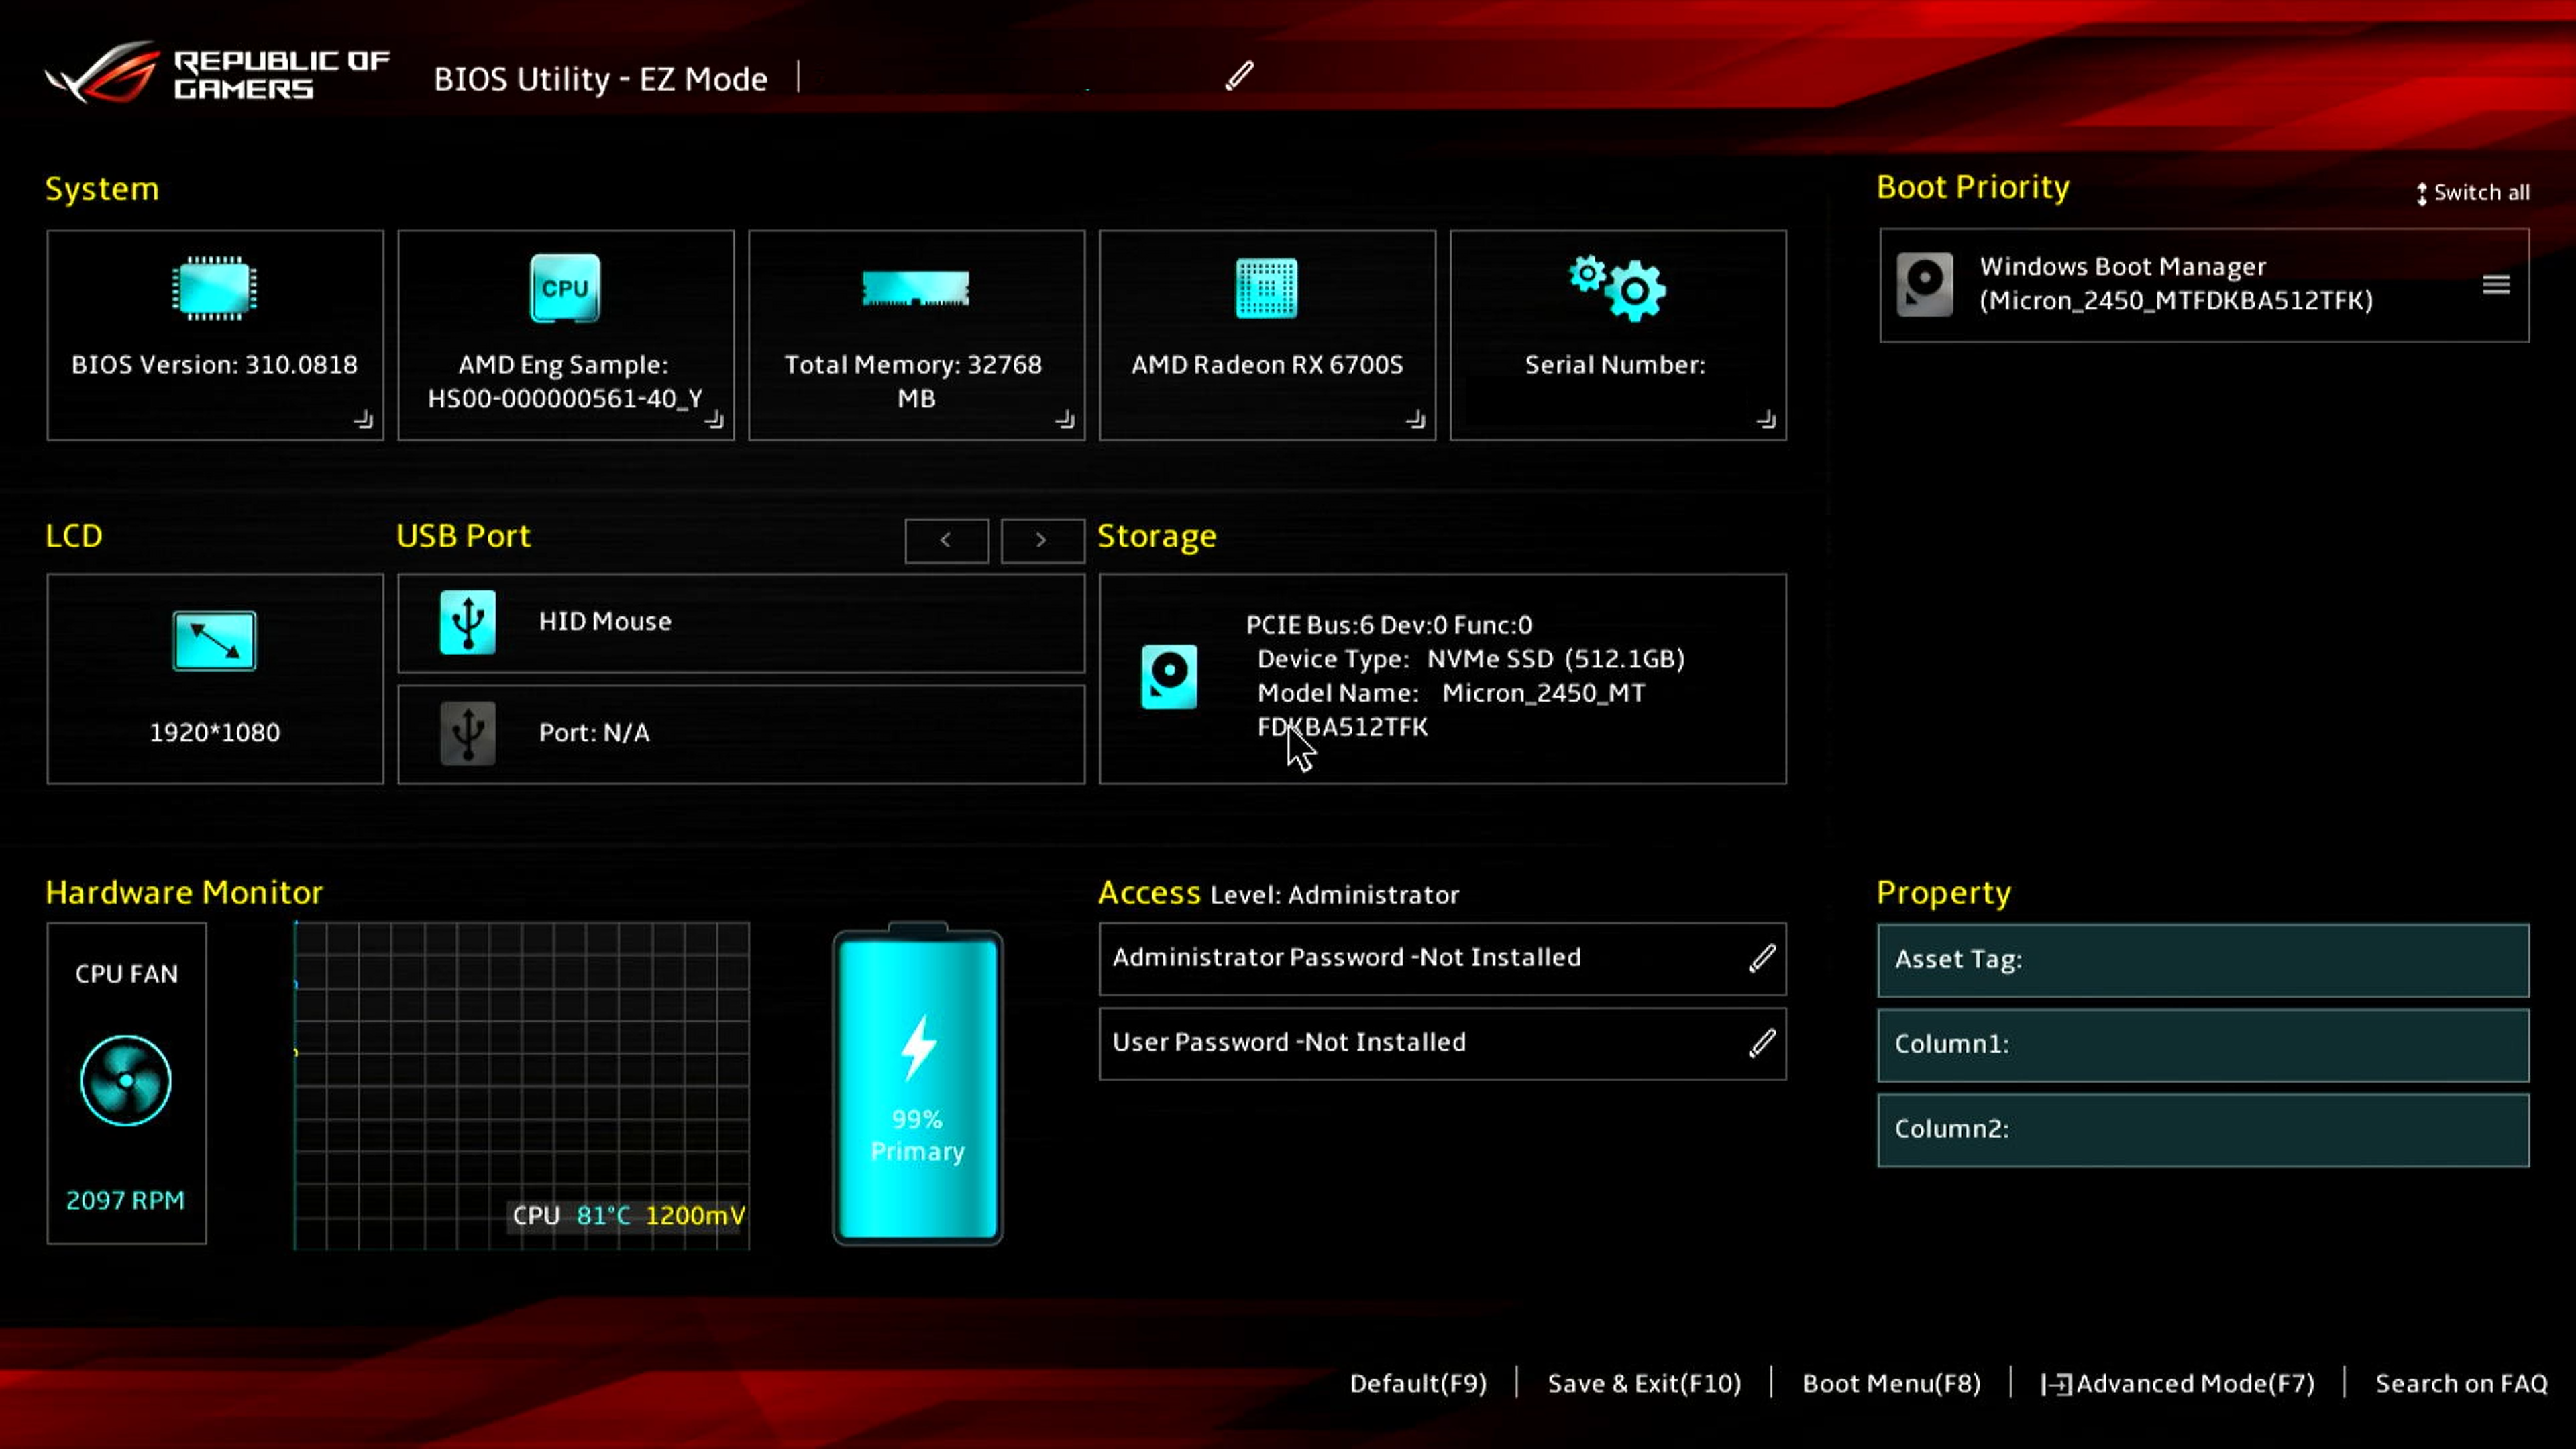
In BIOS Utility (UEFI), please press [F7] key to access [Advanced], then select [ASUS System Diagnostics] to access System Diagnostics Homepage.


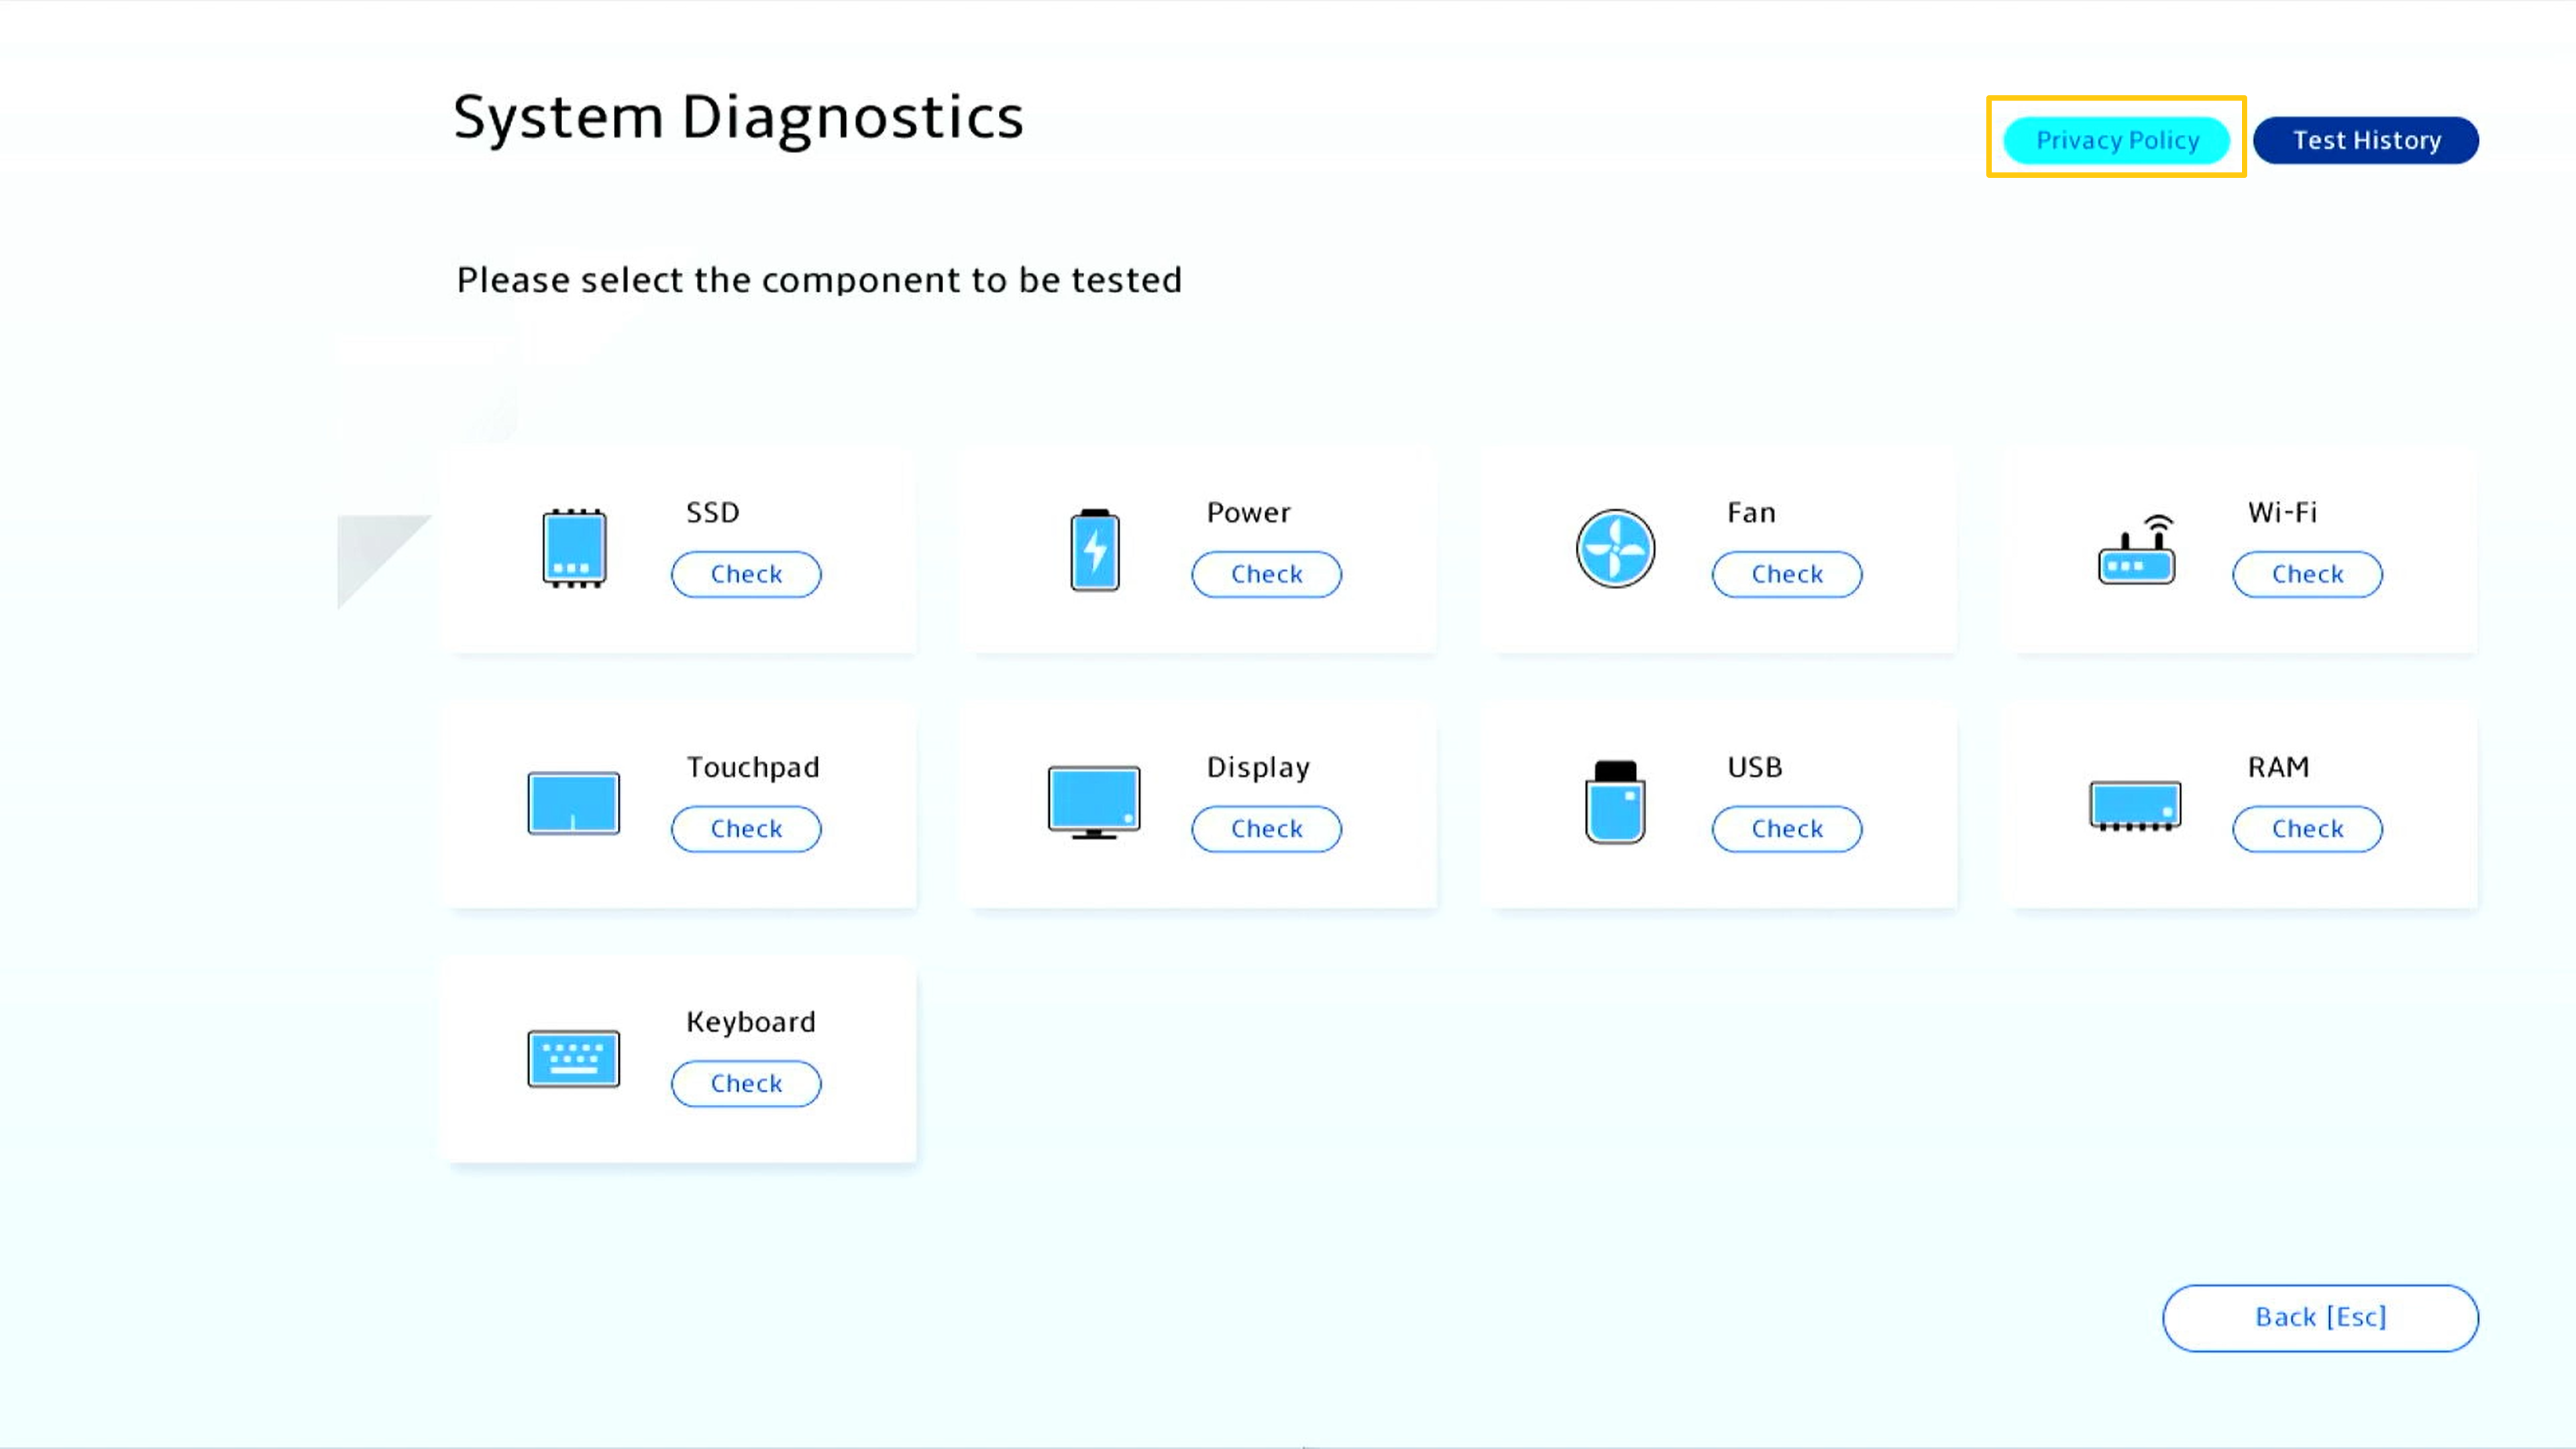
Clicking [Privacy Policy] to access privacy policy setup page.
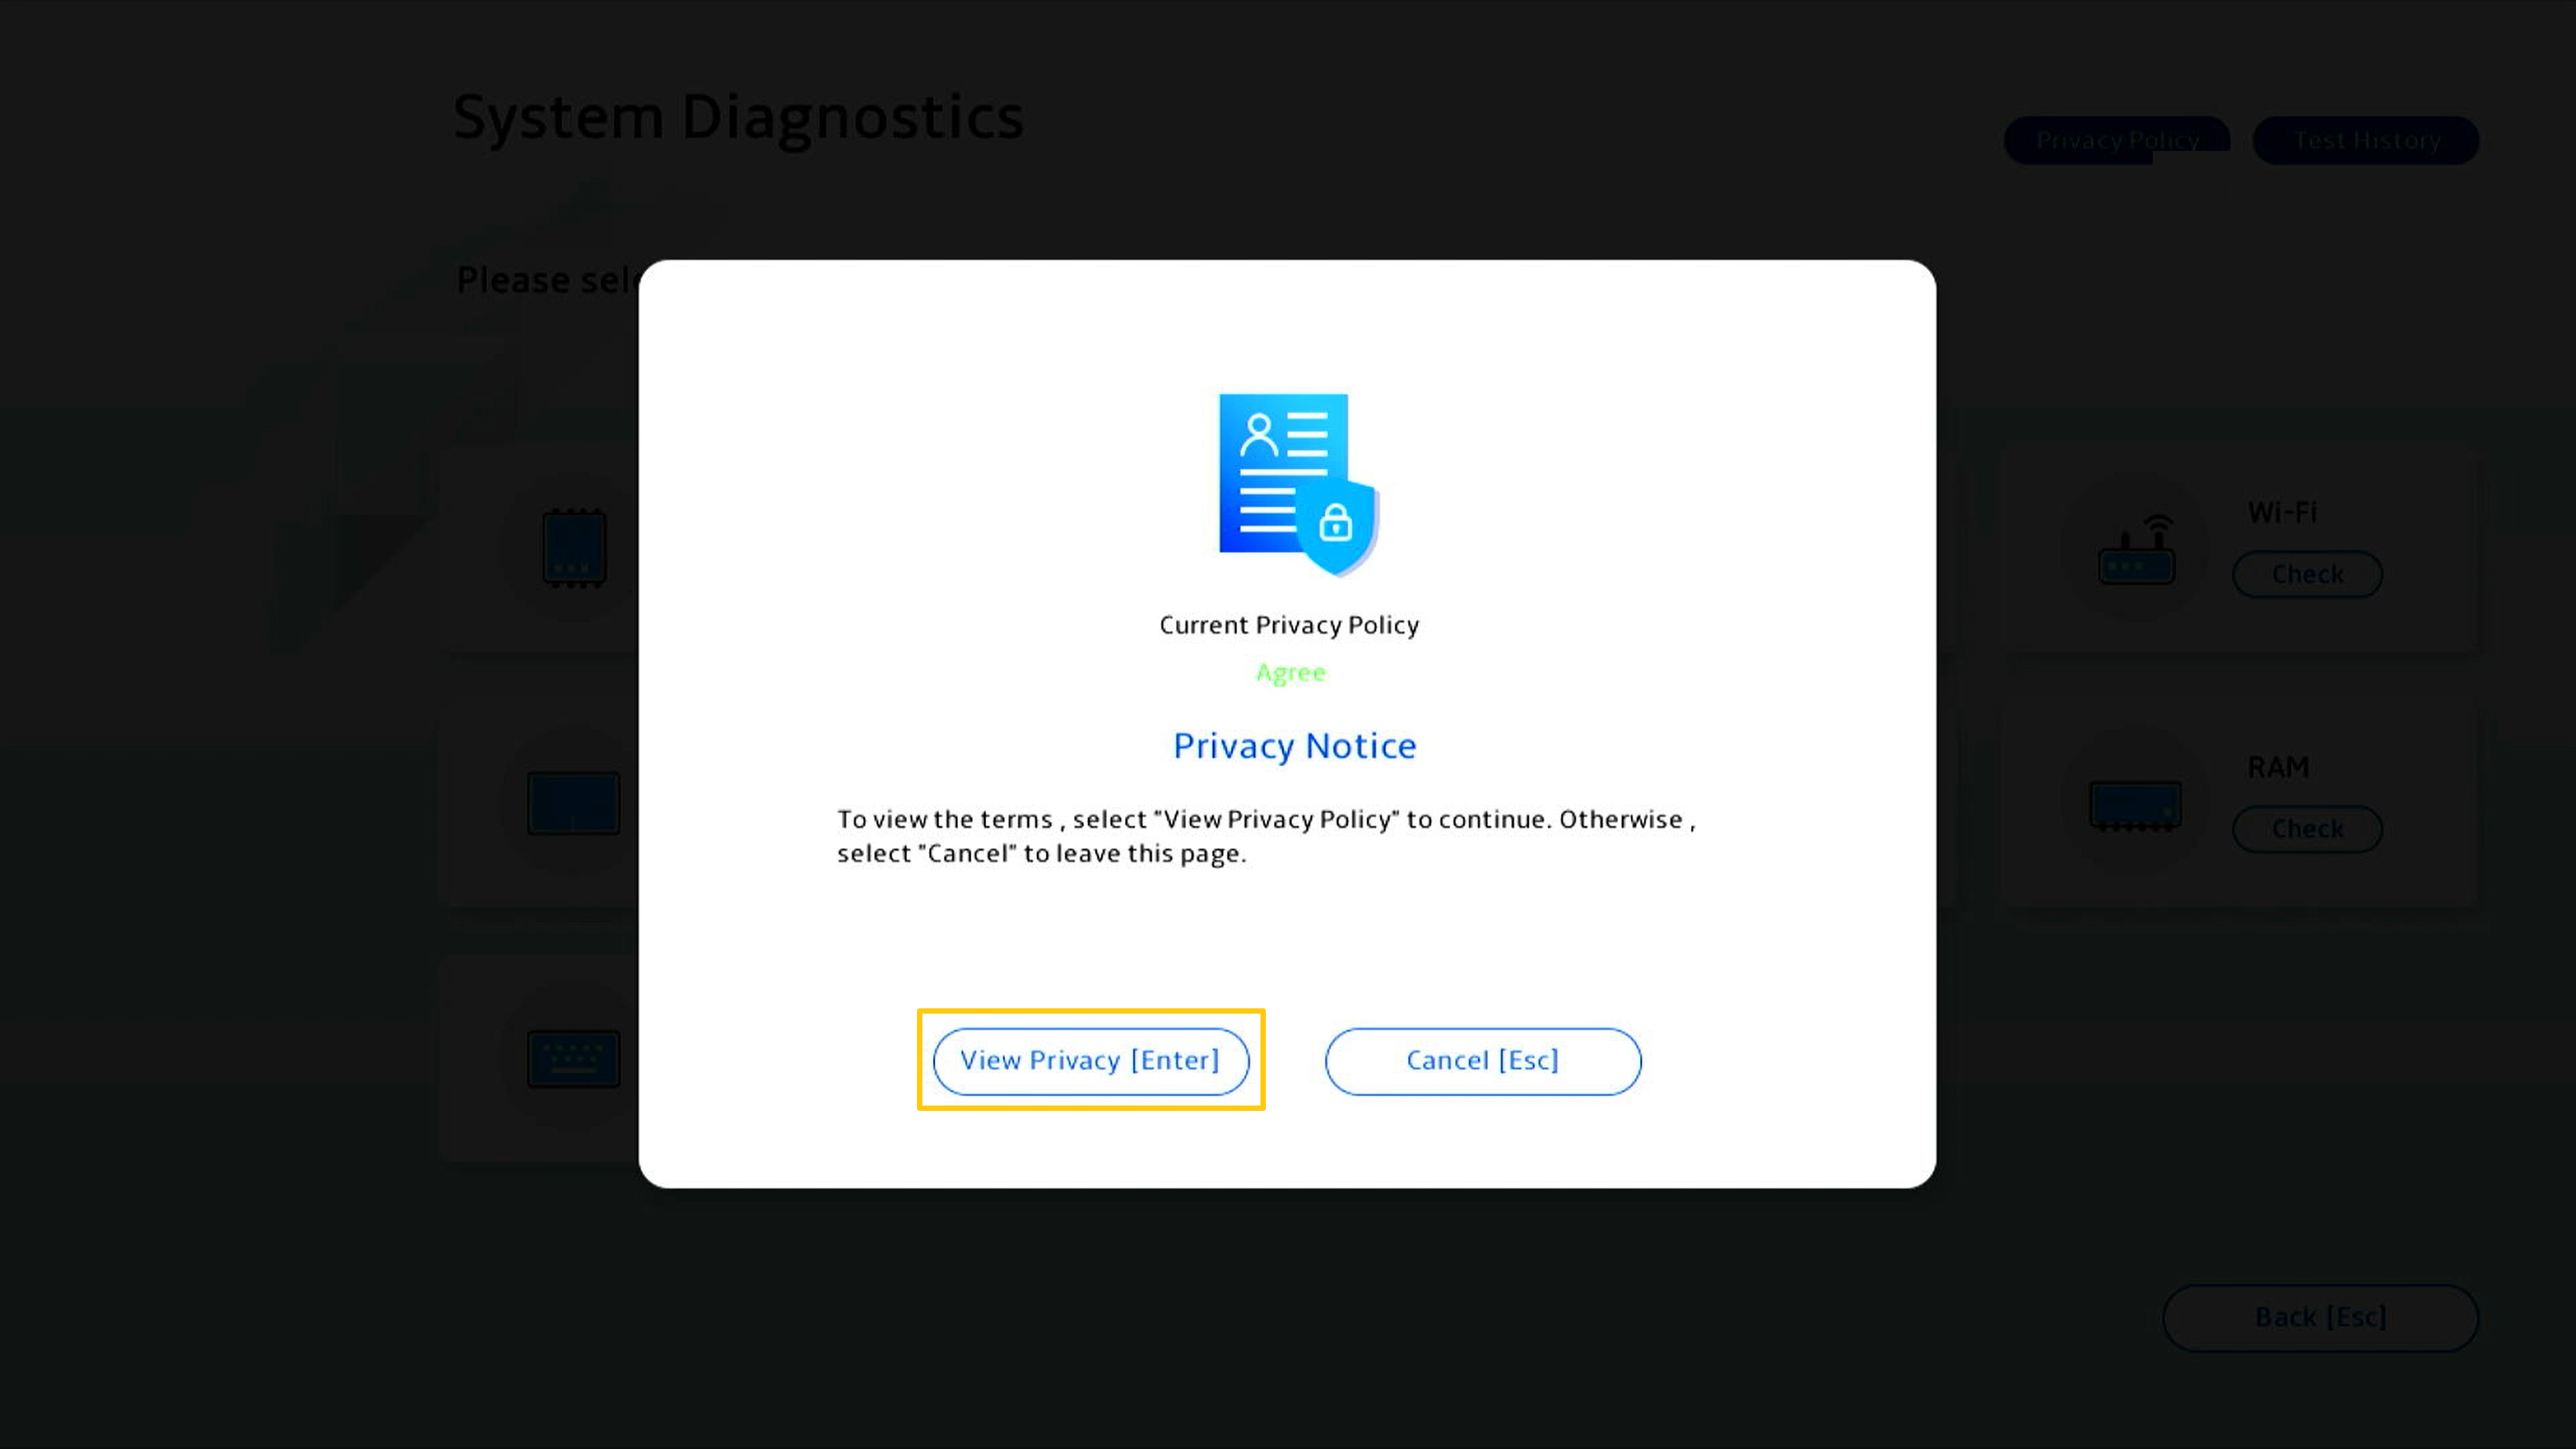
Select [View Policy] to confirm System Diagnostics privacy policy.
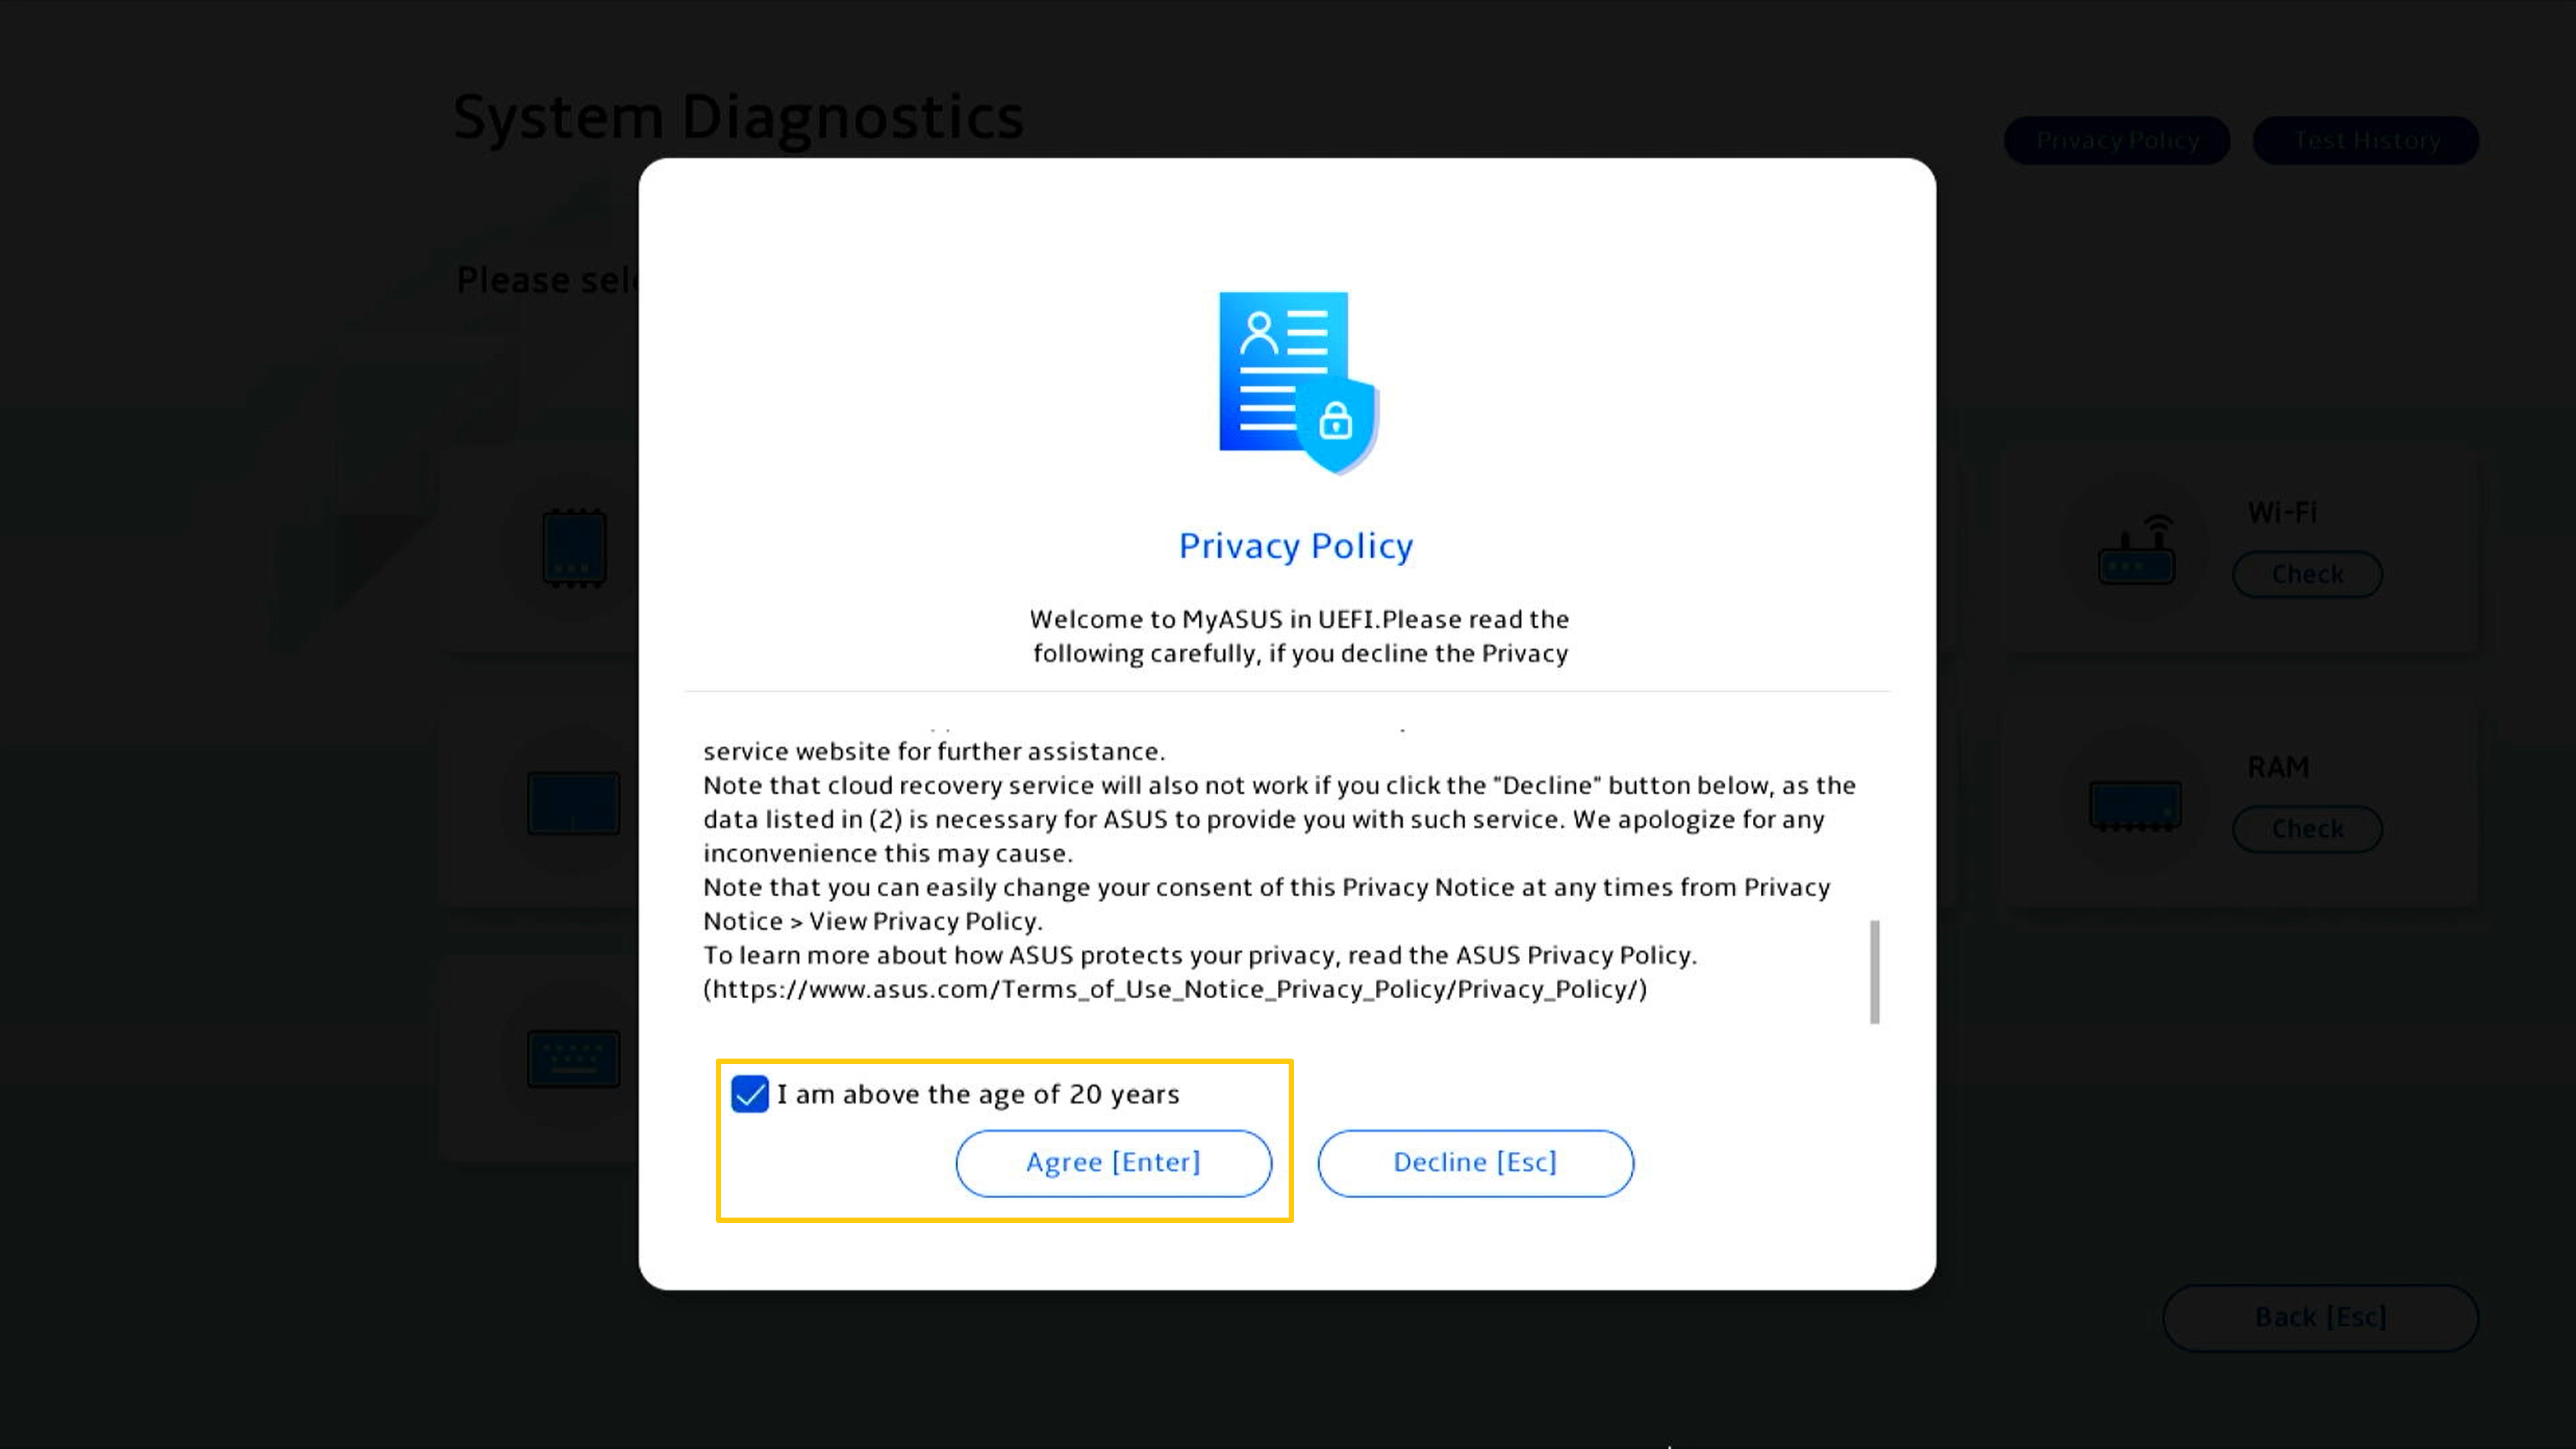
Checking [I am above the age of 20 years], then you are able to clicking [Agree].
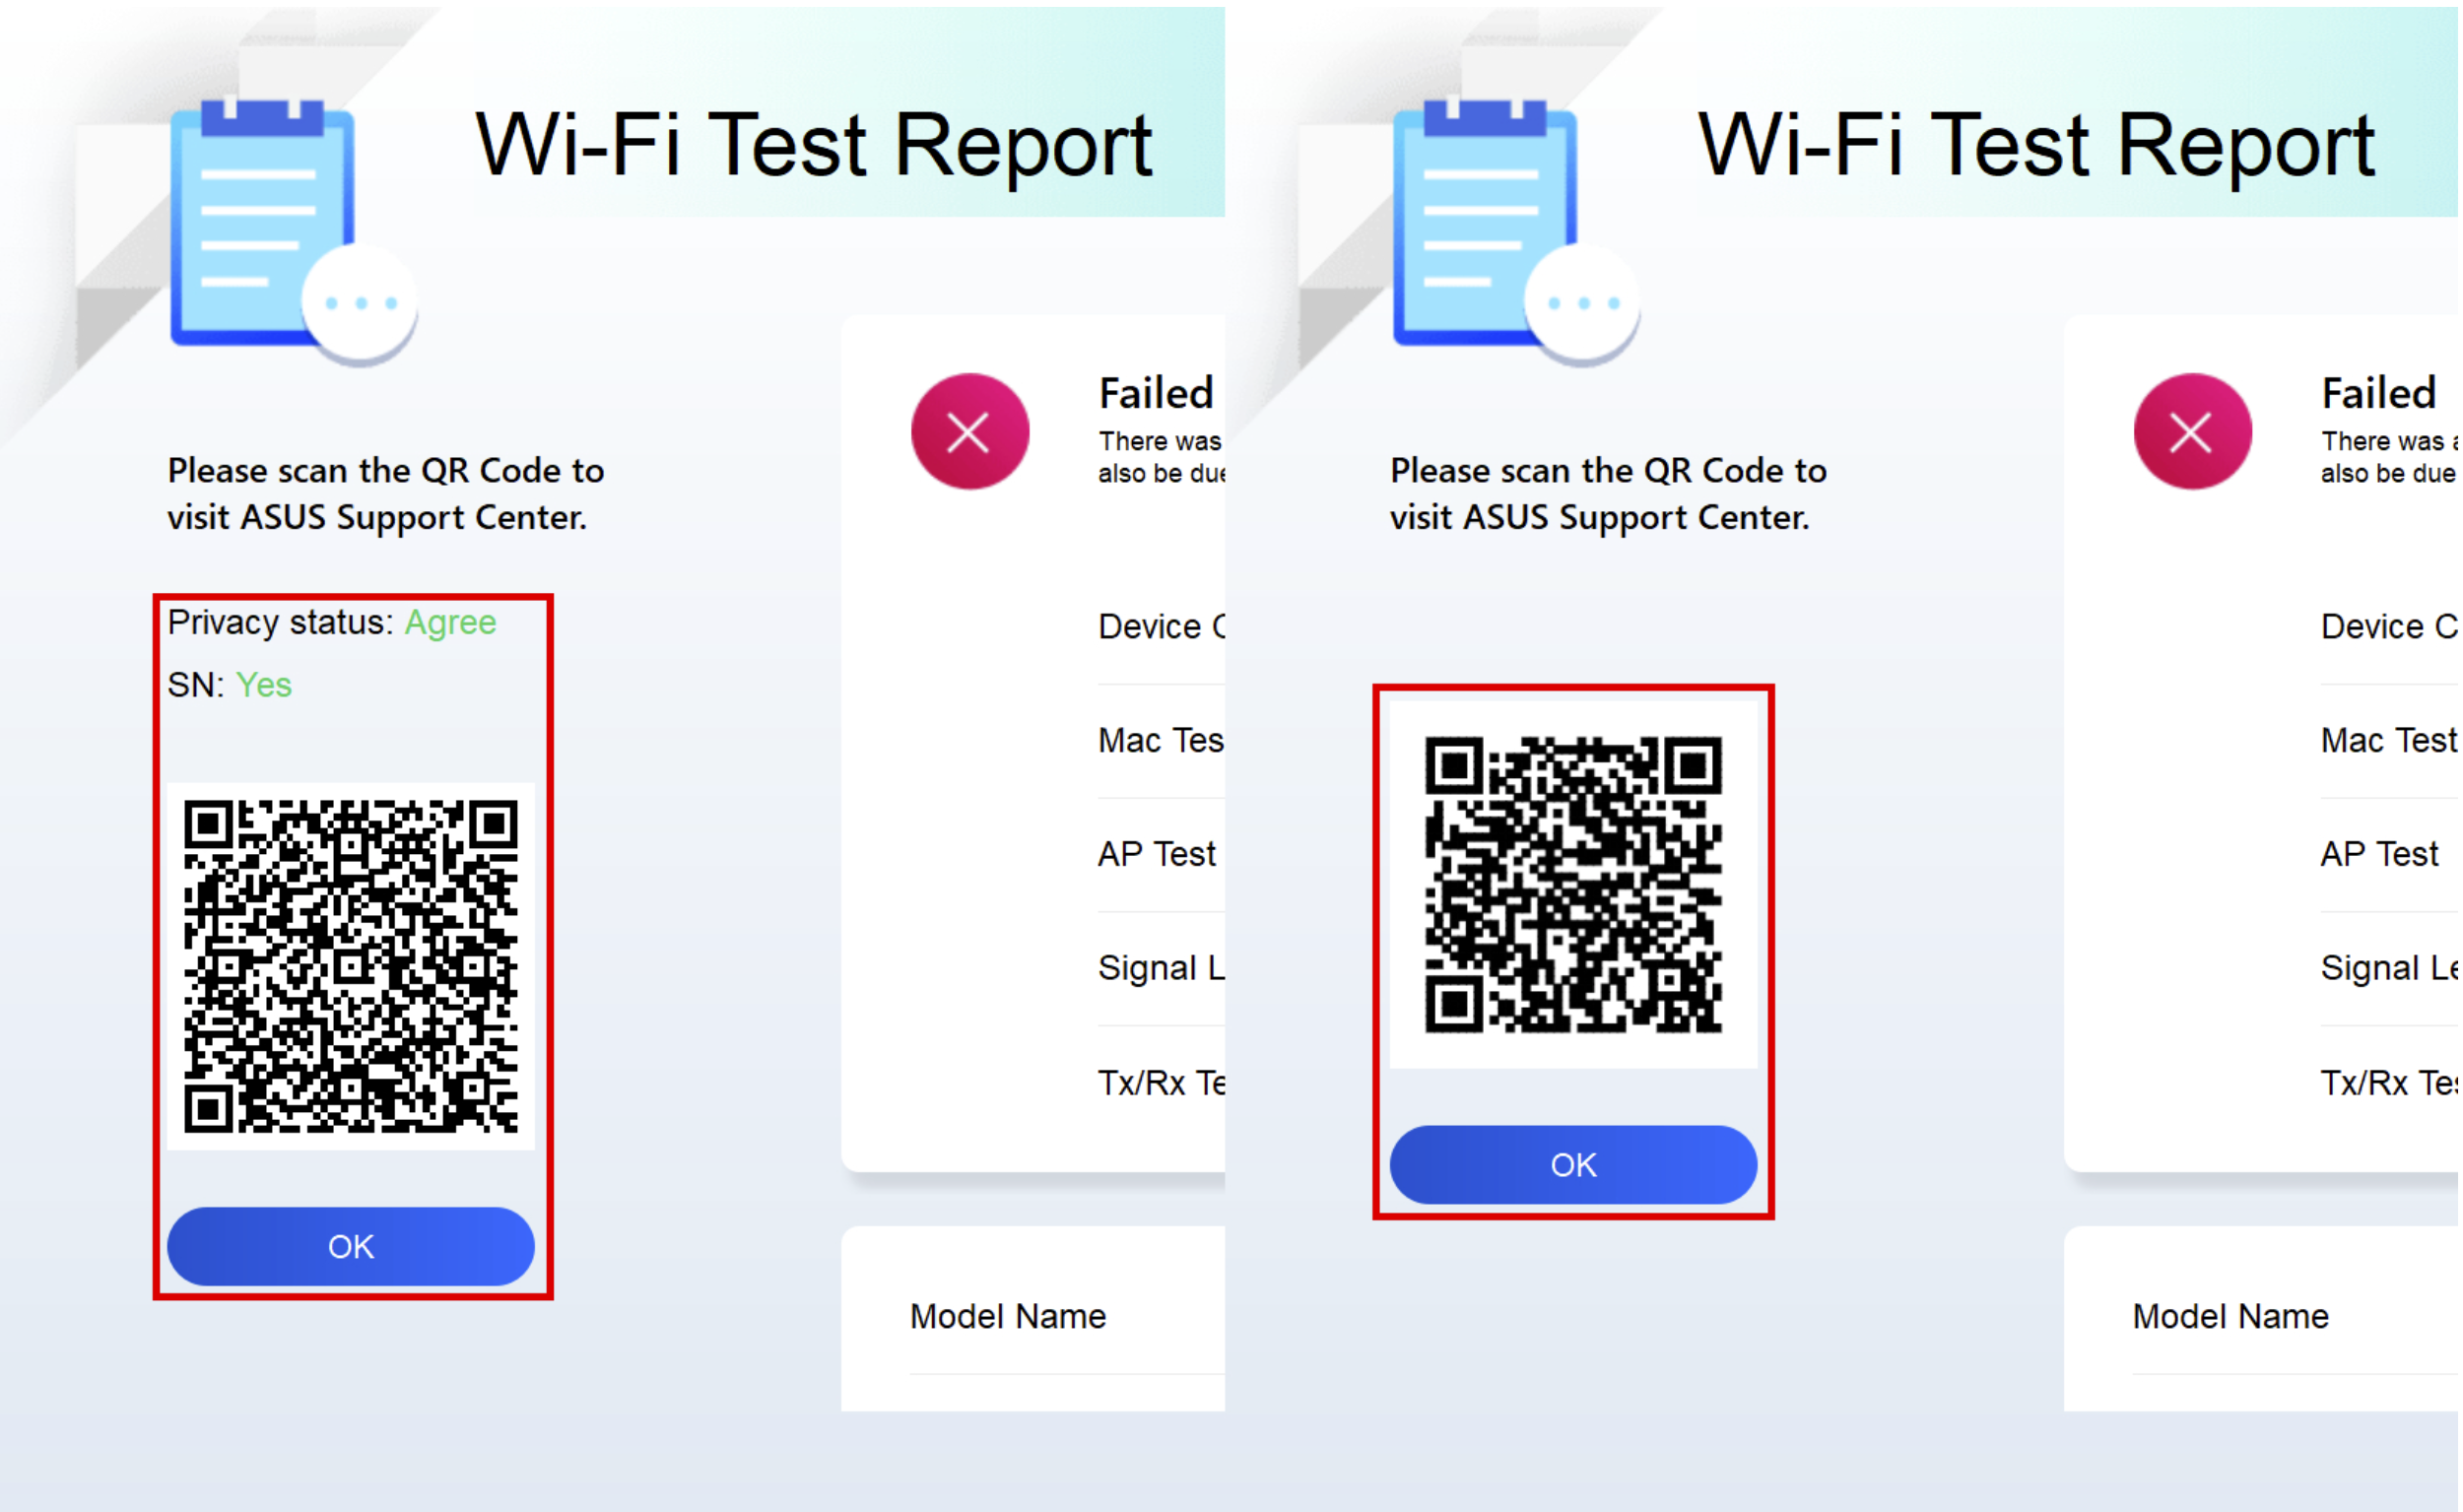
Difference between Agree or Decline status Privacy Notice:
Agree status: In the state of agree, the machine code and diagnostic code of the computer will be recorded in the QR code. Scanning the QR code with your mobile phone will access ASUS online RMA. Since you have agreed to the Privacy Statement, the repair form already contains the computer's machine code and diagnostic code. Now you only need to fill in your personal information and the computer's status and pickup information, and ASUS will carry out the pickup and repair.
Decline status: In the state of disagreement, the QR code will not record the computer's machine code and diagnostic code. Compared with the "Agree" state, the "Decline" state requires you to fill in the computer's machine code and diagnostic code yourself, which increases the difficulty of applying for repairs. It is recommended that you agree to the privacy statement.
(The following two pictures are screenshots of "Agree and Decline" of the privacy statement. You can see that the QR code in the consent state contains more information so the information you need to fill in manually will be less.)
* Repair service and policy may vary by country. Please check the service information on ASUS support website.
Clicking SSD Test [Check] to start the test.
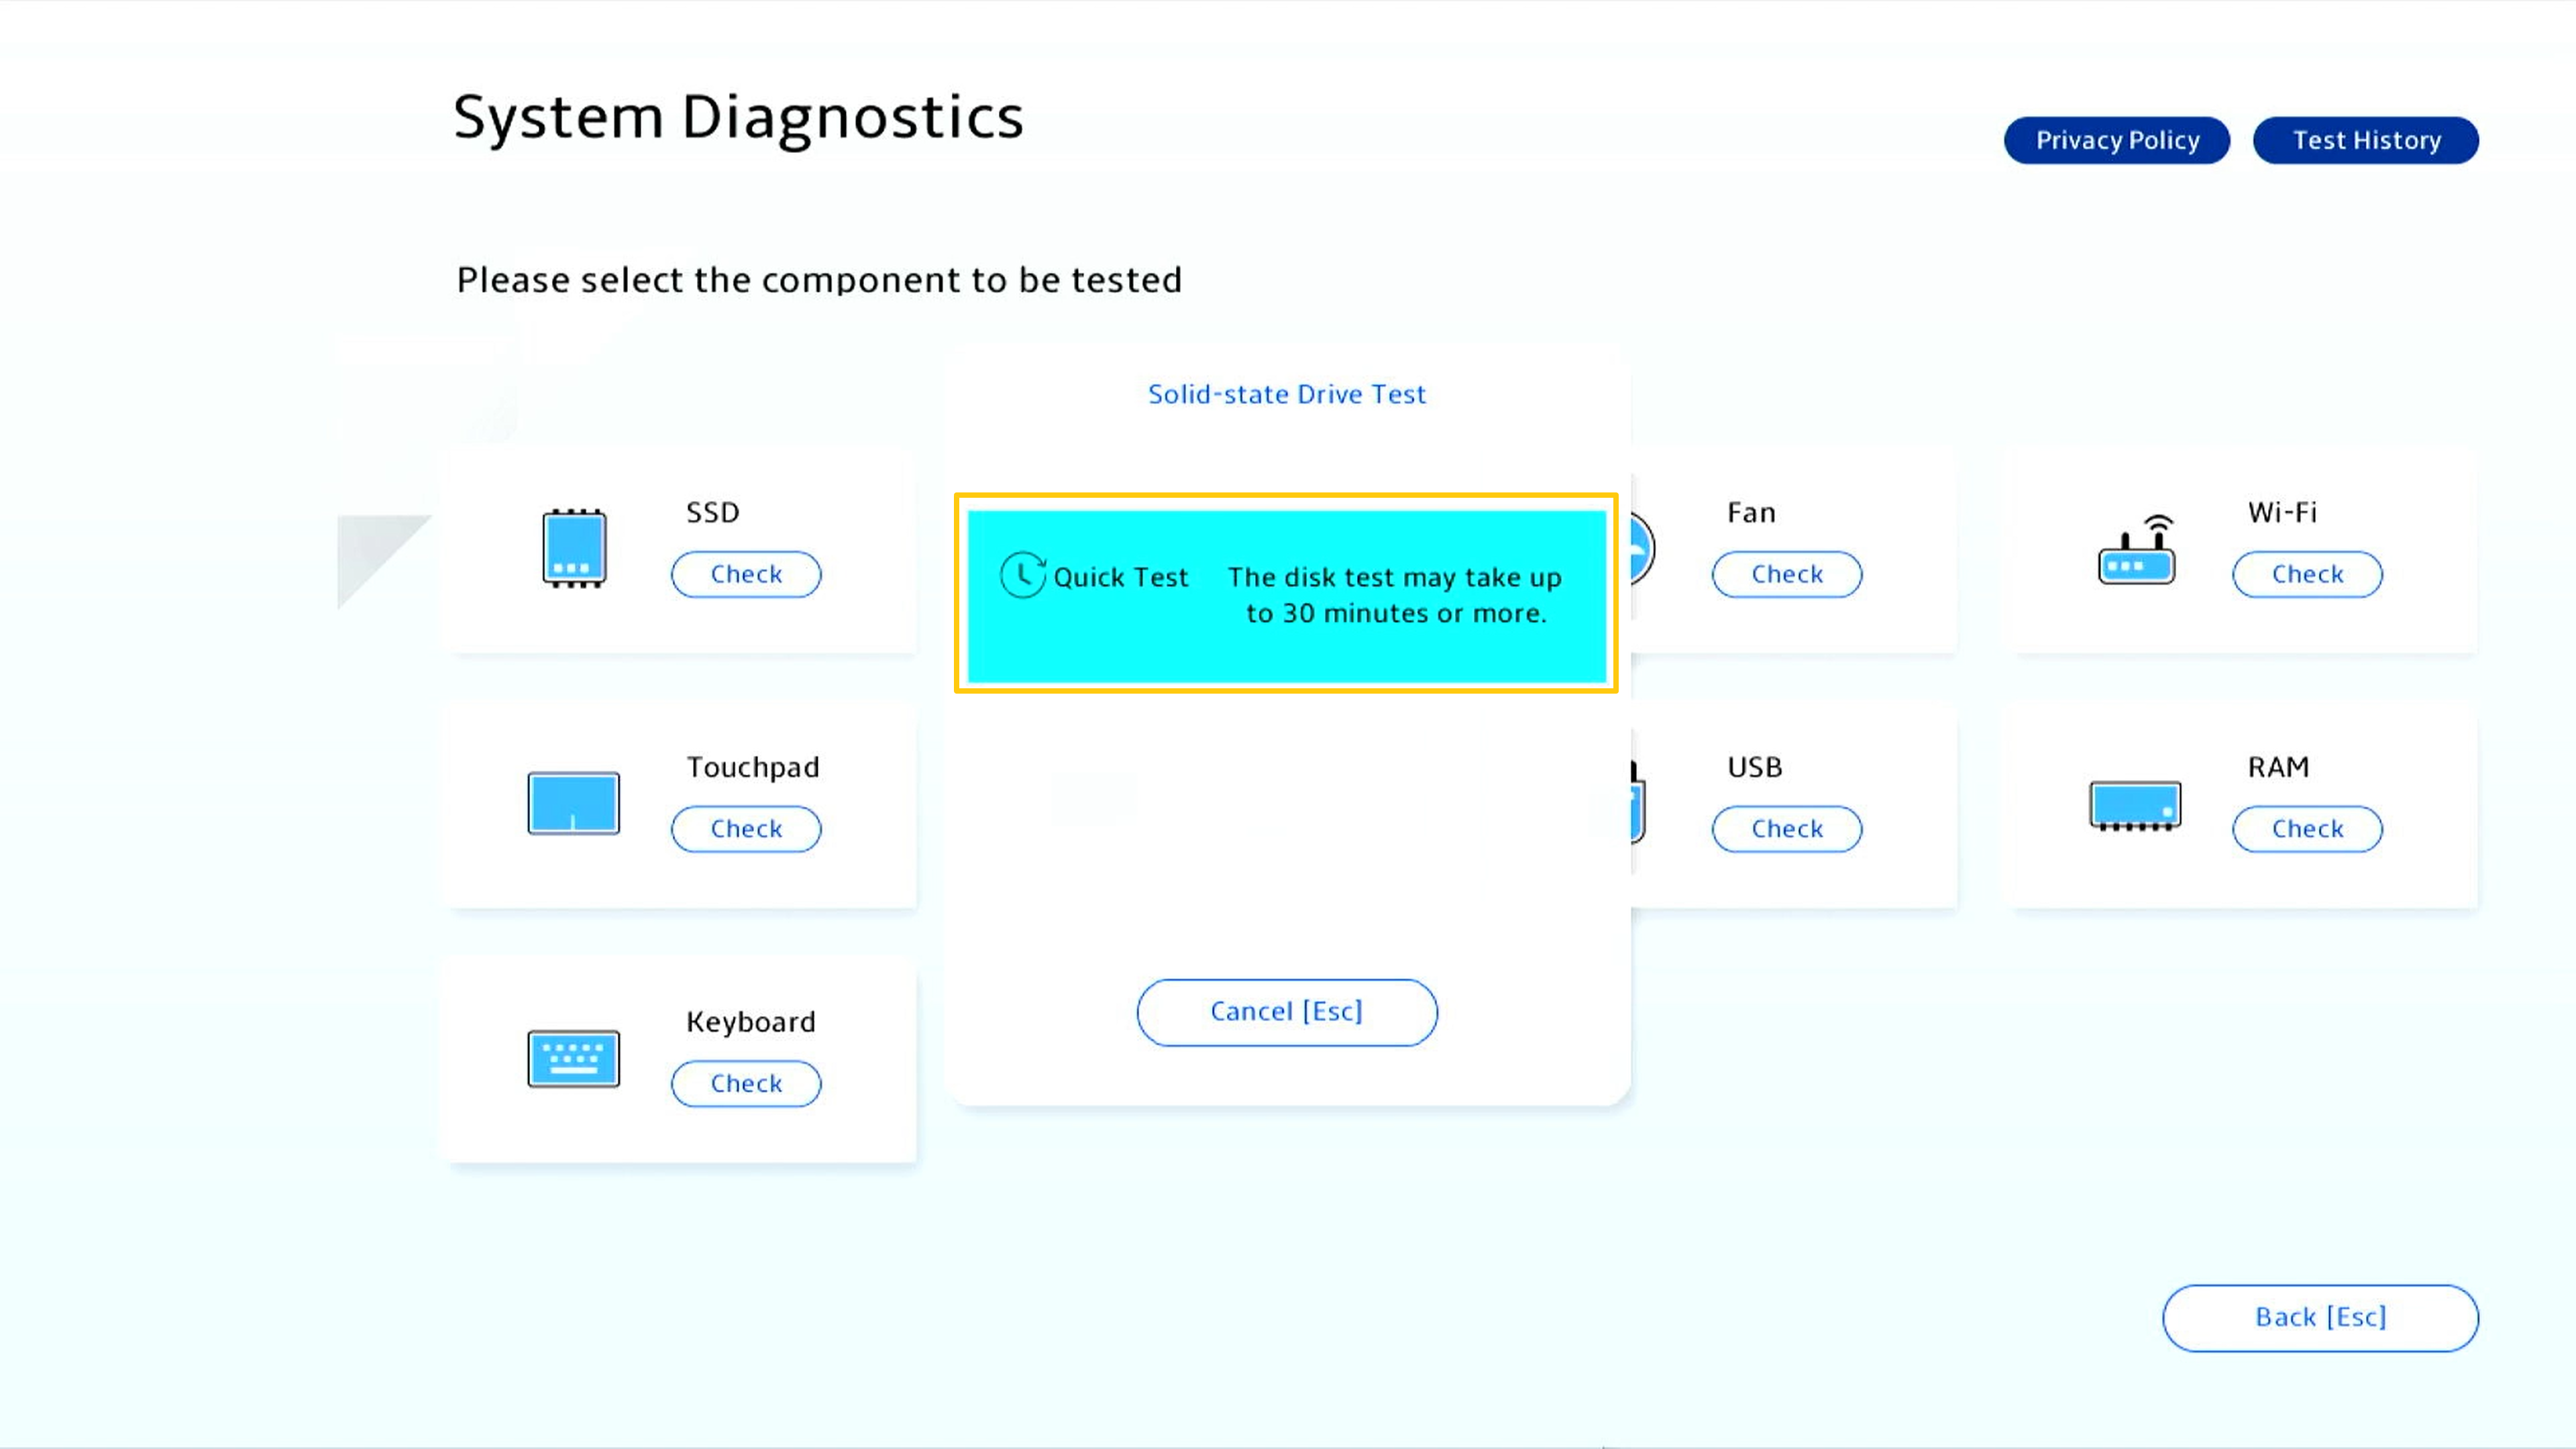
Clicking [Quick test].
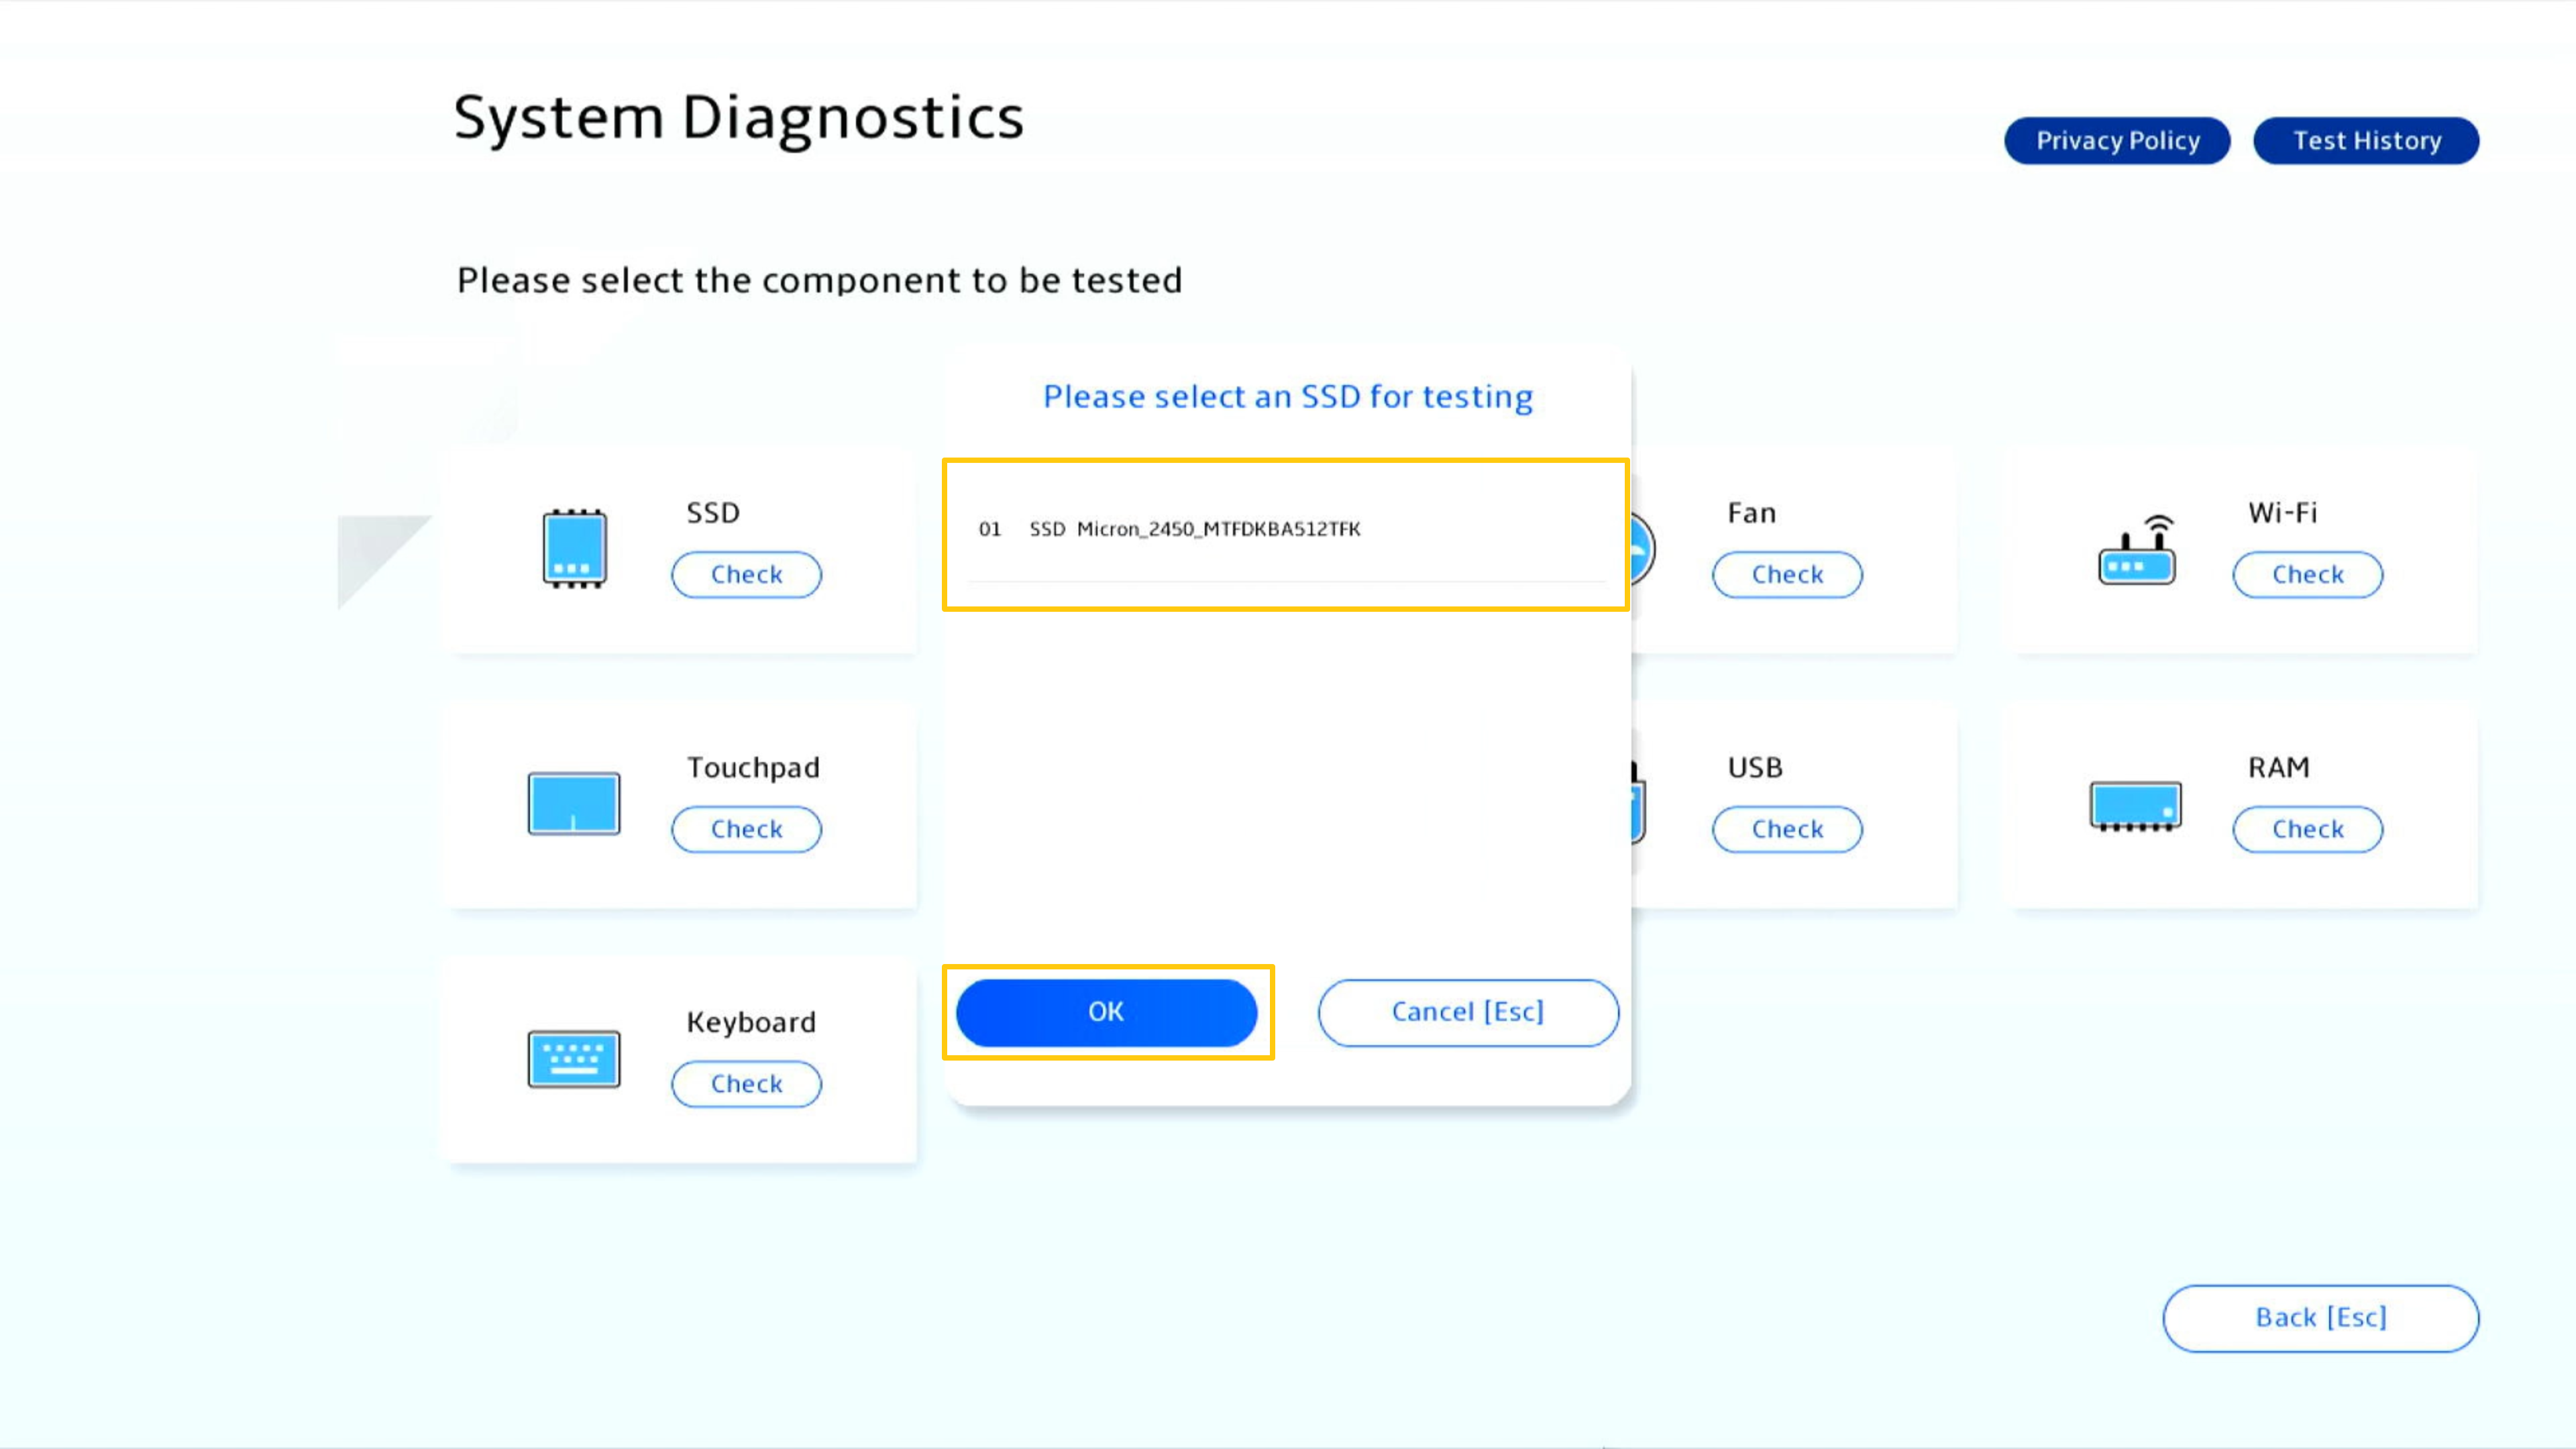
Select an SSD storage for the test, then click [OK].
The test report will produce when test is done, please click [OK] to back to System Diagnostics Homepage.

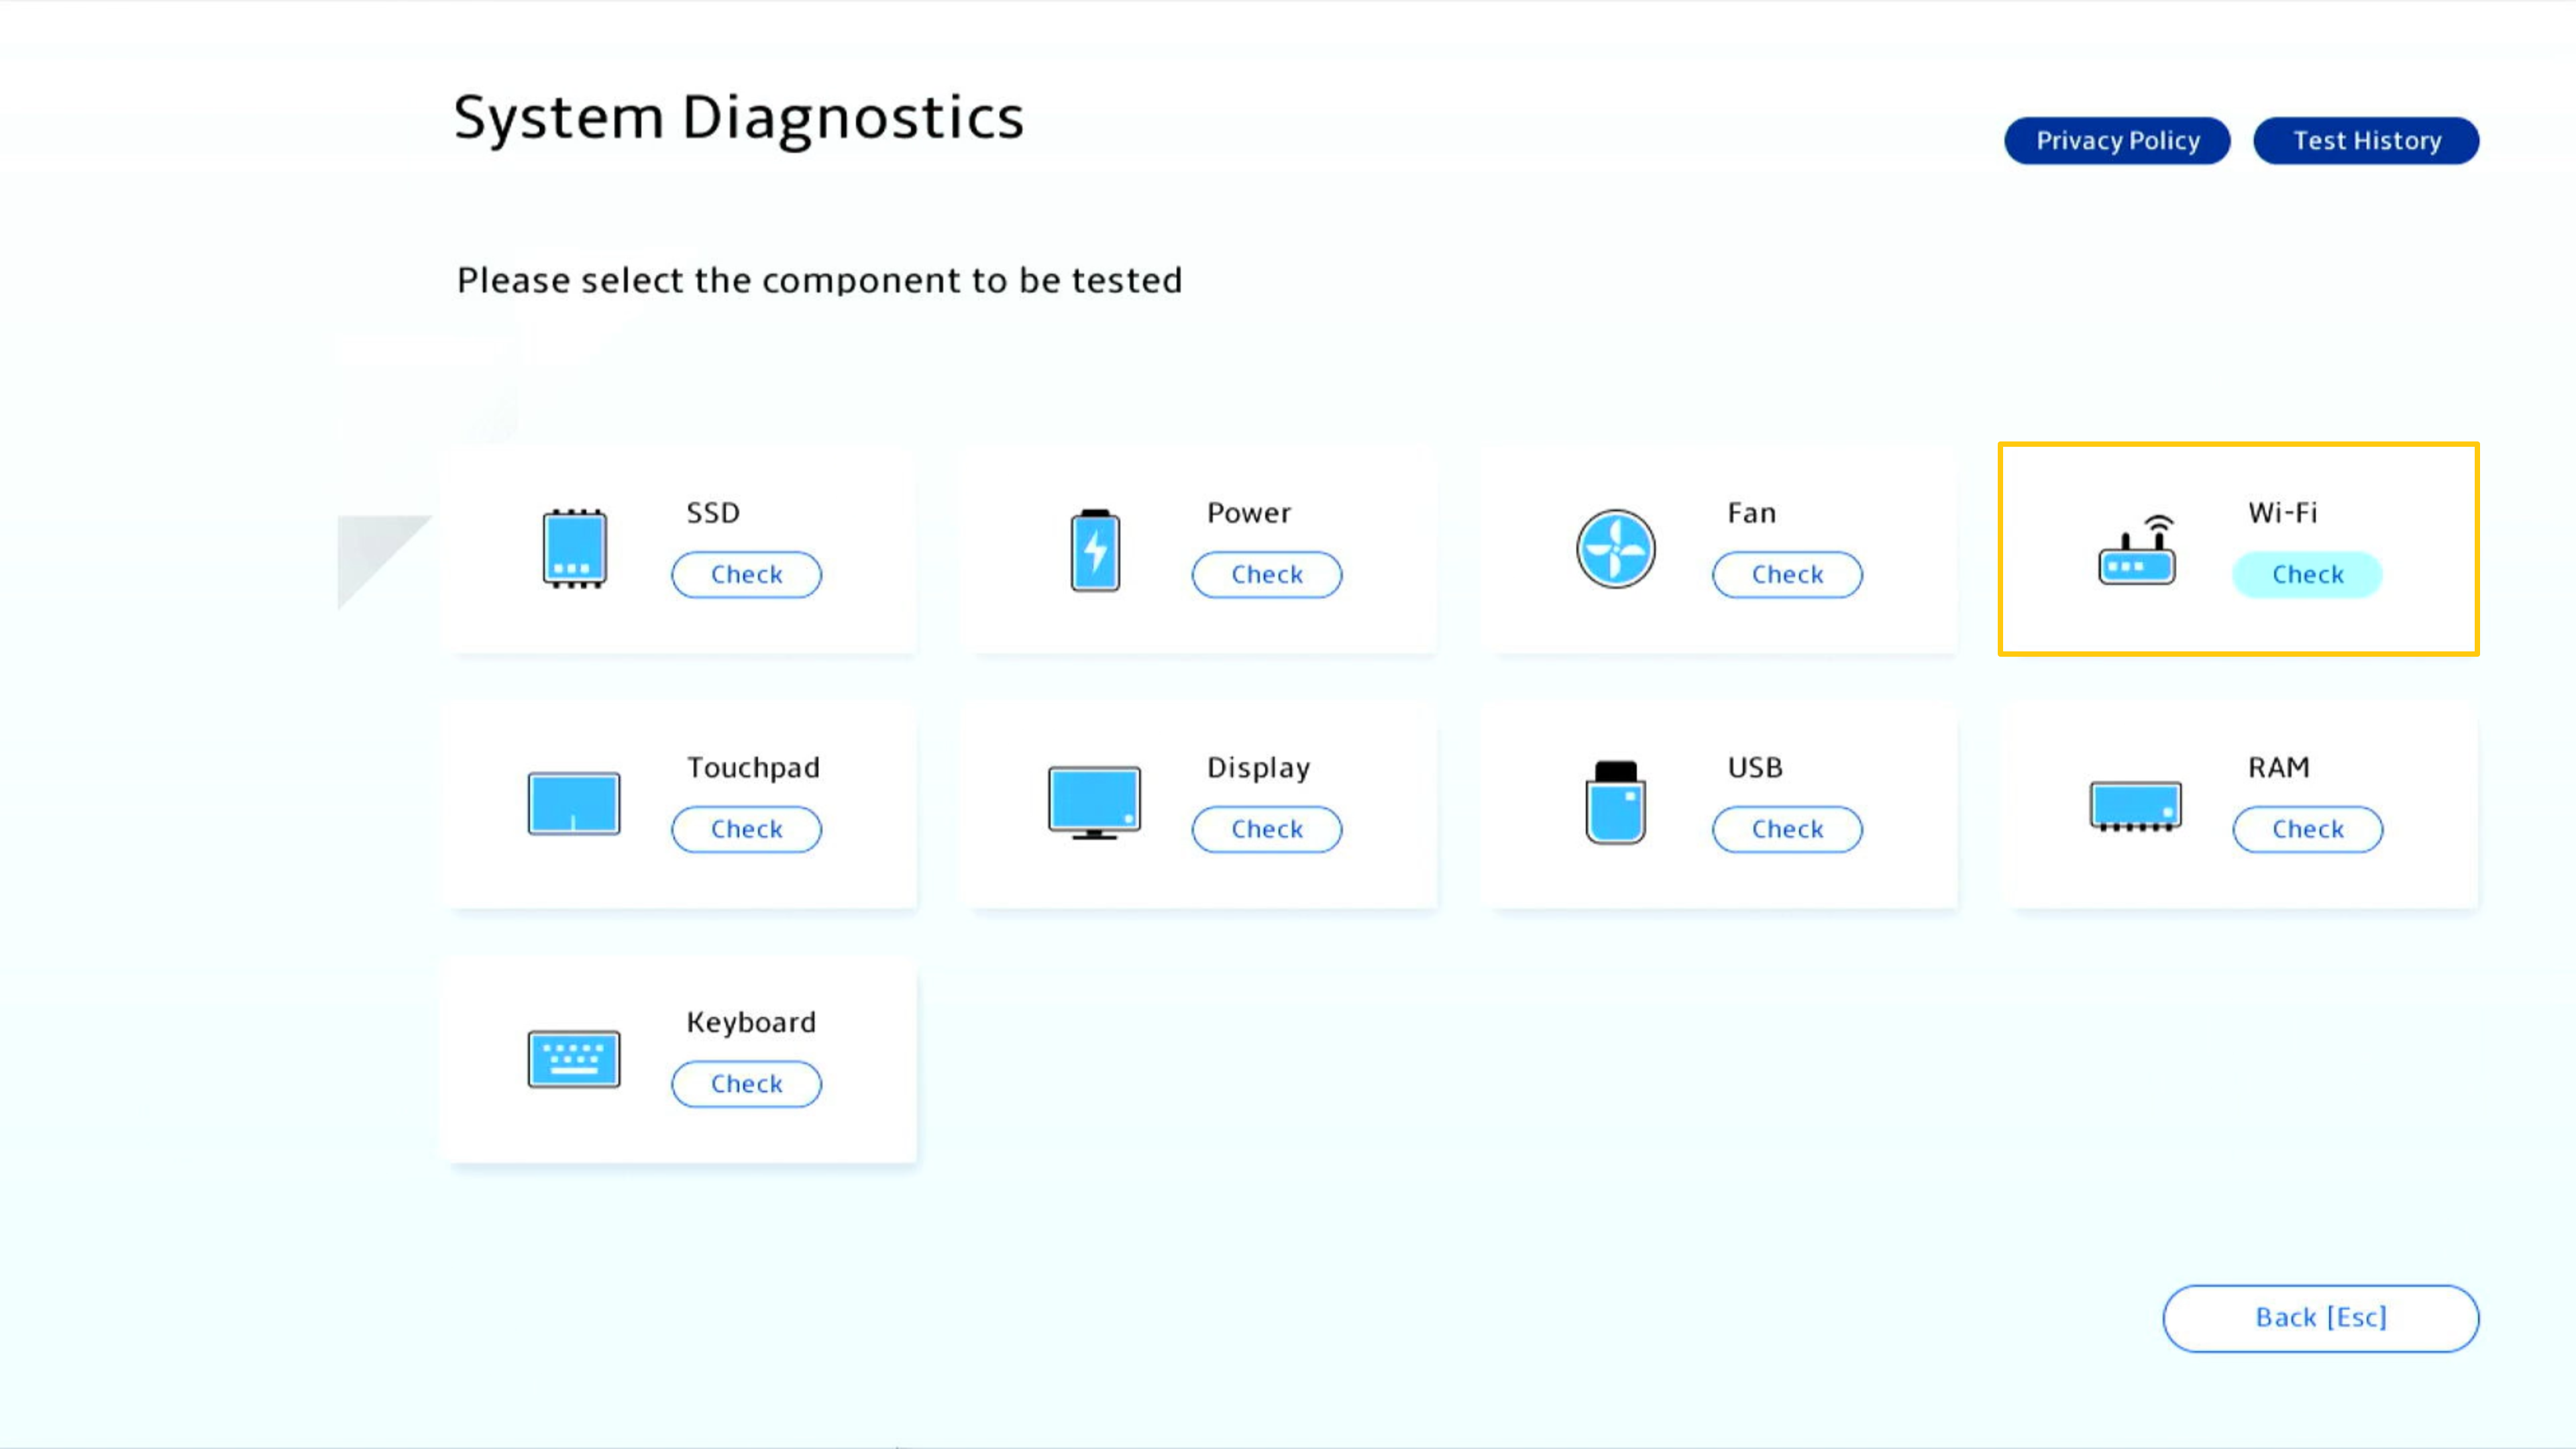
Clicking Wi-Fi Test [Check] to start the test.
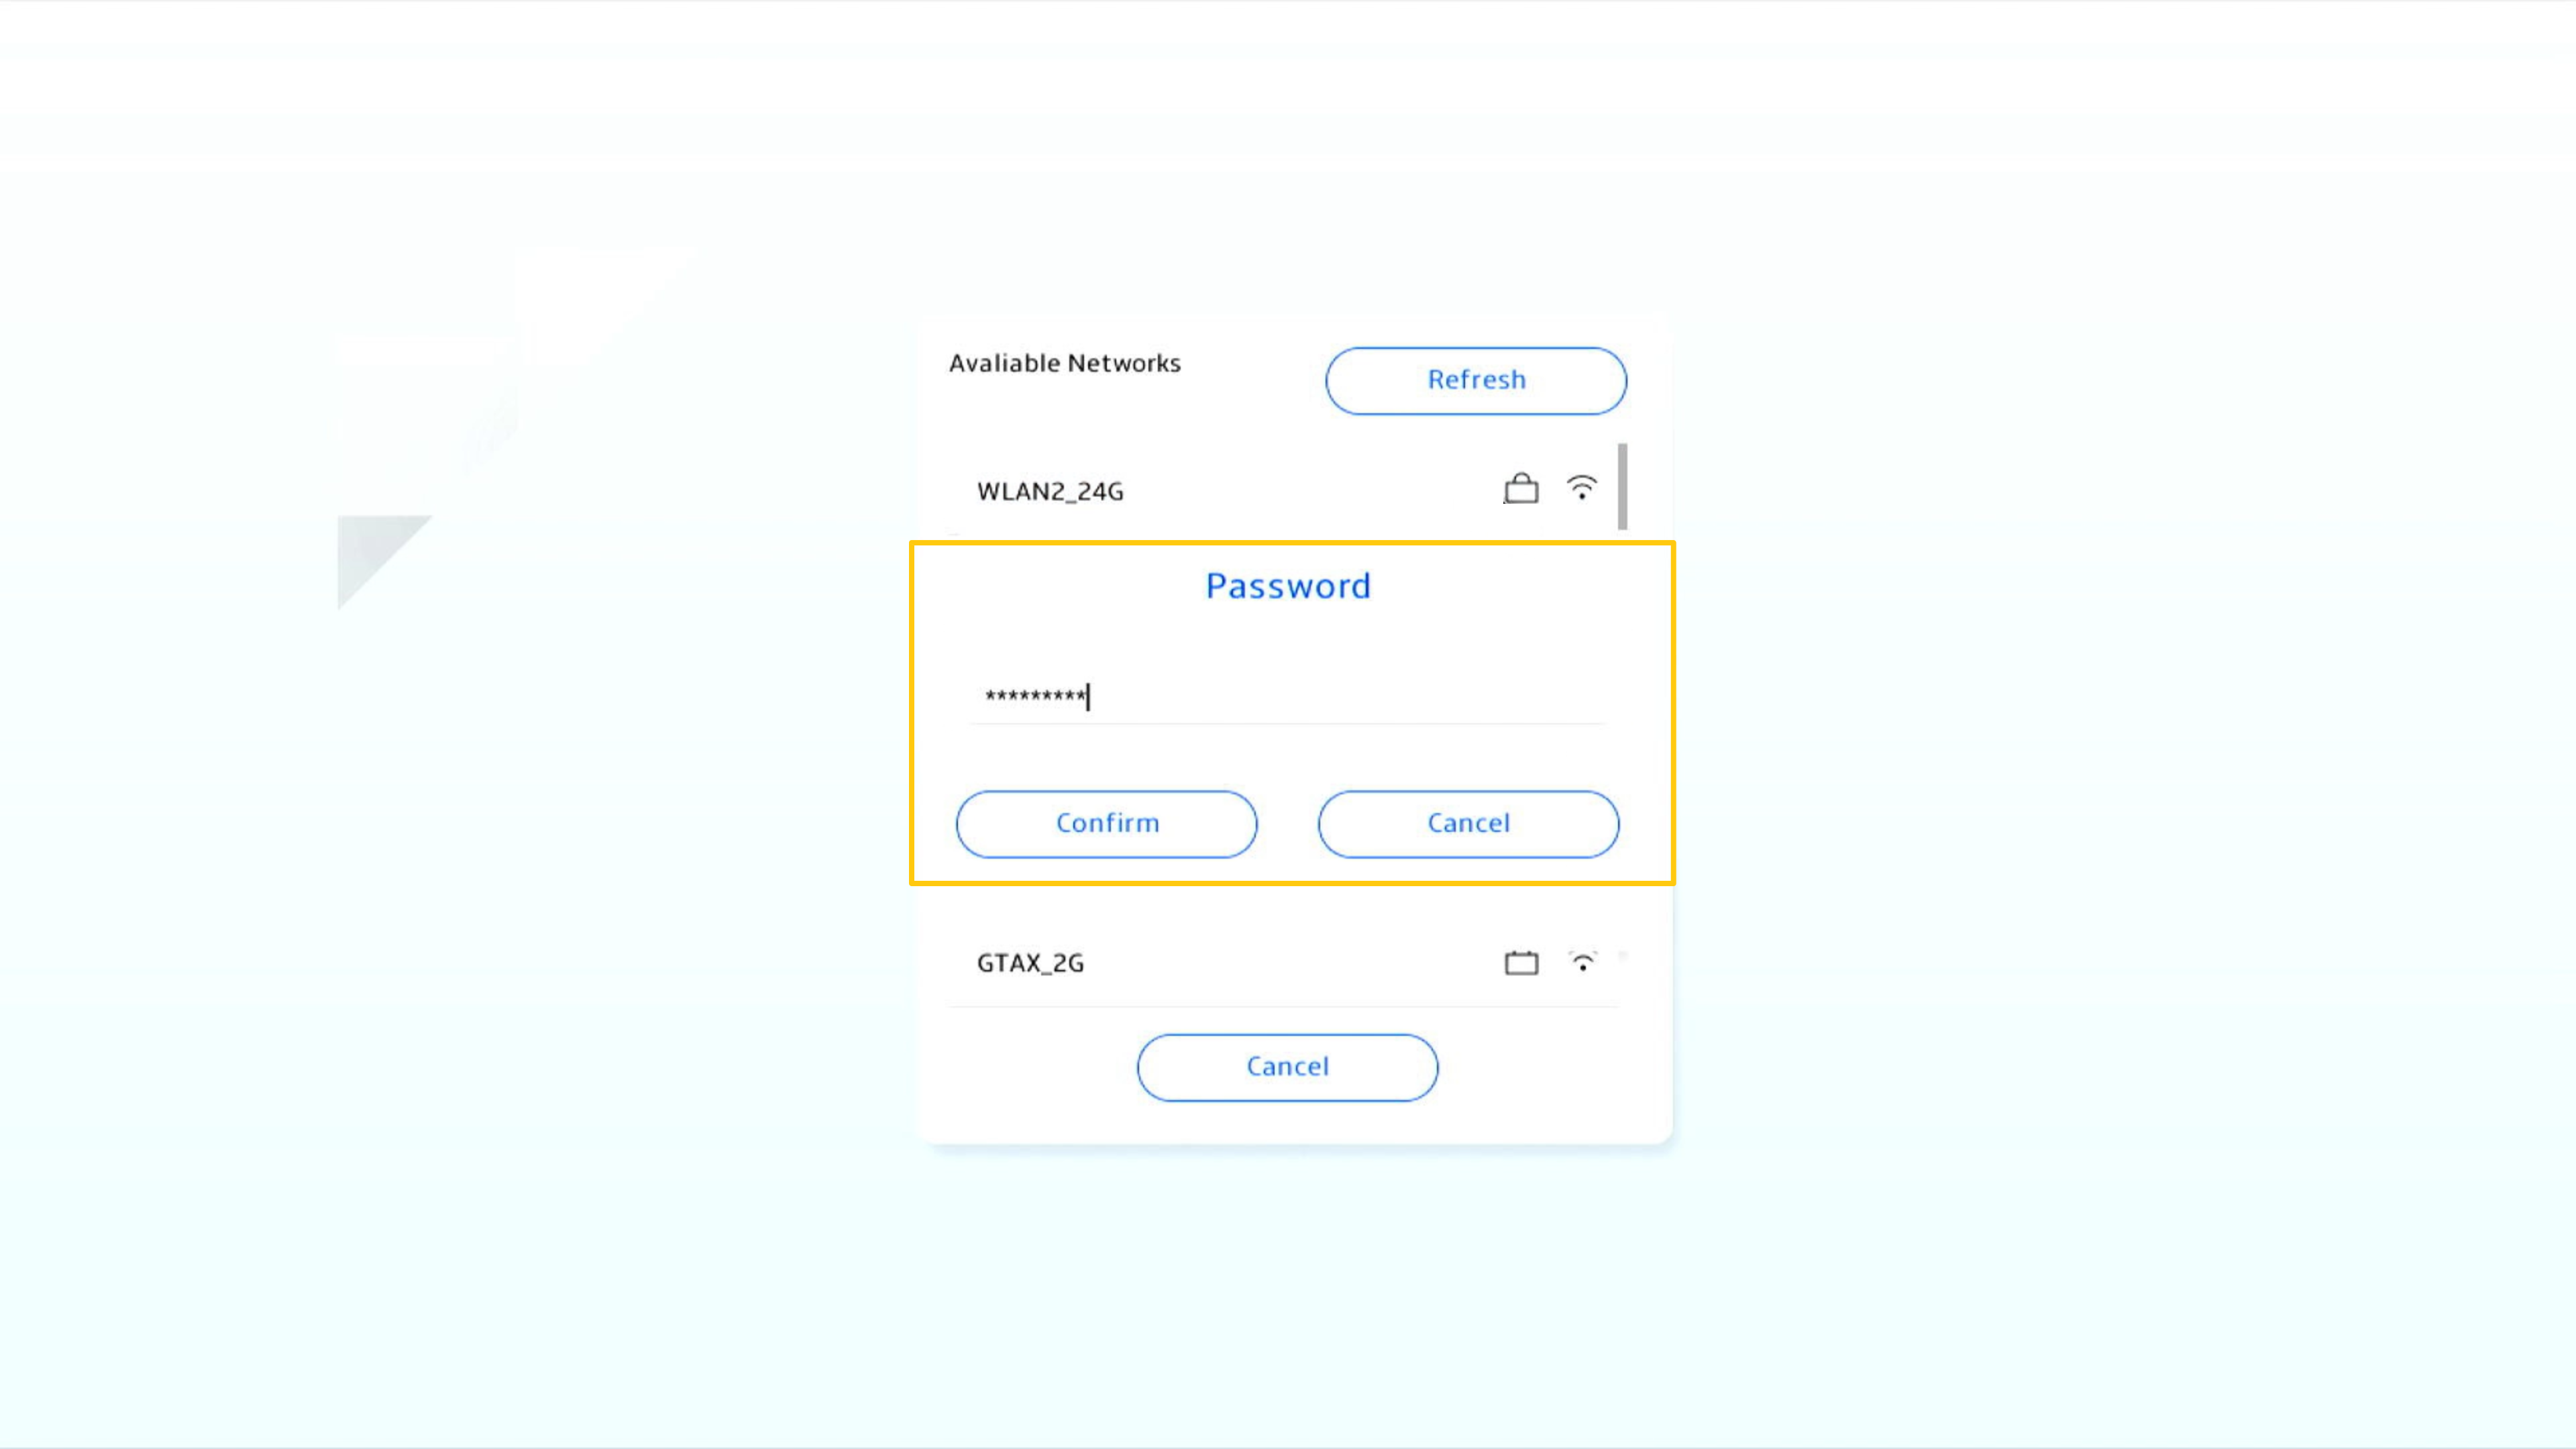
Select an available network, and key-in the password then clicking [Confirm].
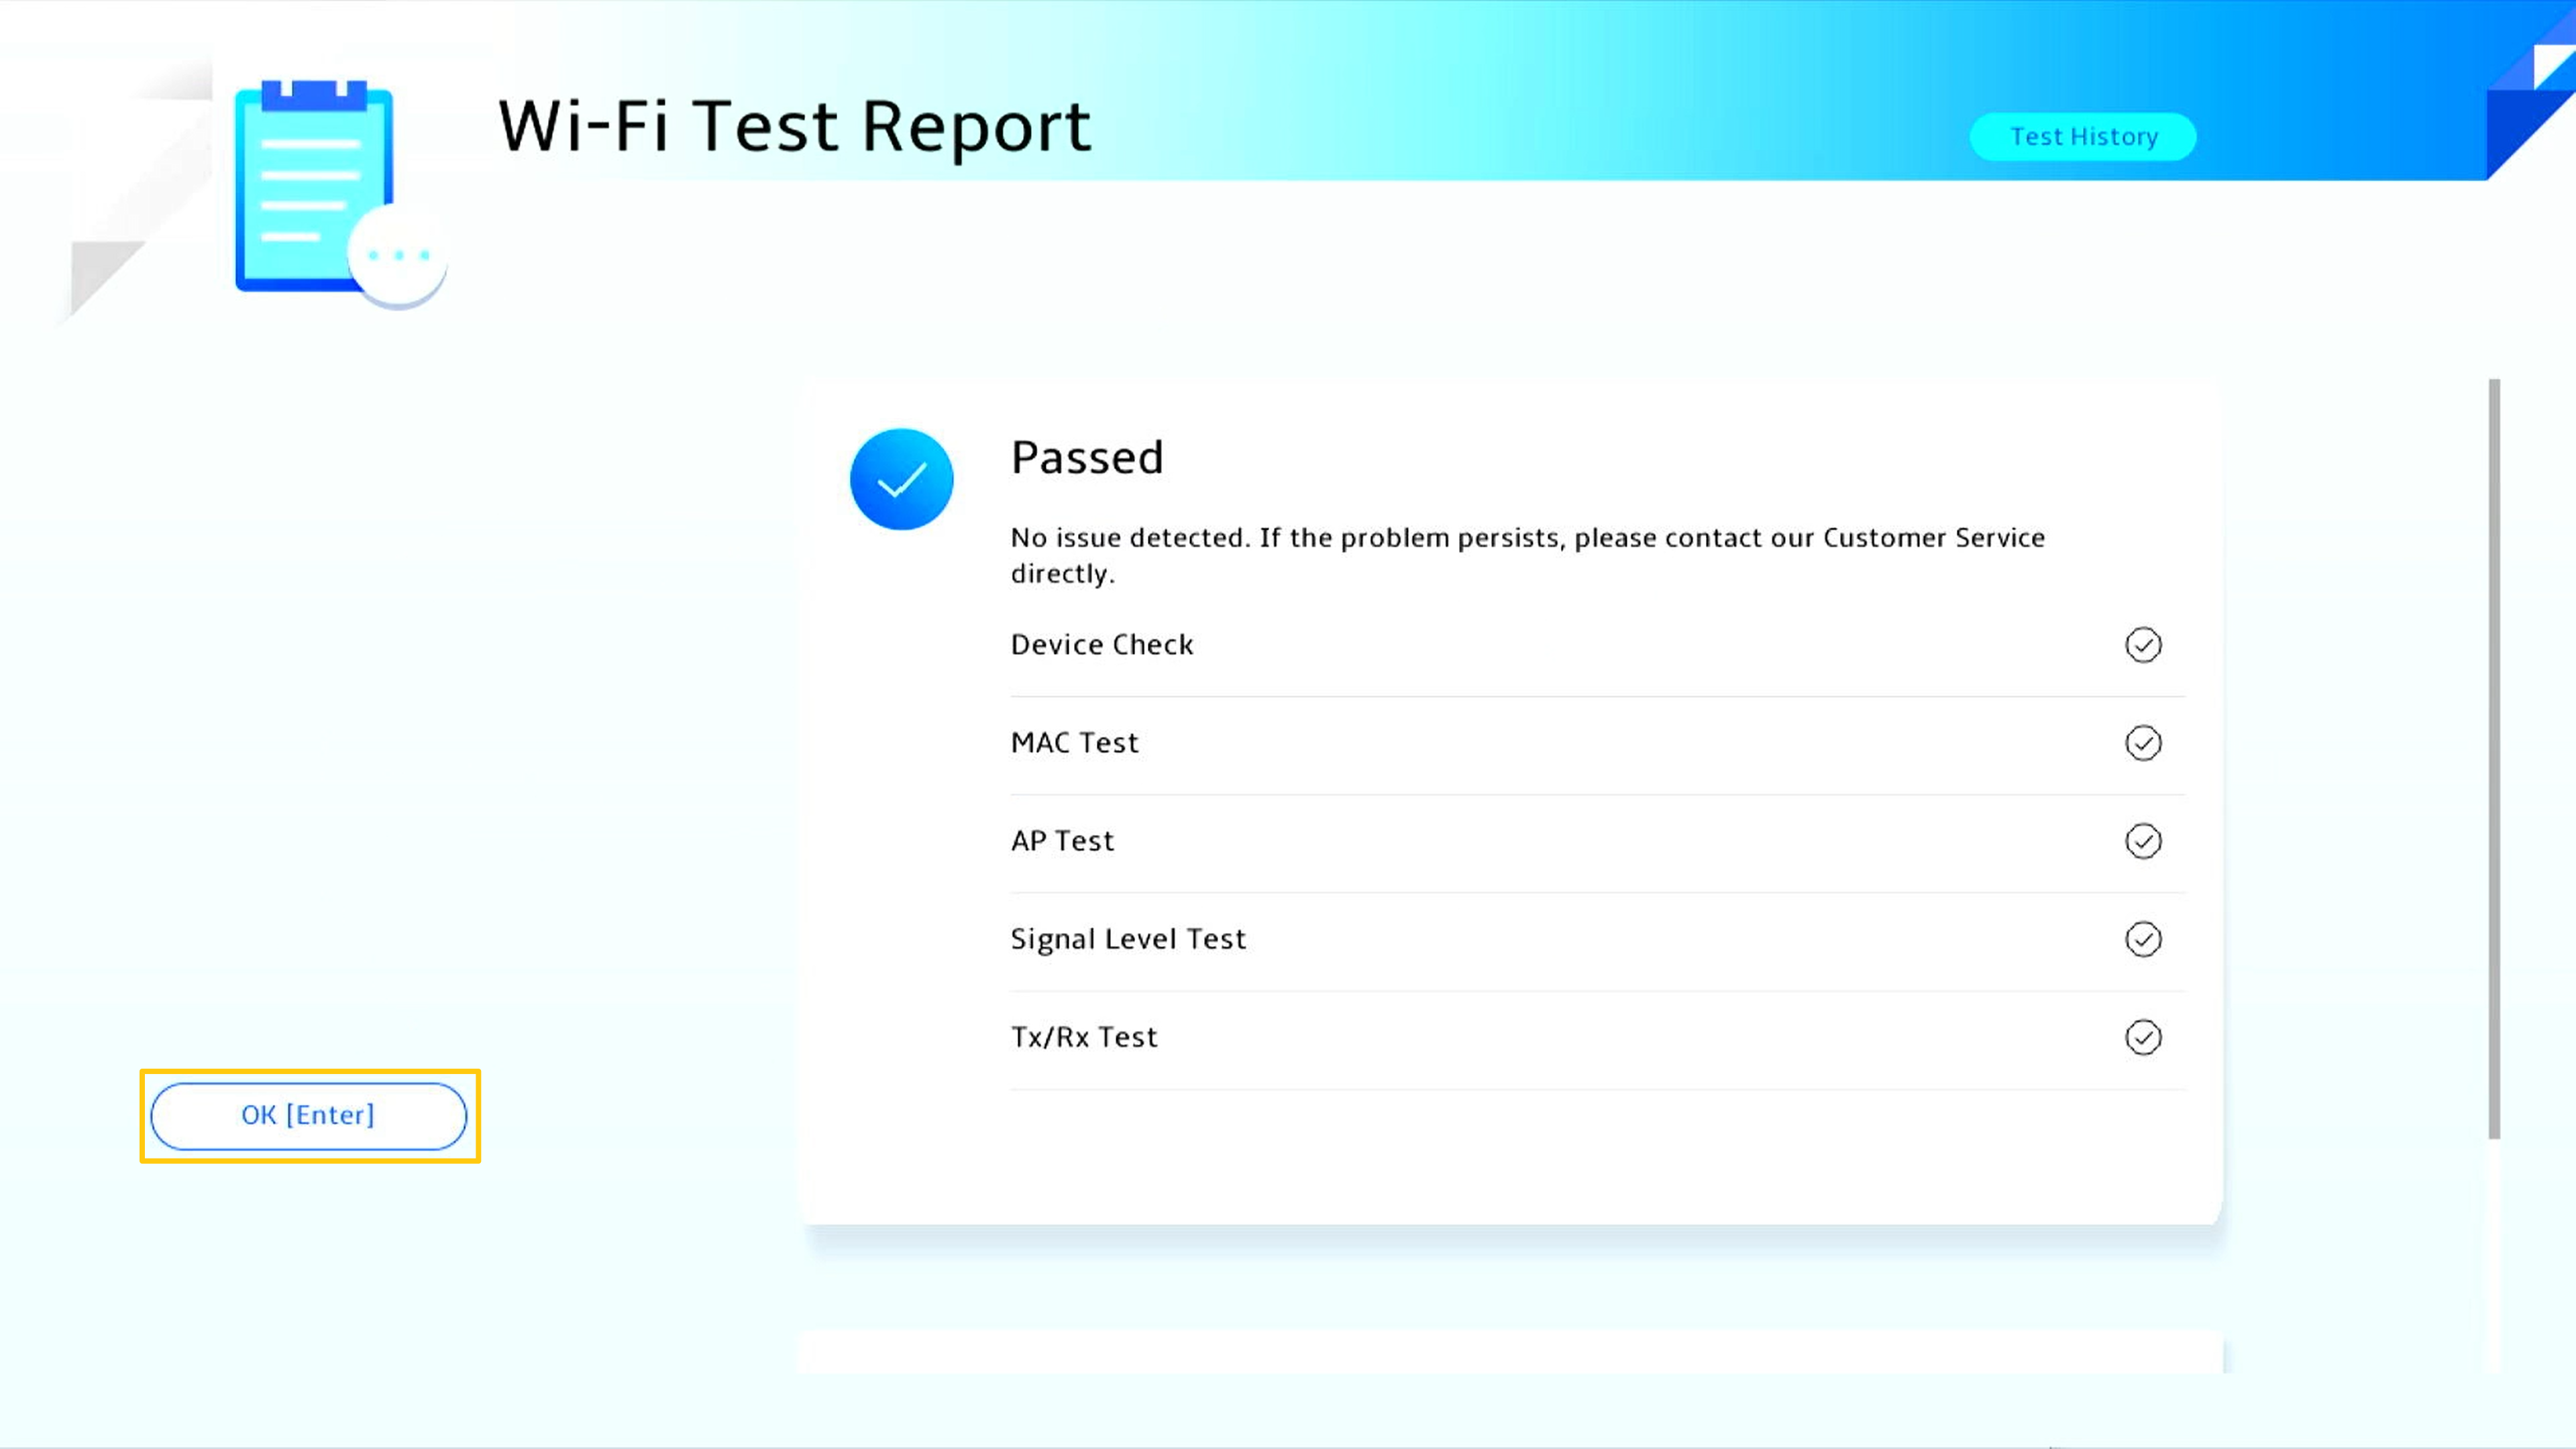
The test report will produce when test is done, please click [OK] to back to System Diagnostics Homepage.
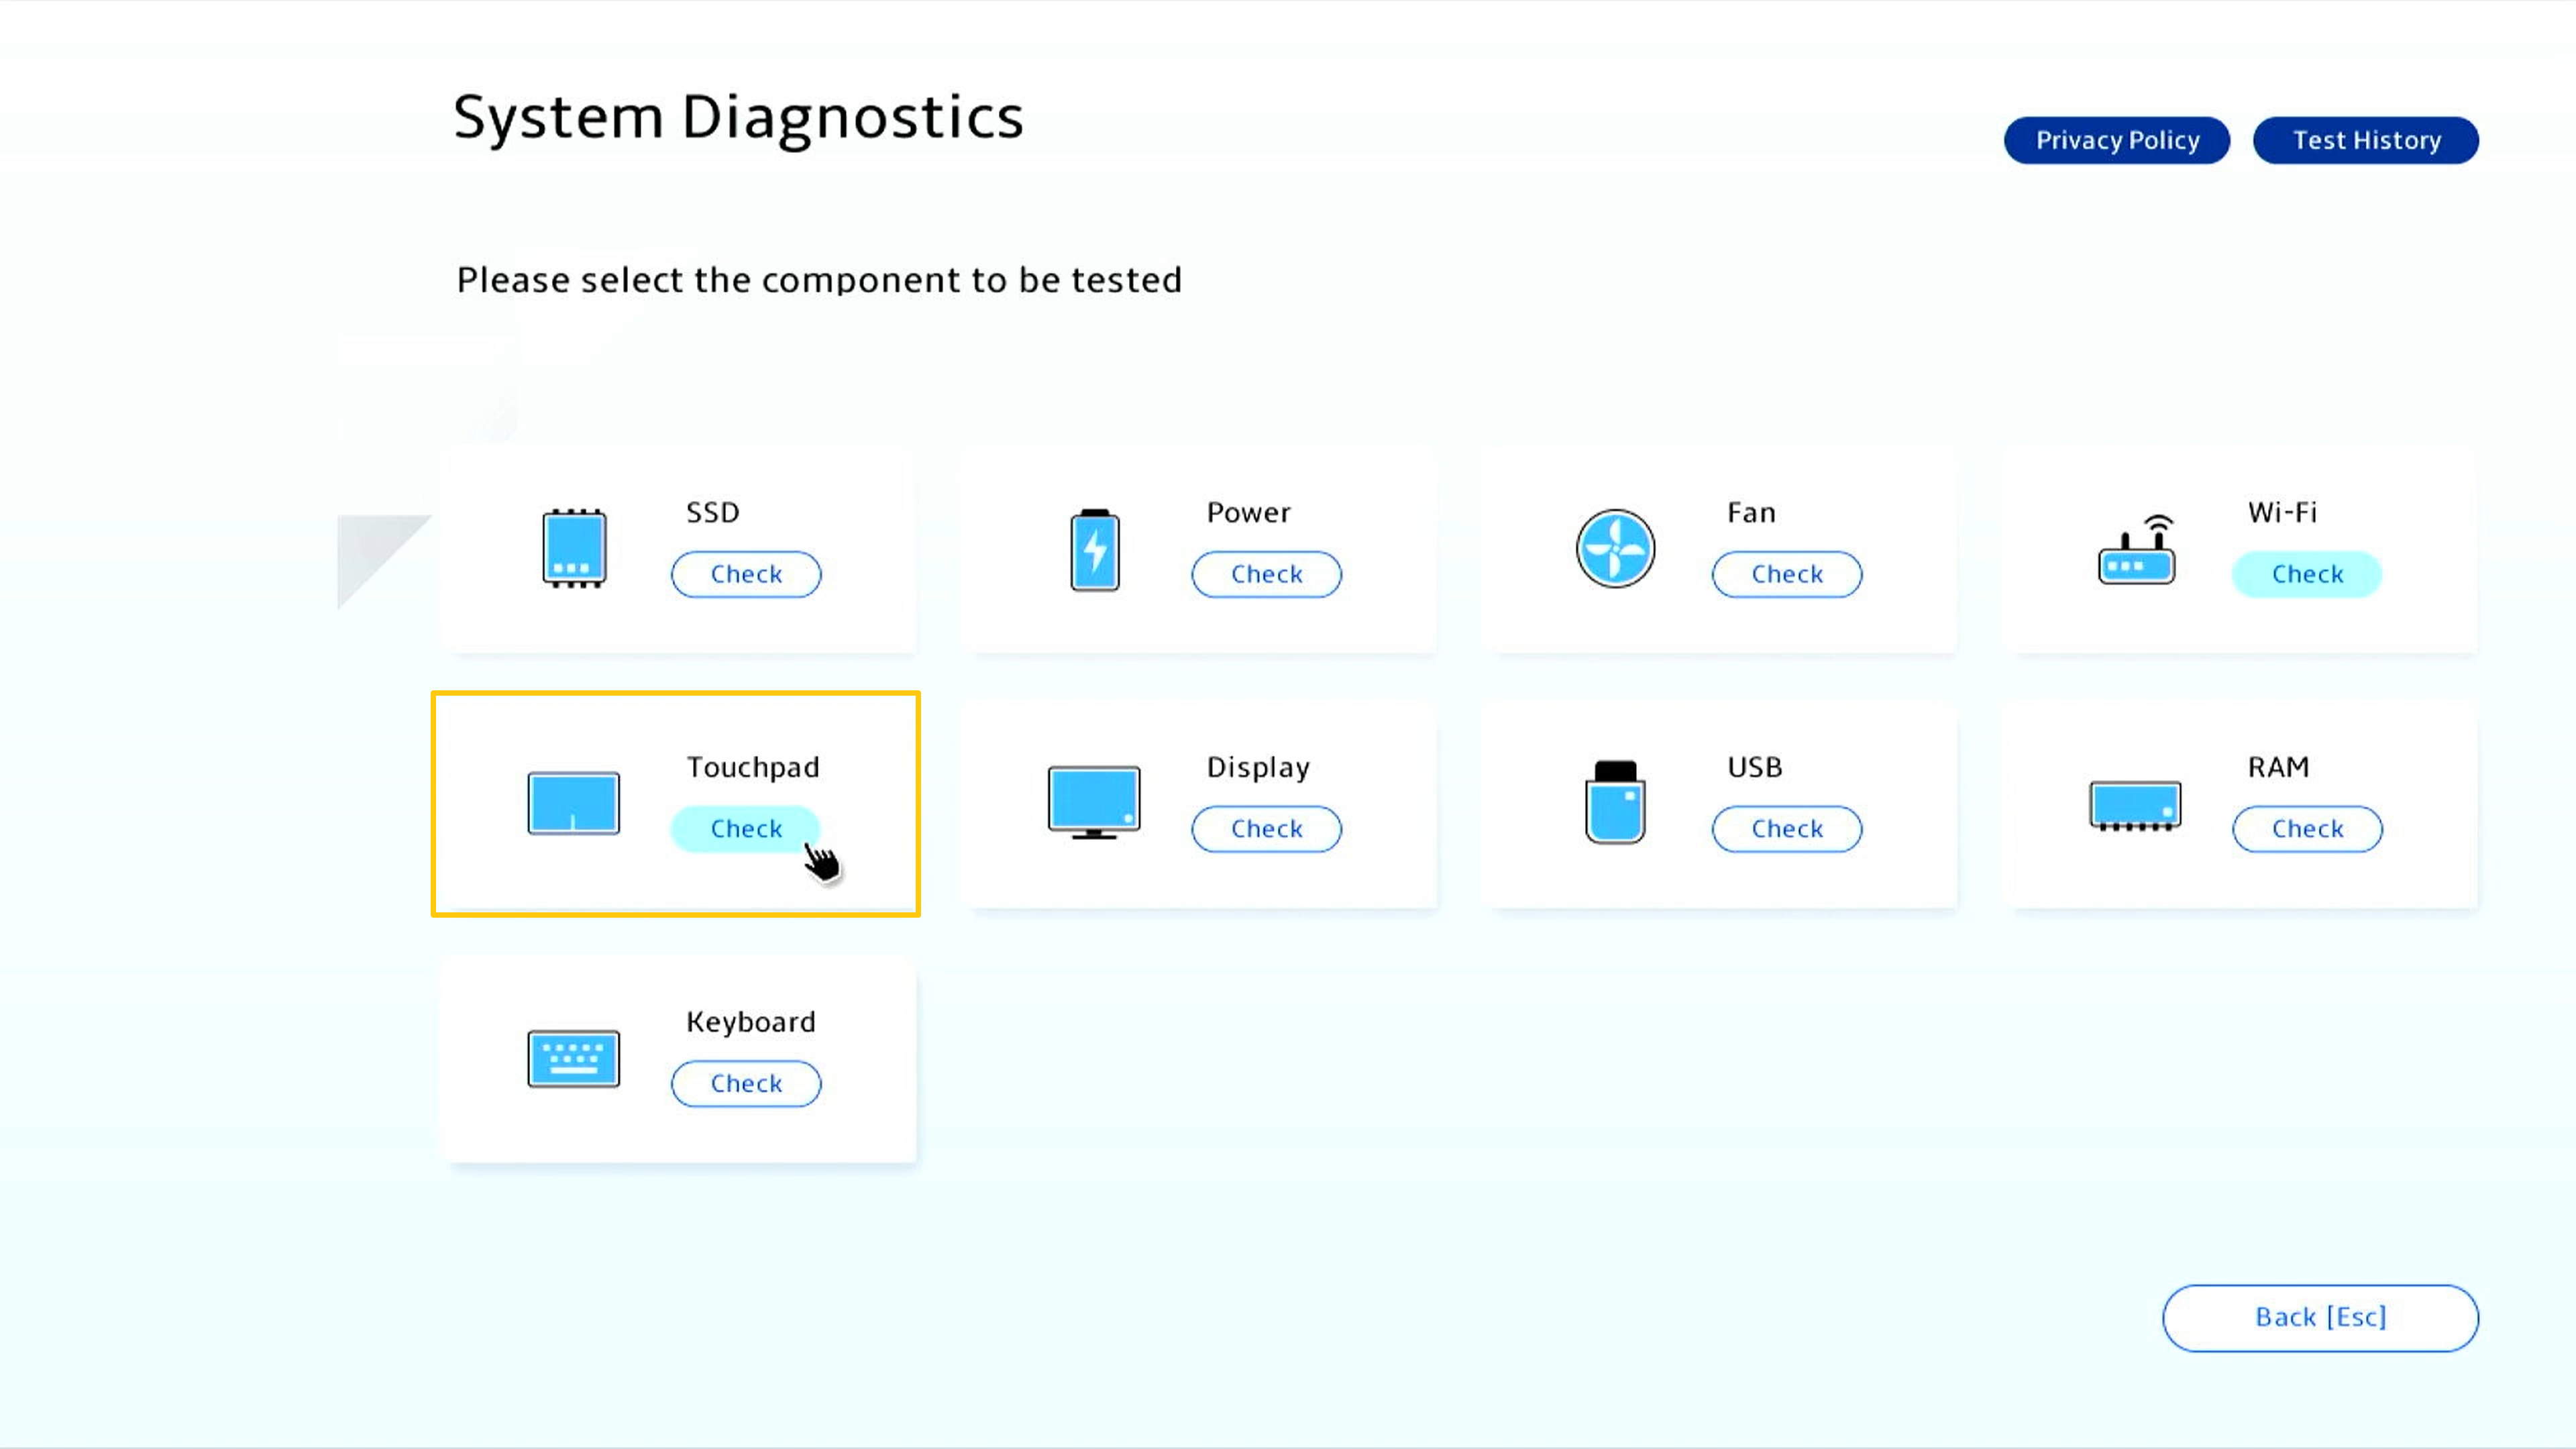
Clicking Touchpad Test [Check] to start the test.
Please use the touchpad to finish the following tests, then Clicking [OK] to continue.
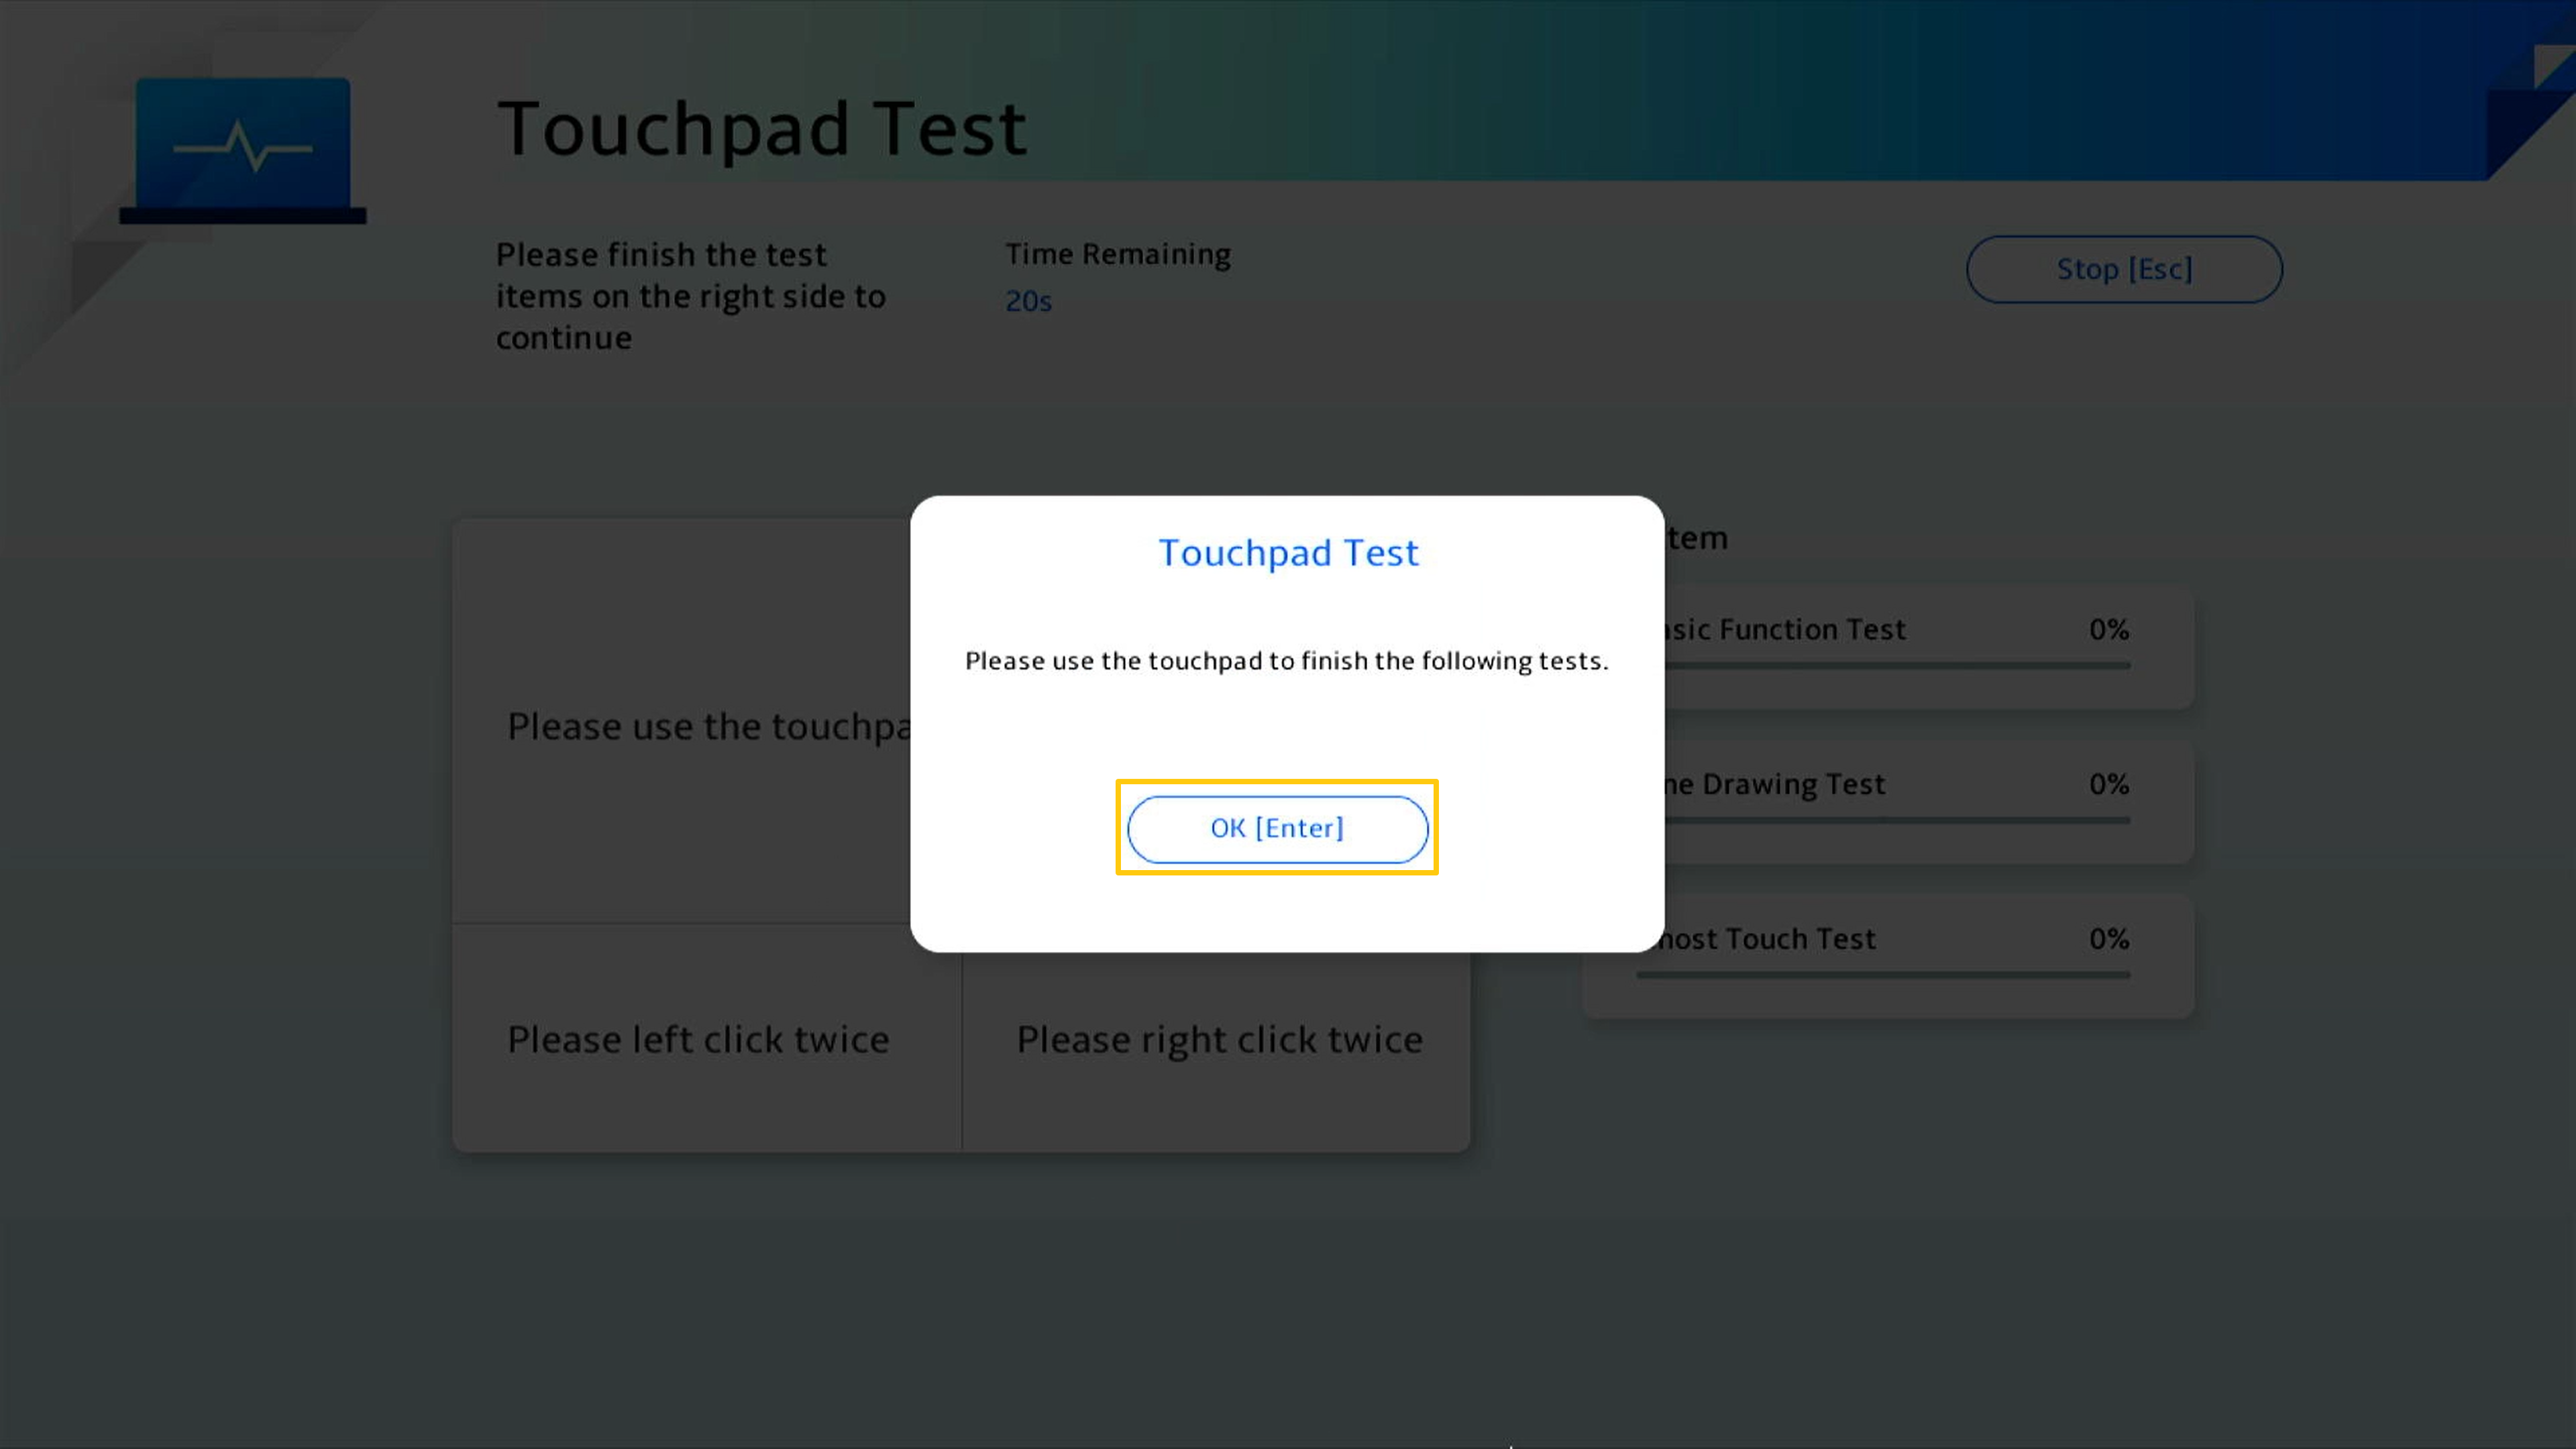
Please follow the instructions using touchpad to move the cursor、left click twice and right click twice in specific area.

Please using touchpad to drag blue slider follow the direction of the arrow.
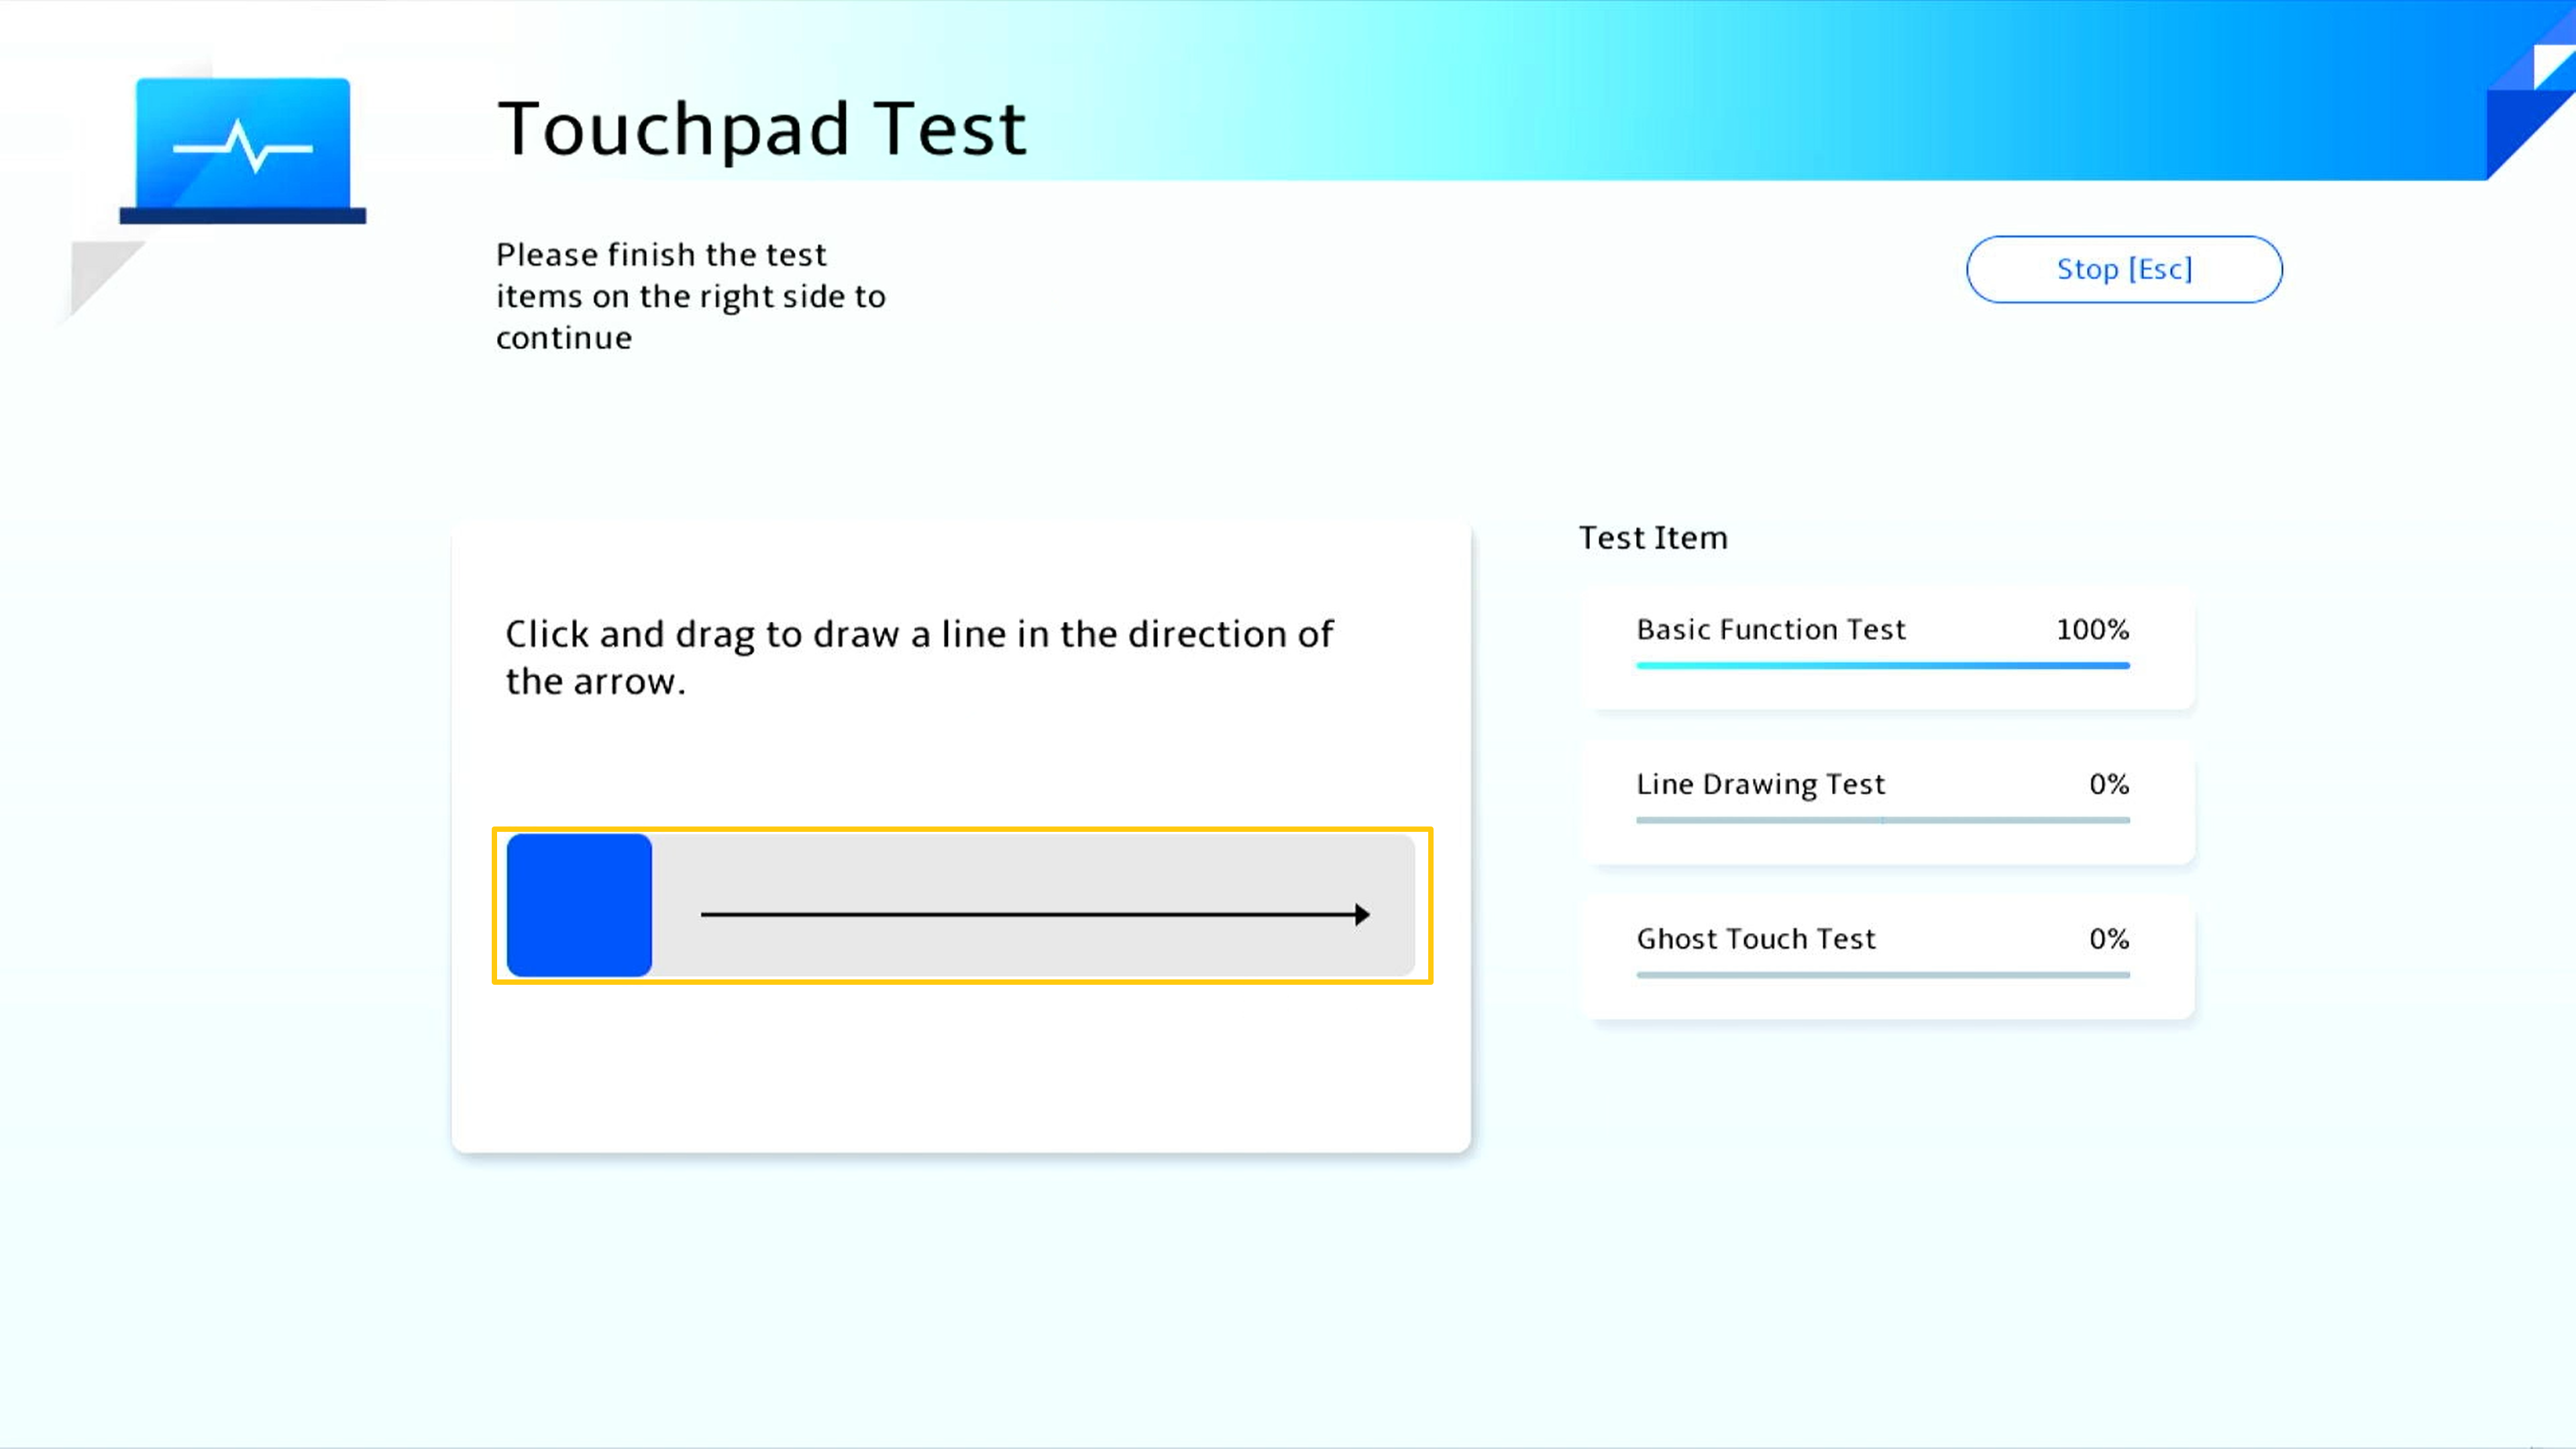
Please using touchpad to drag blue slider follow the direction of the arrow.
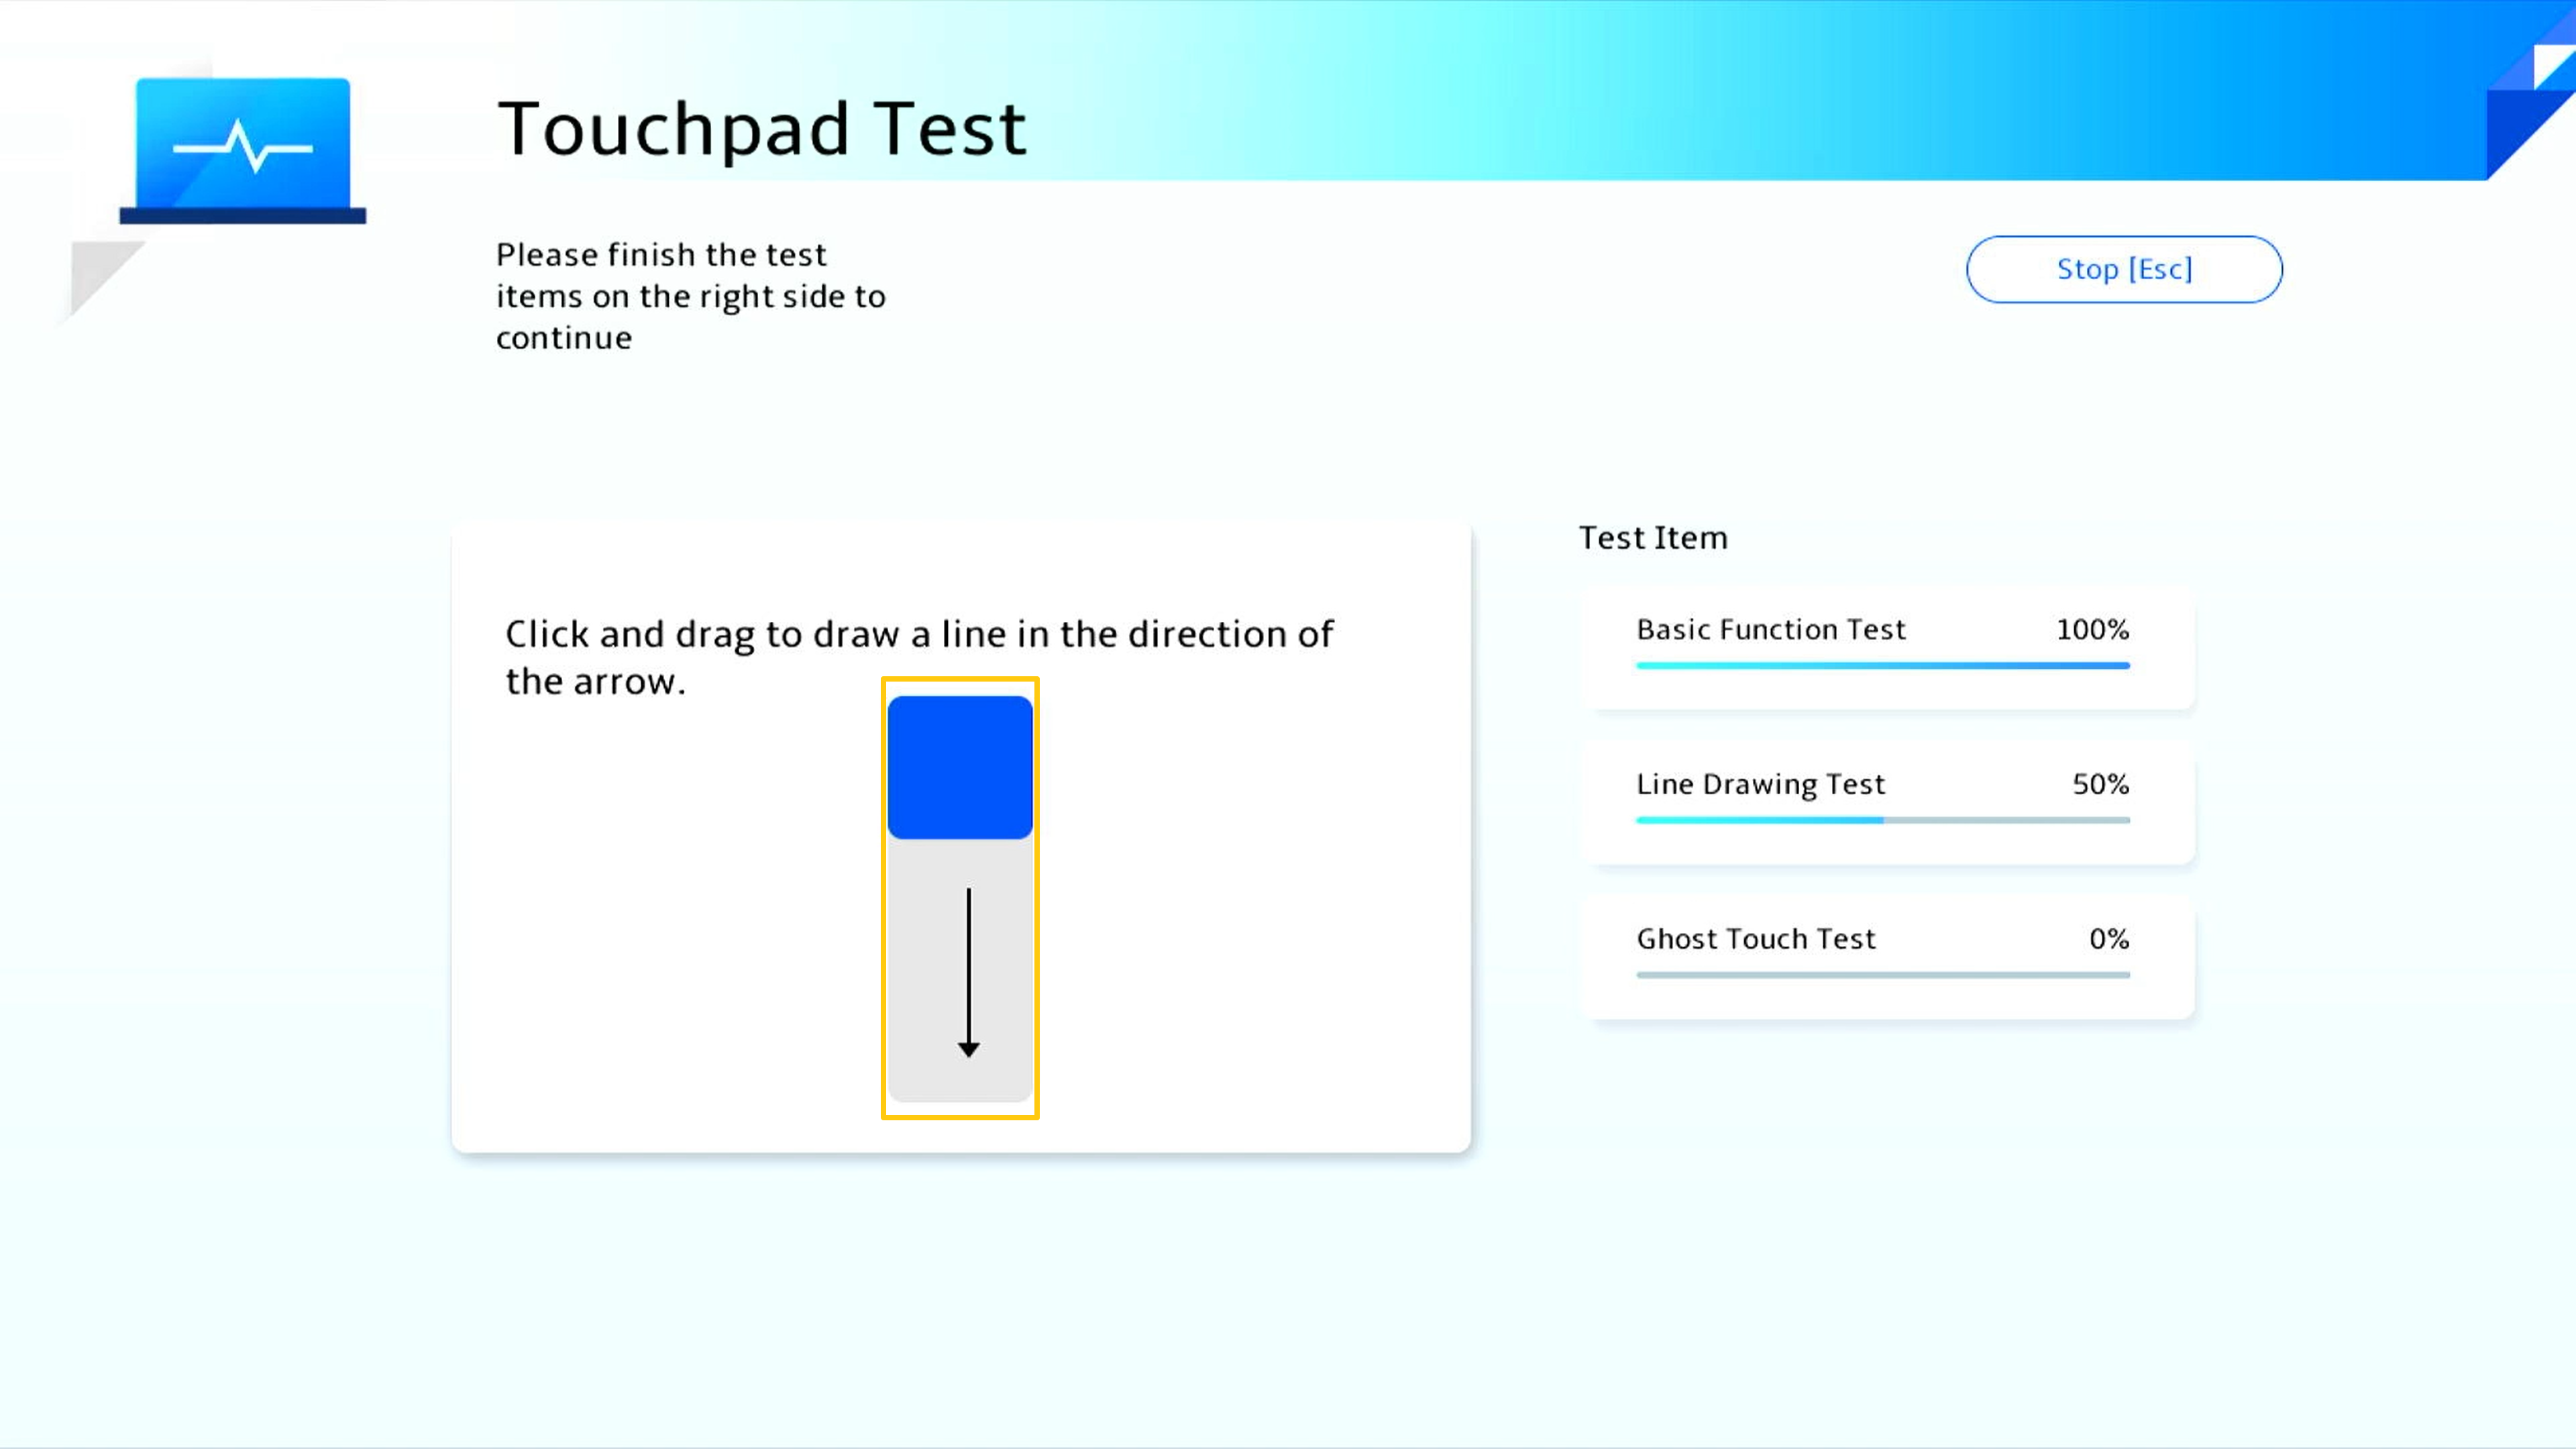
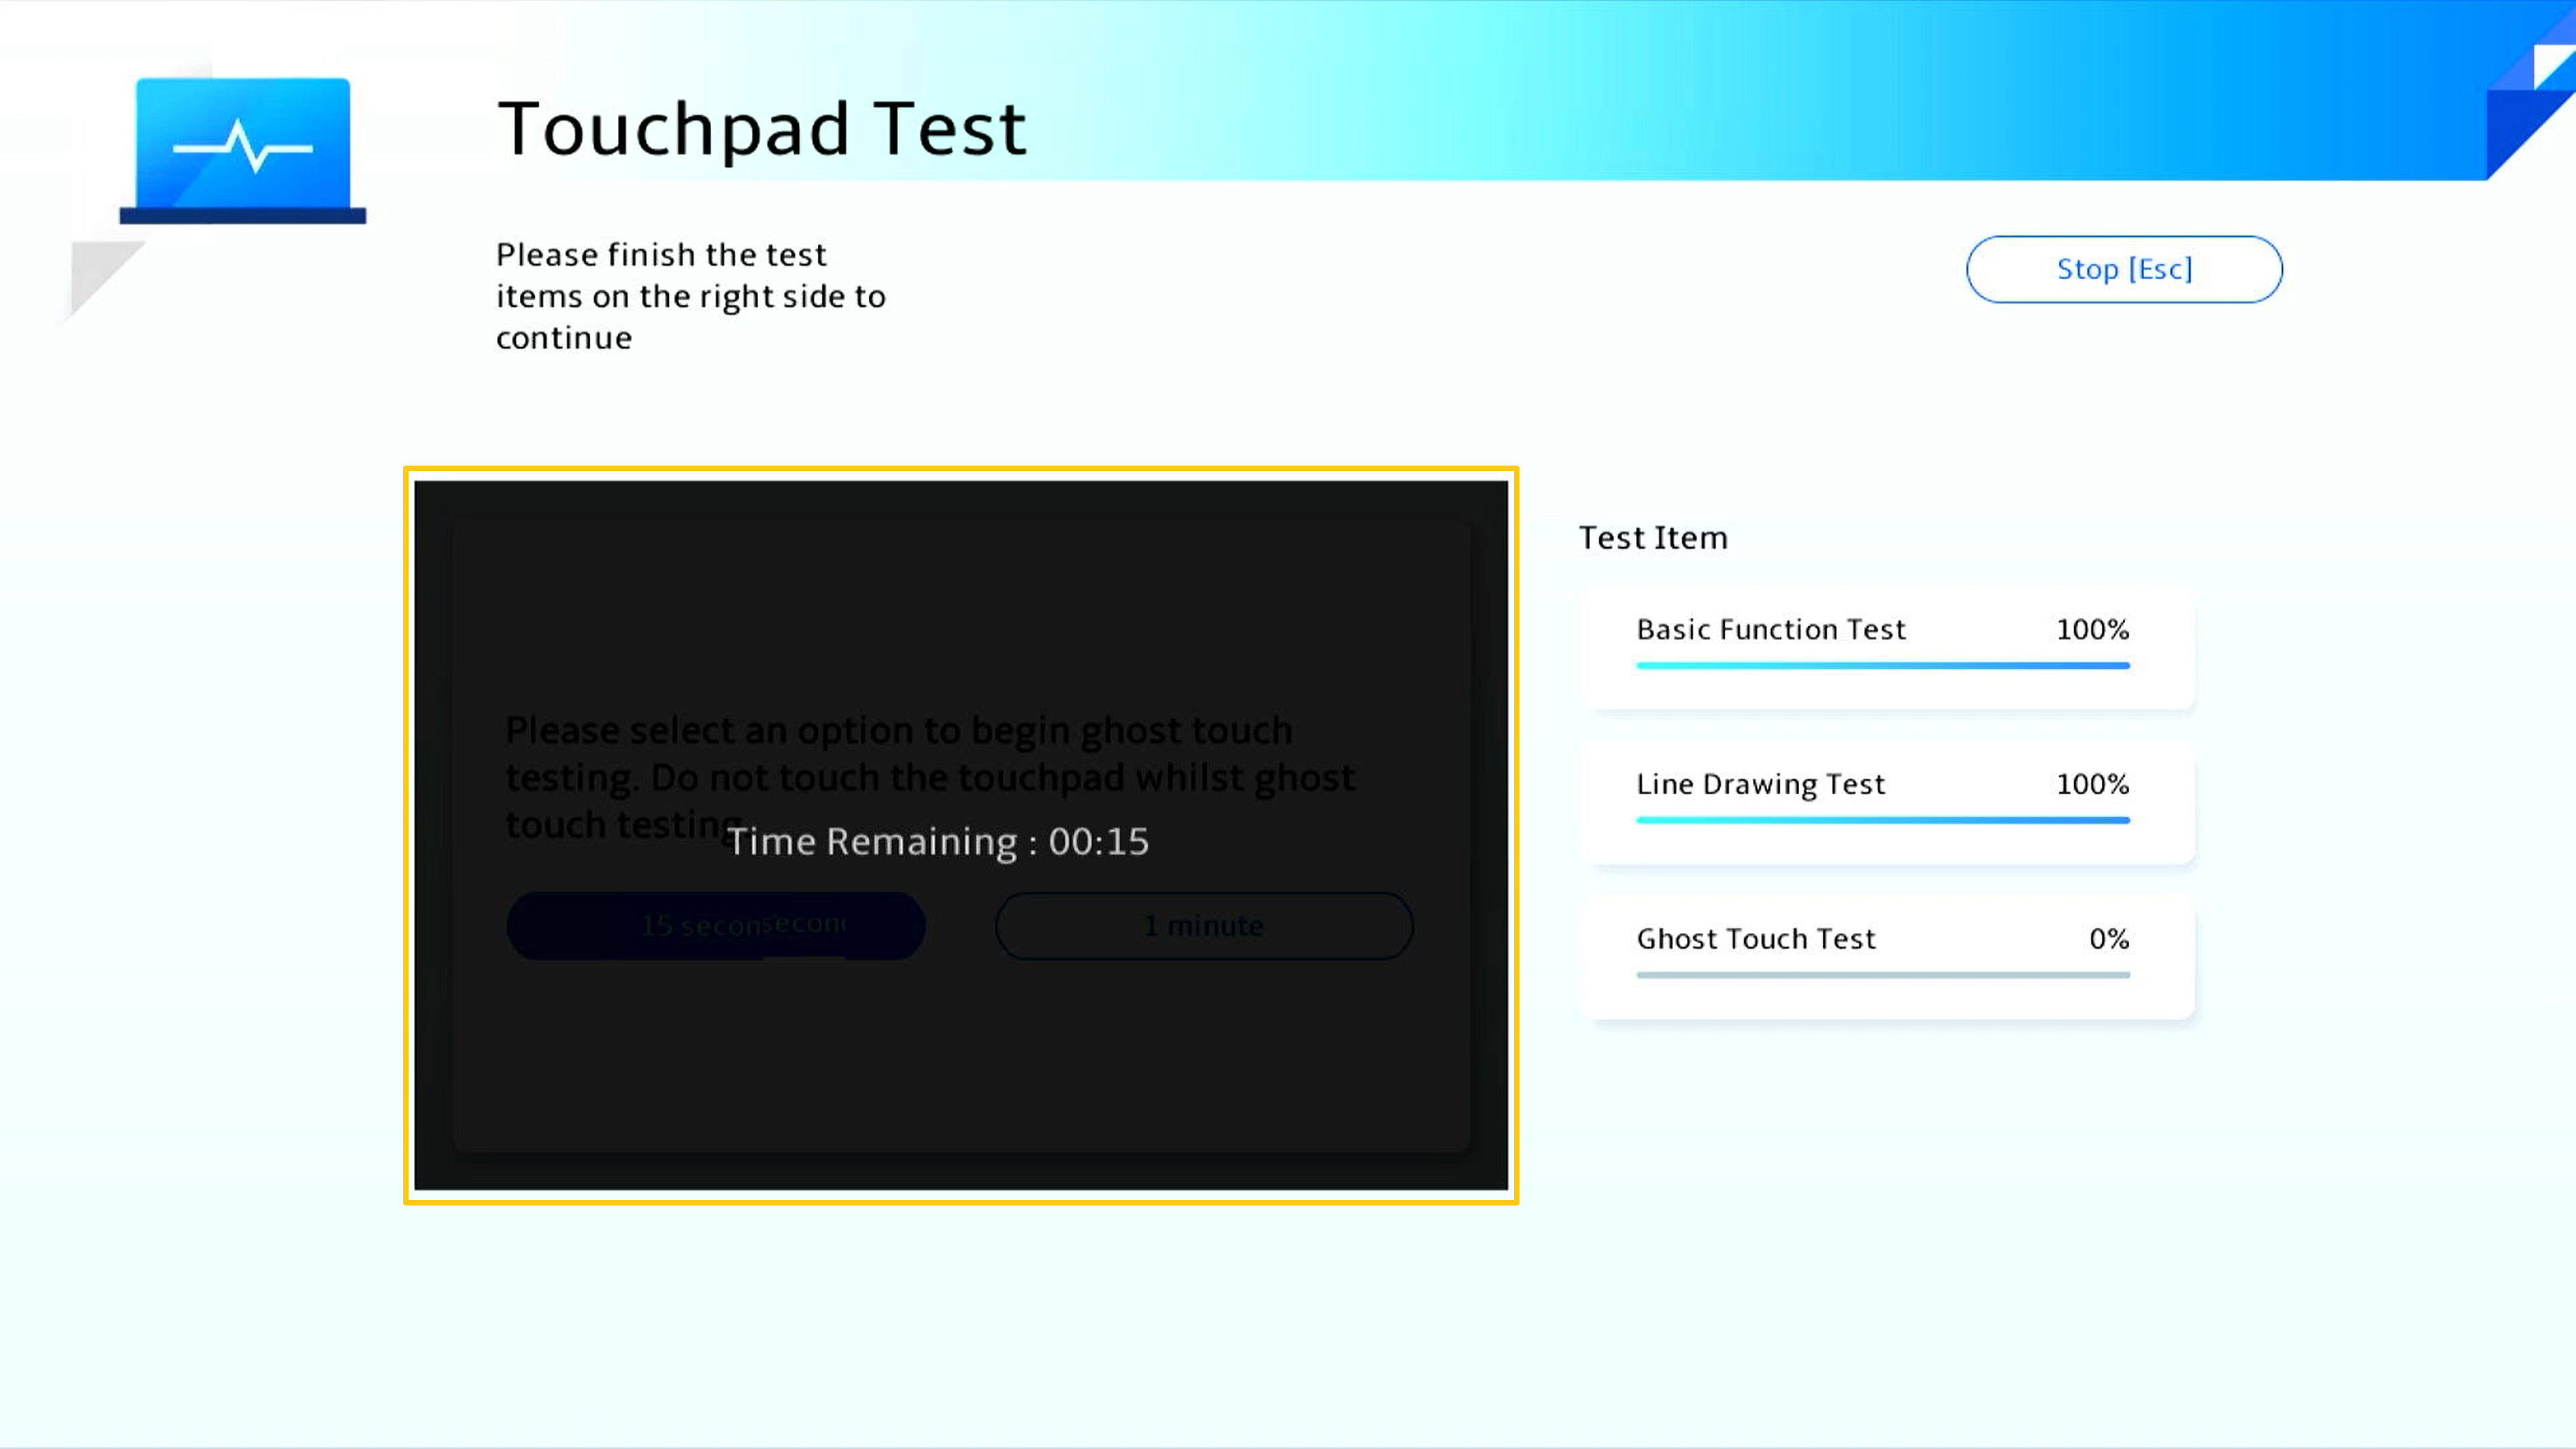
Please make an option for [15 seconds] or [1 minute] touchpad ghost test.
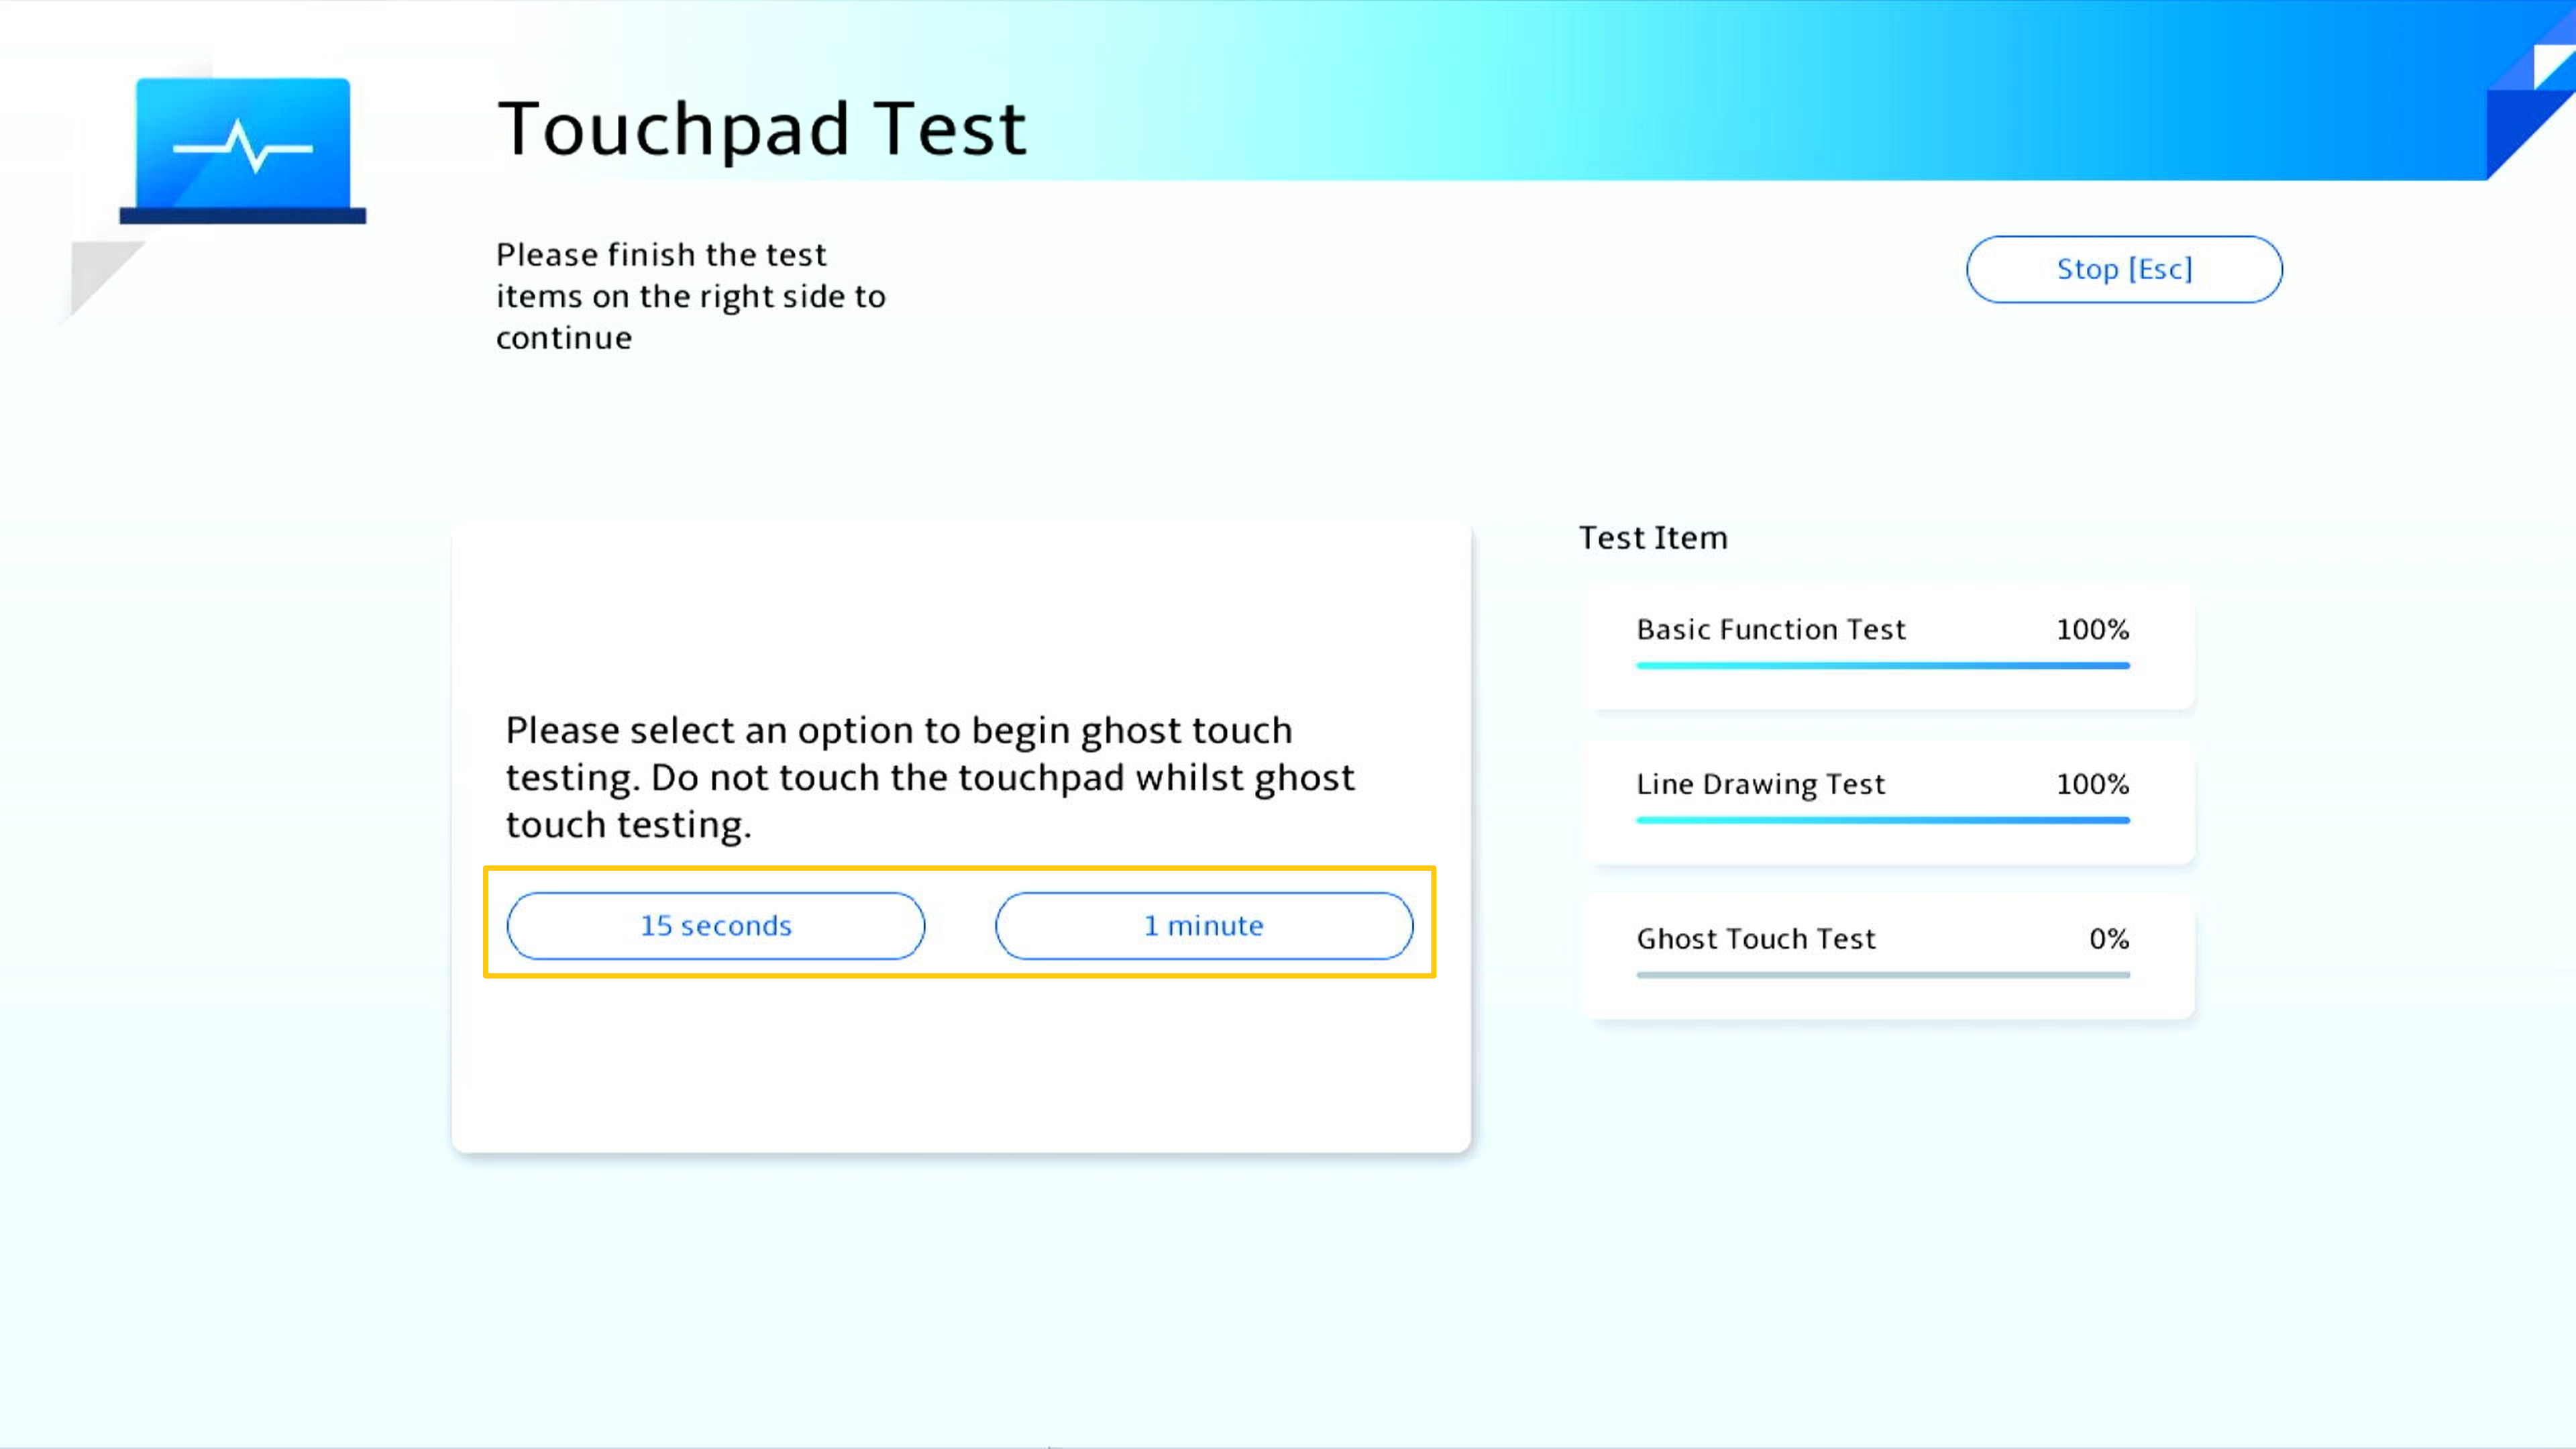
The ghost touch test is underway. Notice: Do not touch your touchpad.
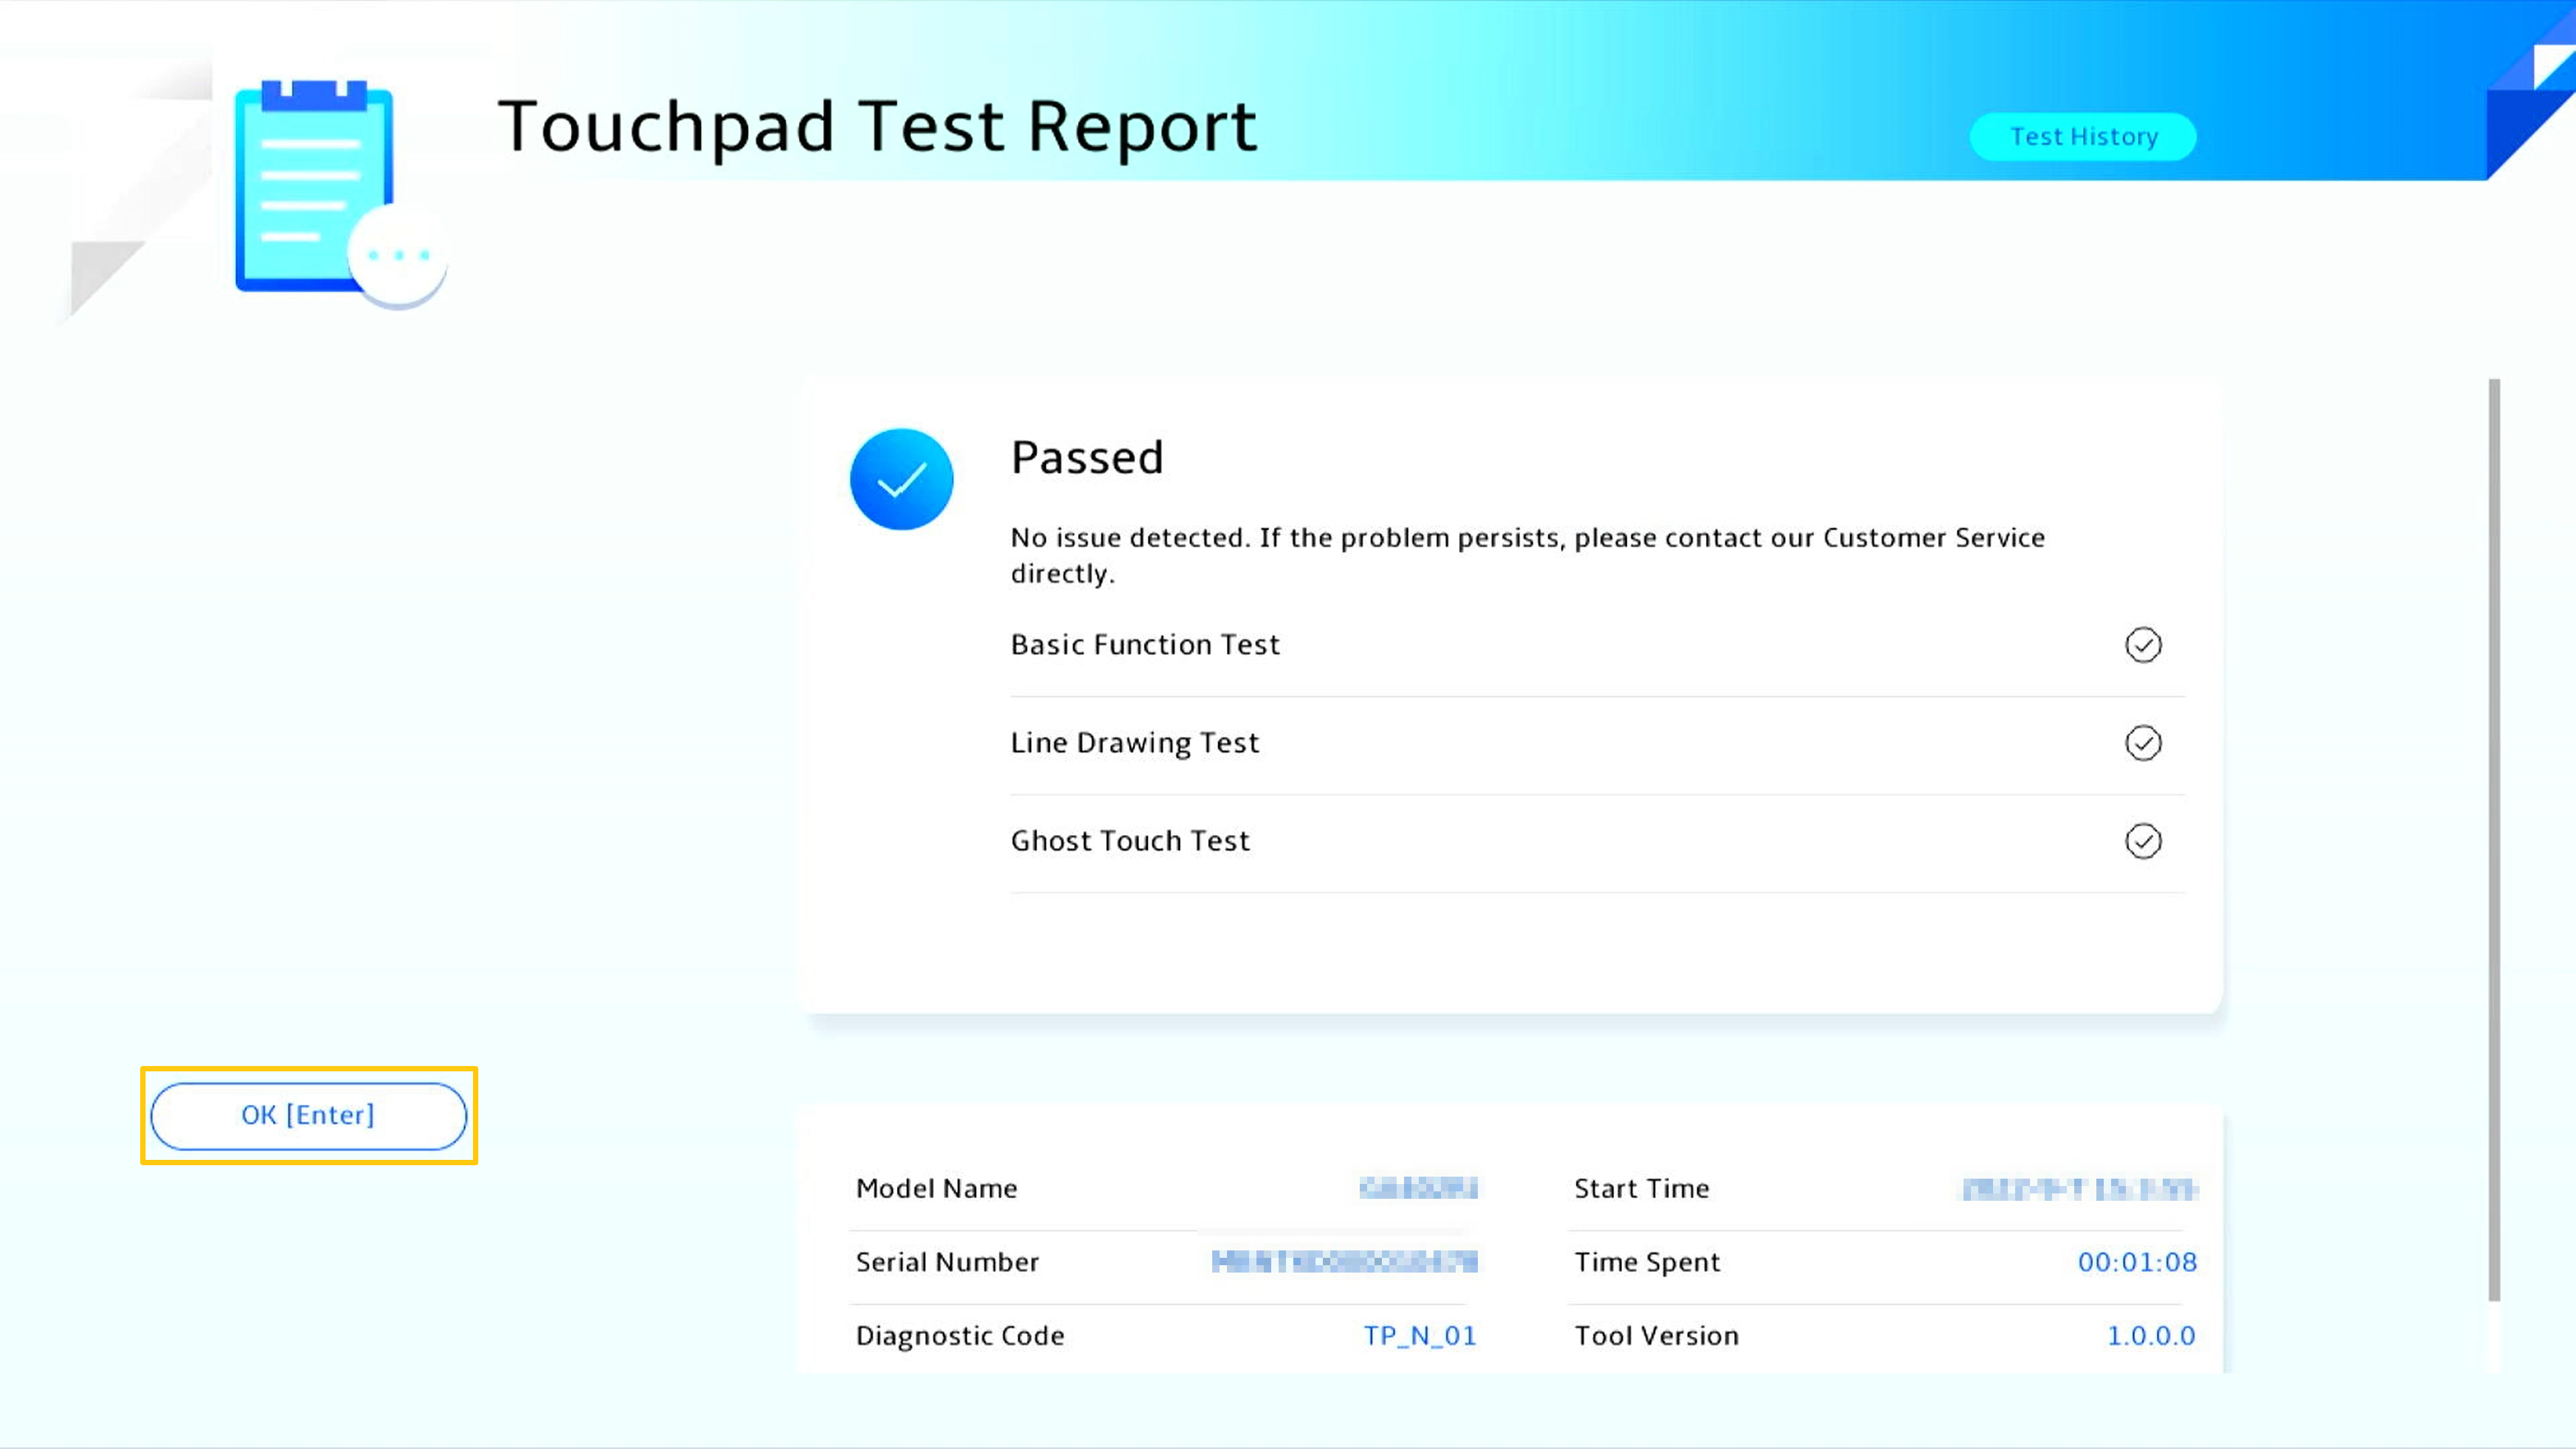
The test report will produce when test is done, please click [OK] to back to System Diagnostics Homepage.
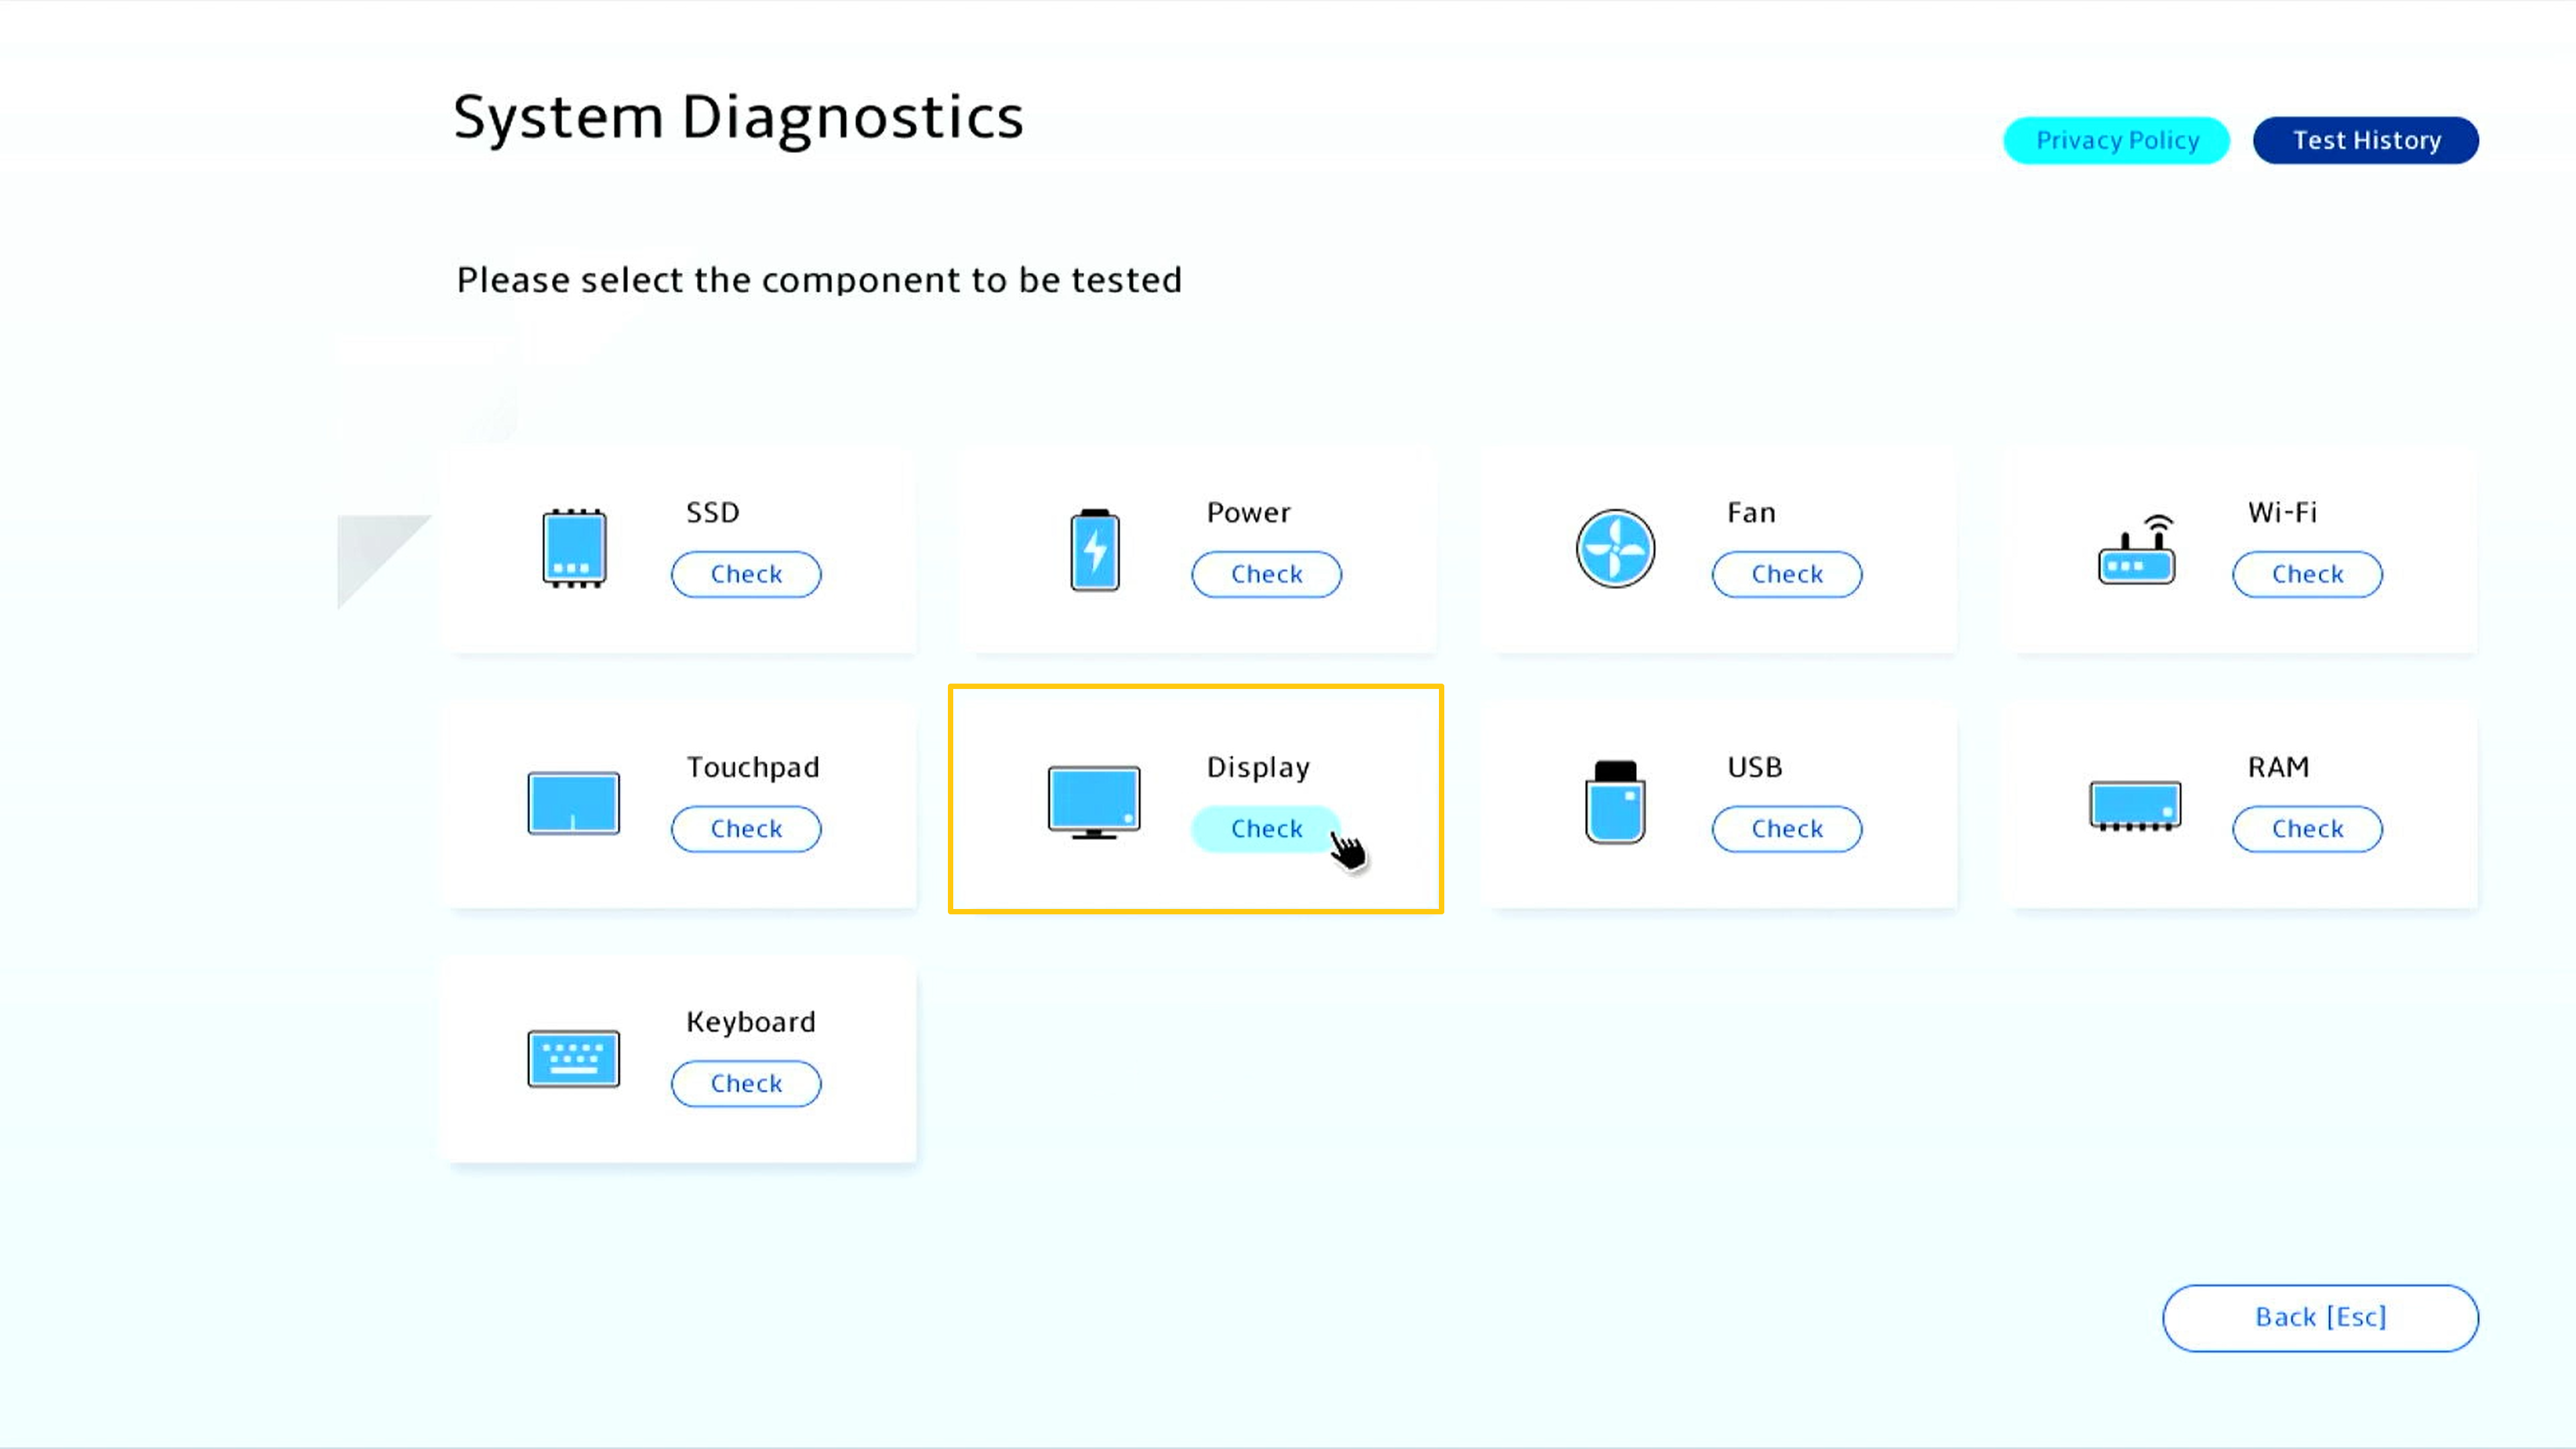
Clicking Display Test [Check] to start the test.
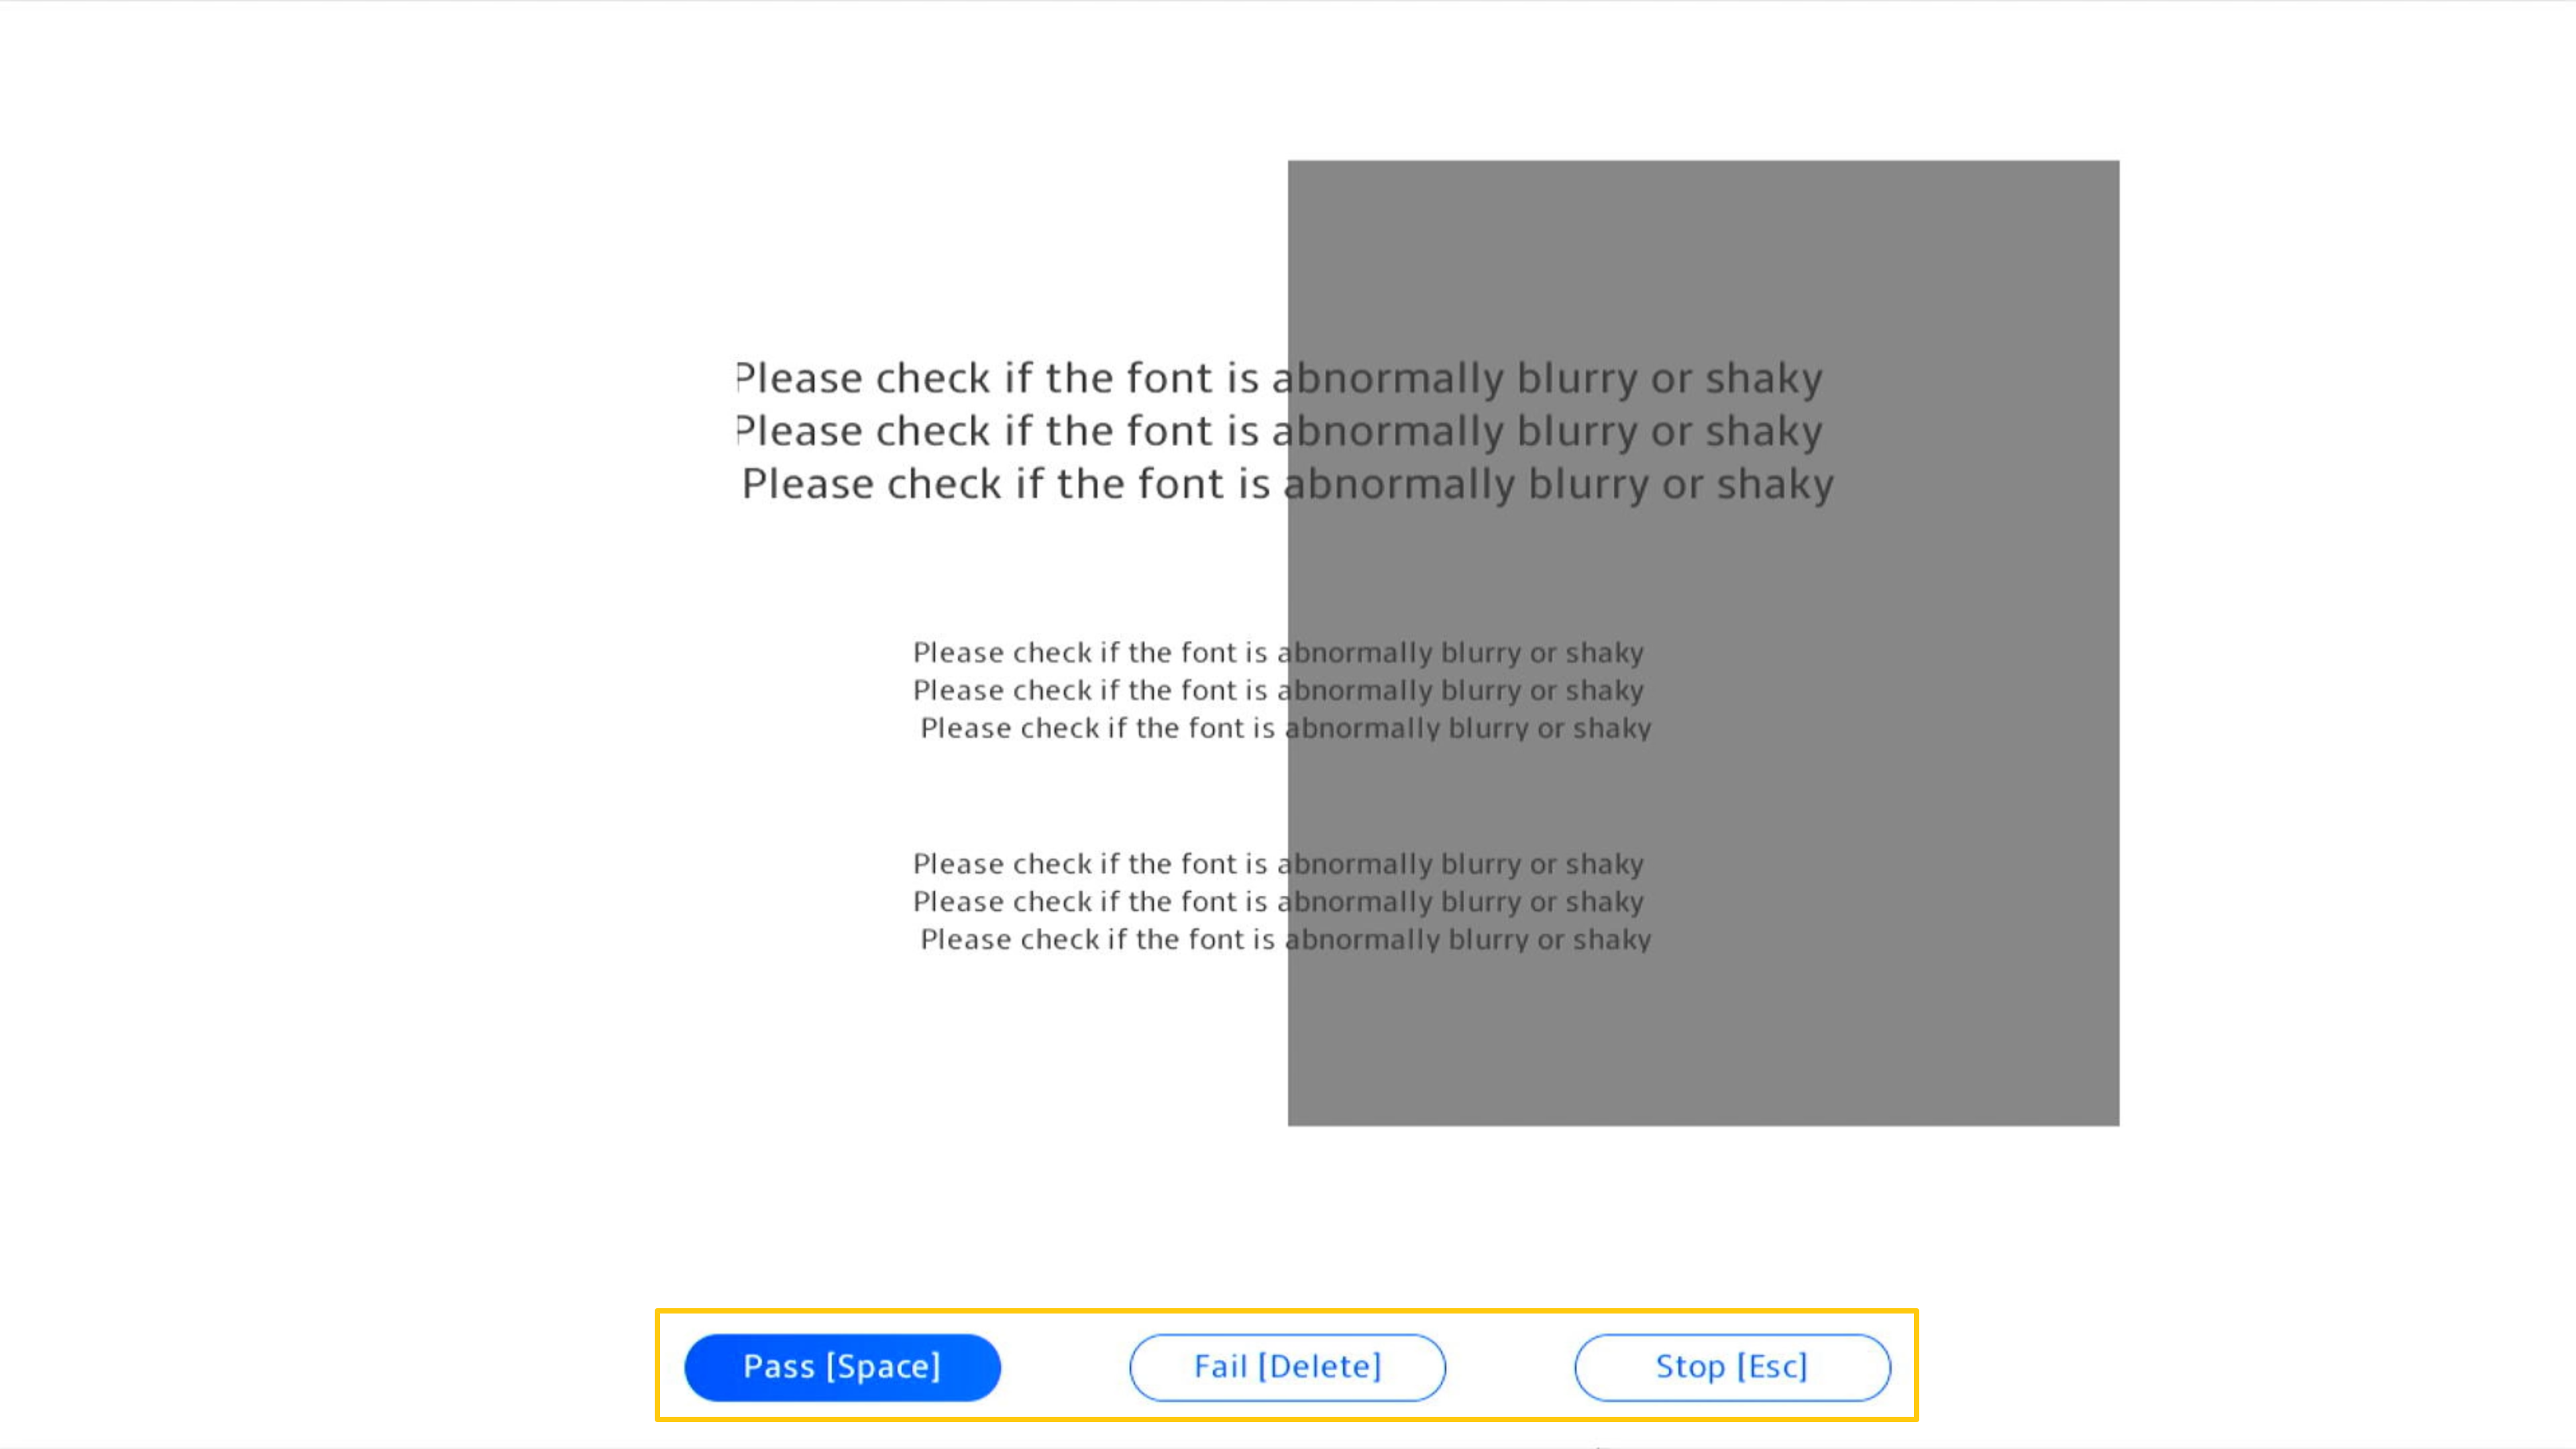
The display will show test image on screen, and user is required to judge whether the screen display is normal with the naked eyes, then clicking [OK] to start test.
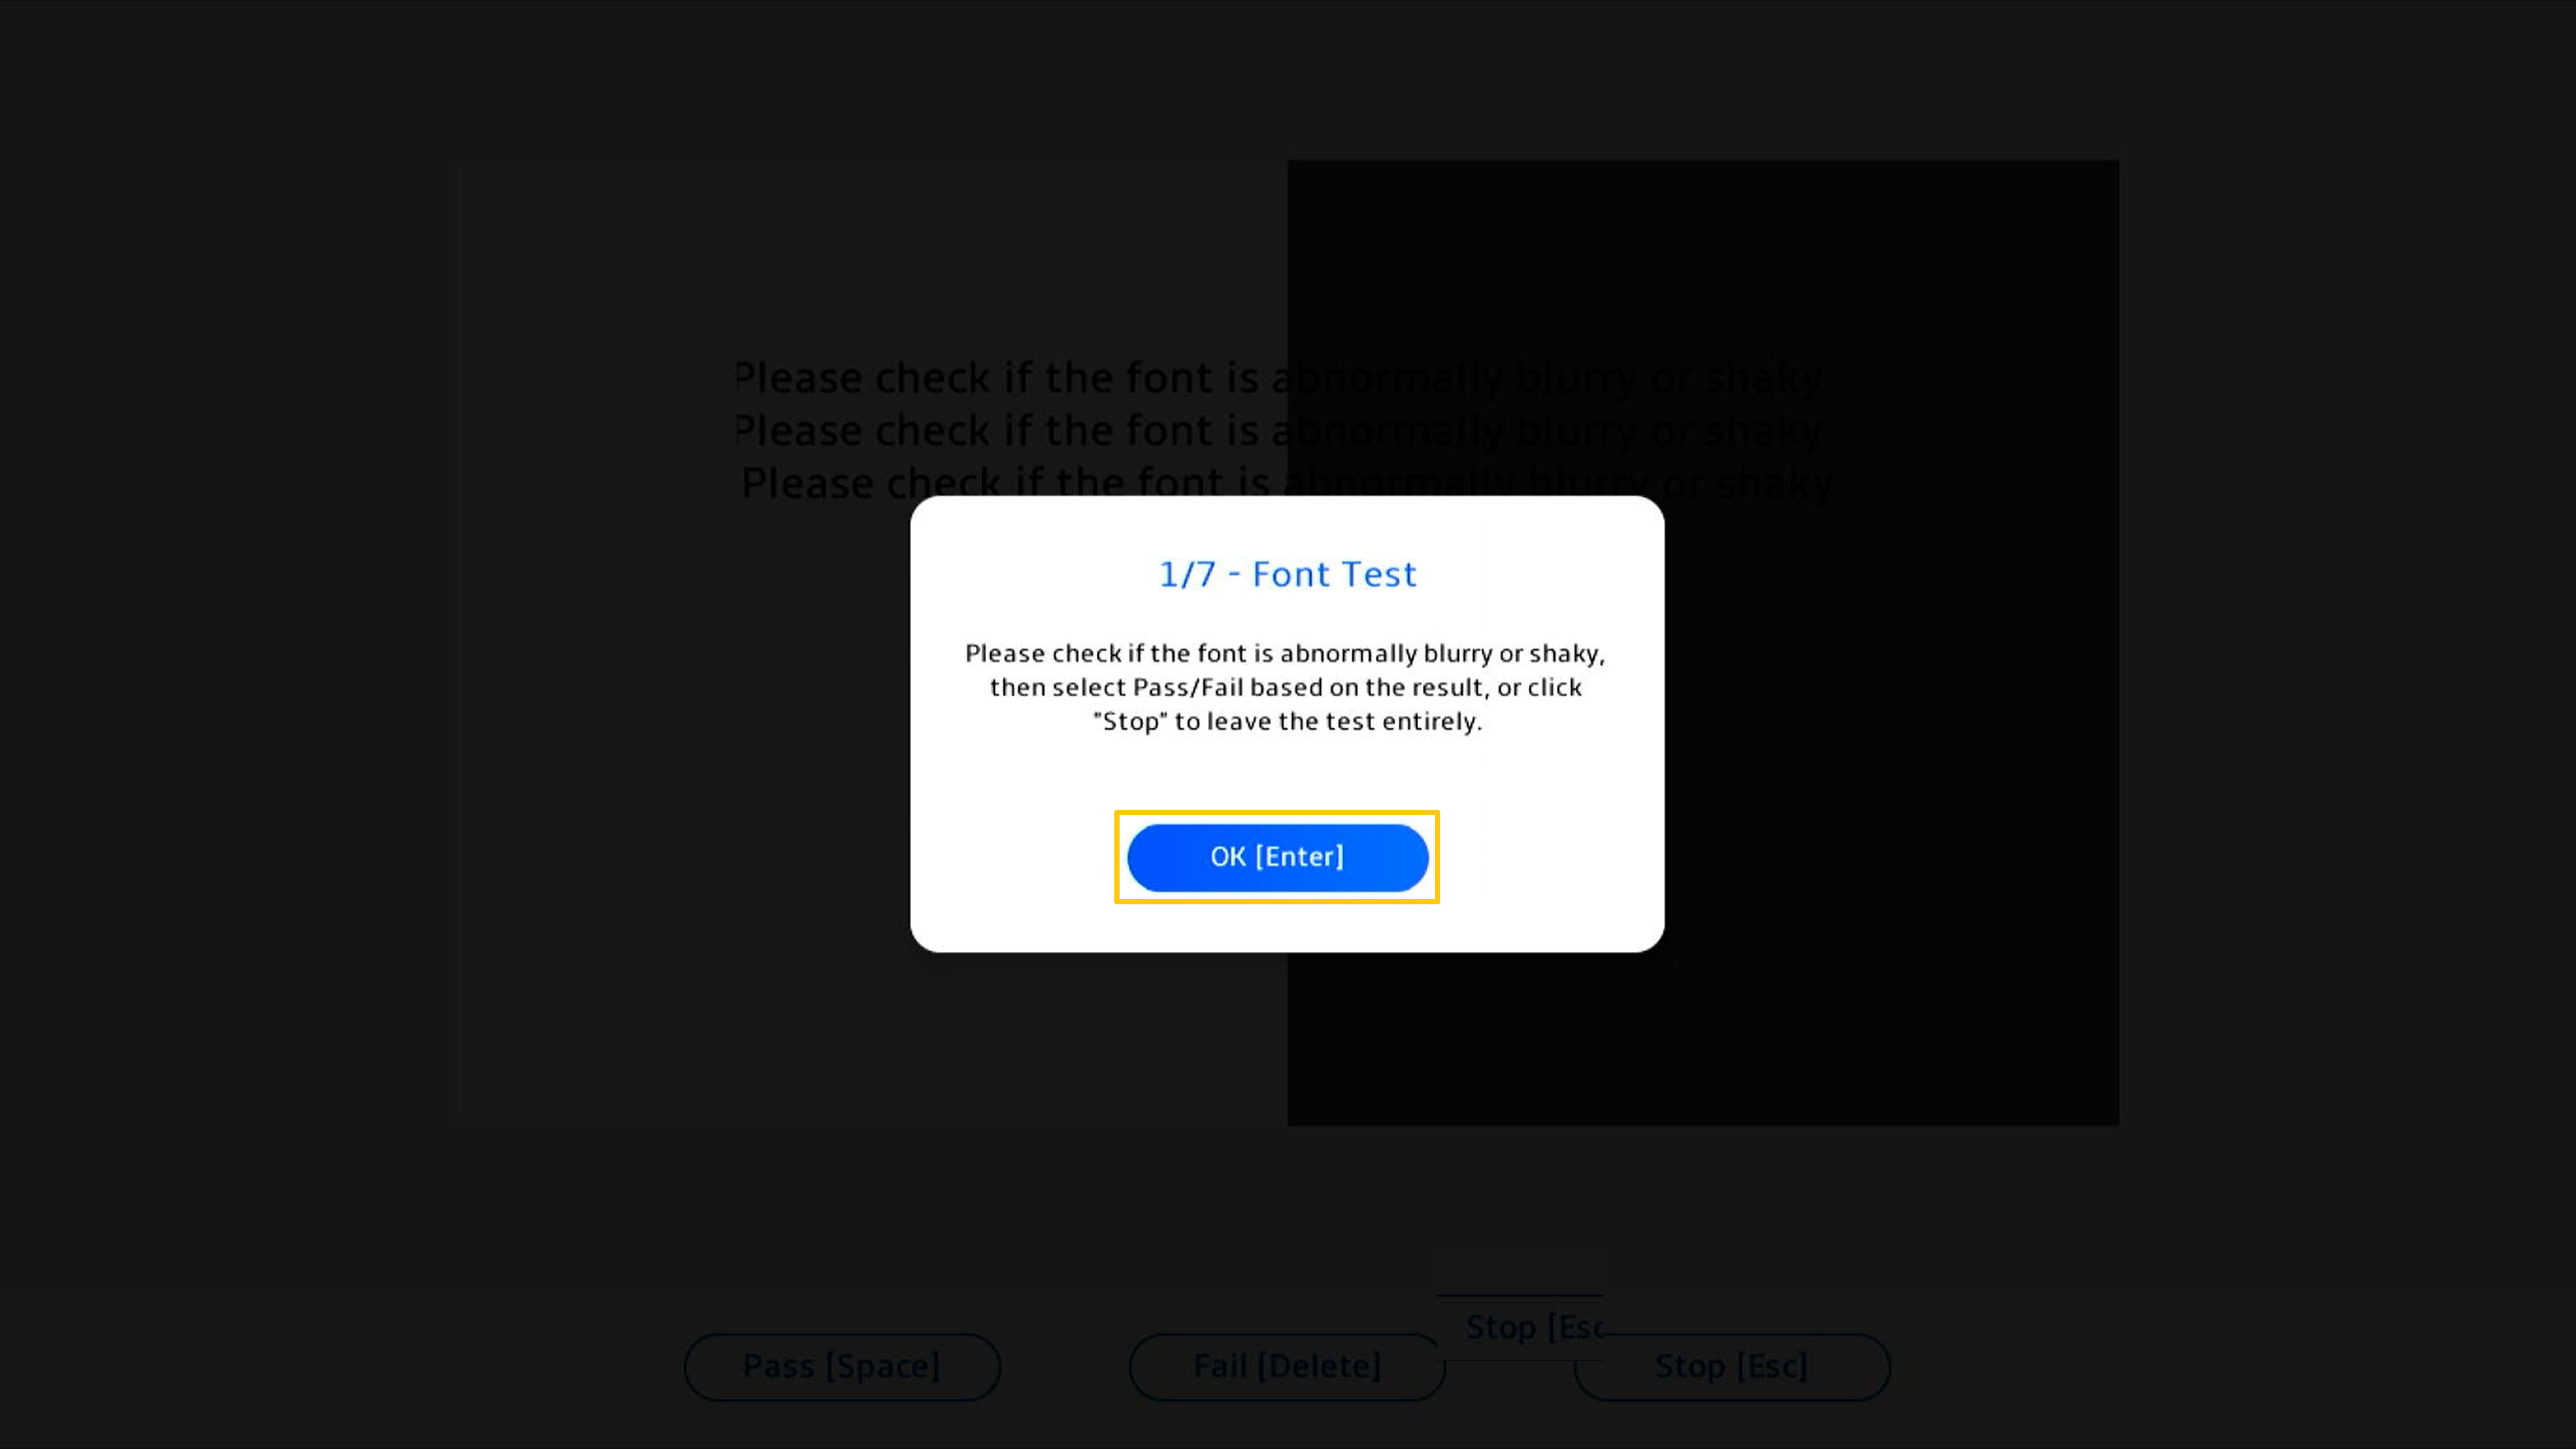
In character examination, please check if the font is abnormally blurry or shaky, then select [Pass] or [Fail] based on the result.
The test report will produce when test is done, please click [OK] to back to System Diagnostics Homepage.

• Pass: No problem is detected. This means that the test has completed and the result meets the standard.
• Failed: Problem detected. It indicates that the test has completed and the problem has been detected. Please refer to Q&A for further processing.
• Warning: If the component cannot be detected or you abruptly terminate the test program during the detection process, a warning message will show up. Please check the components again or send them for repair.
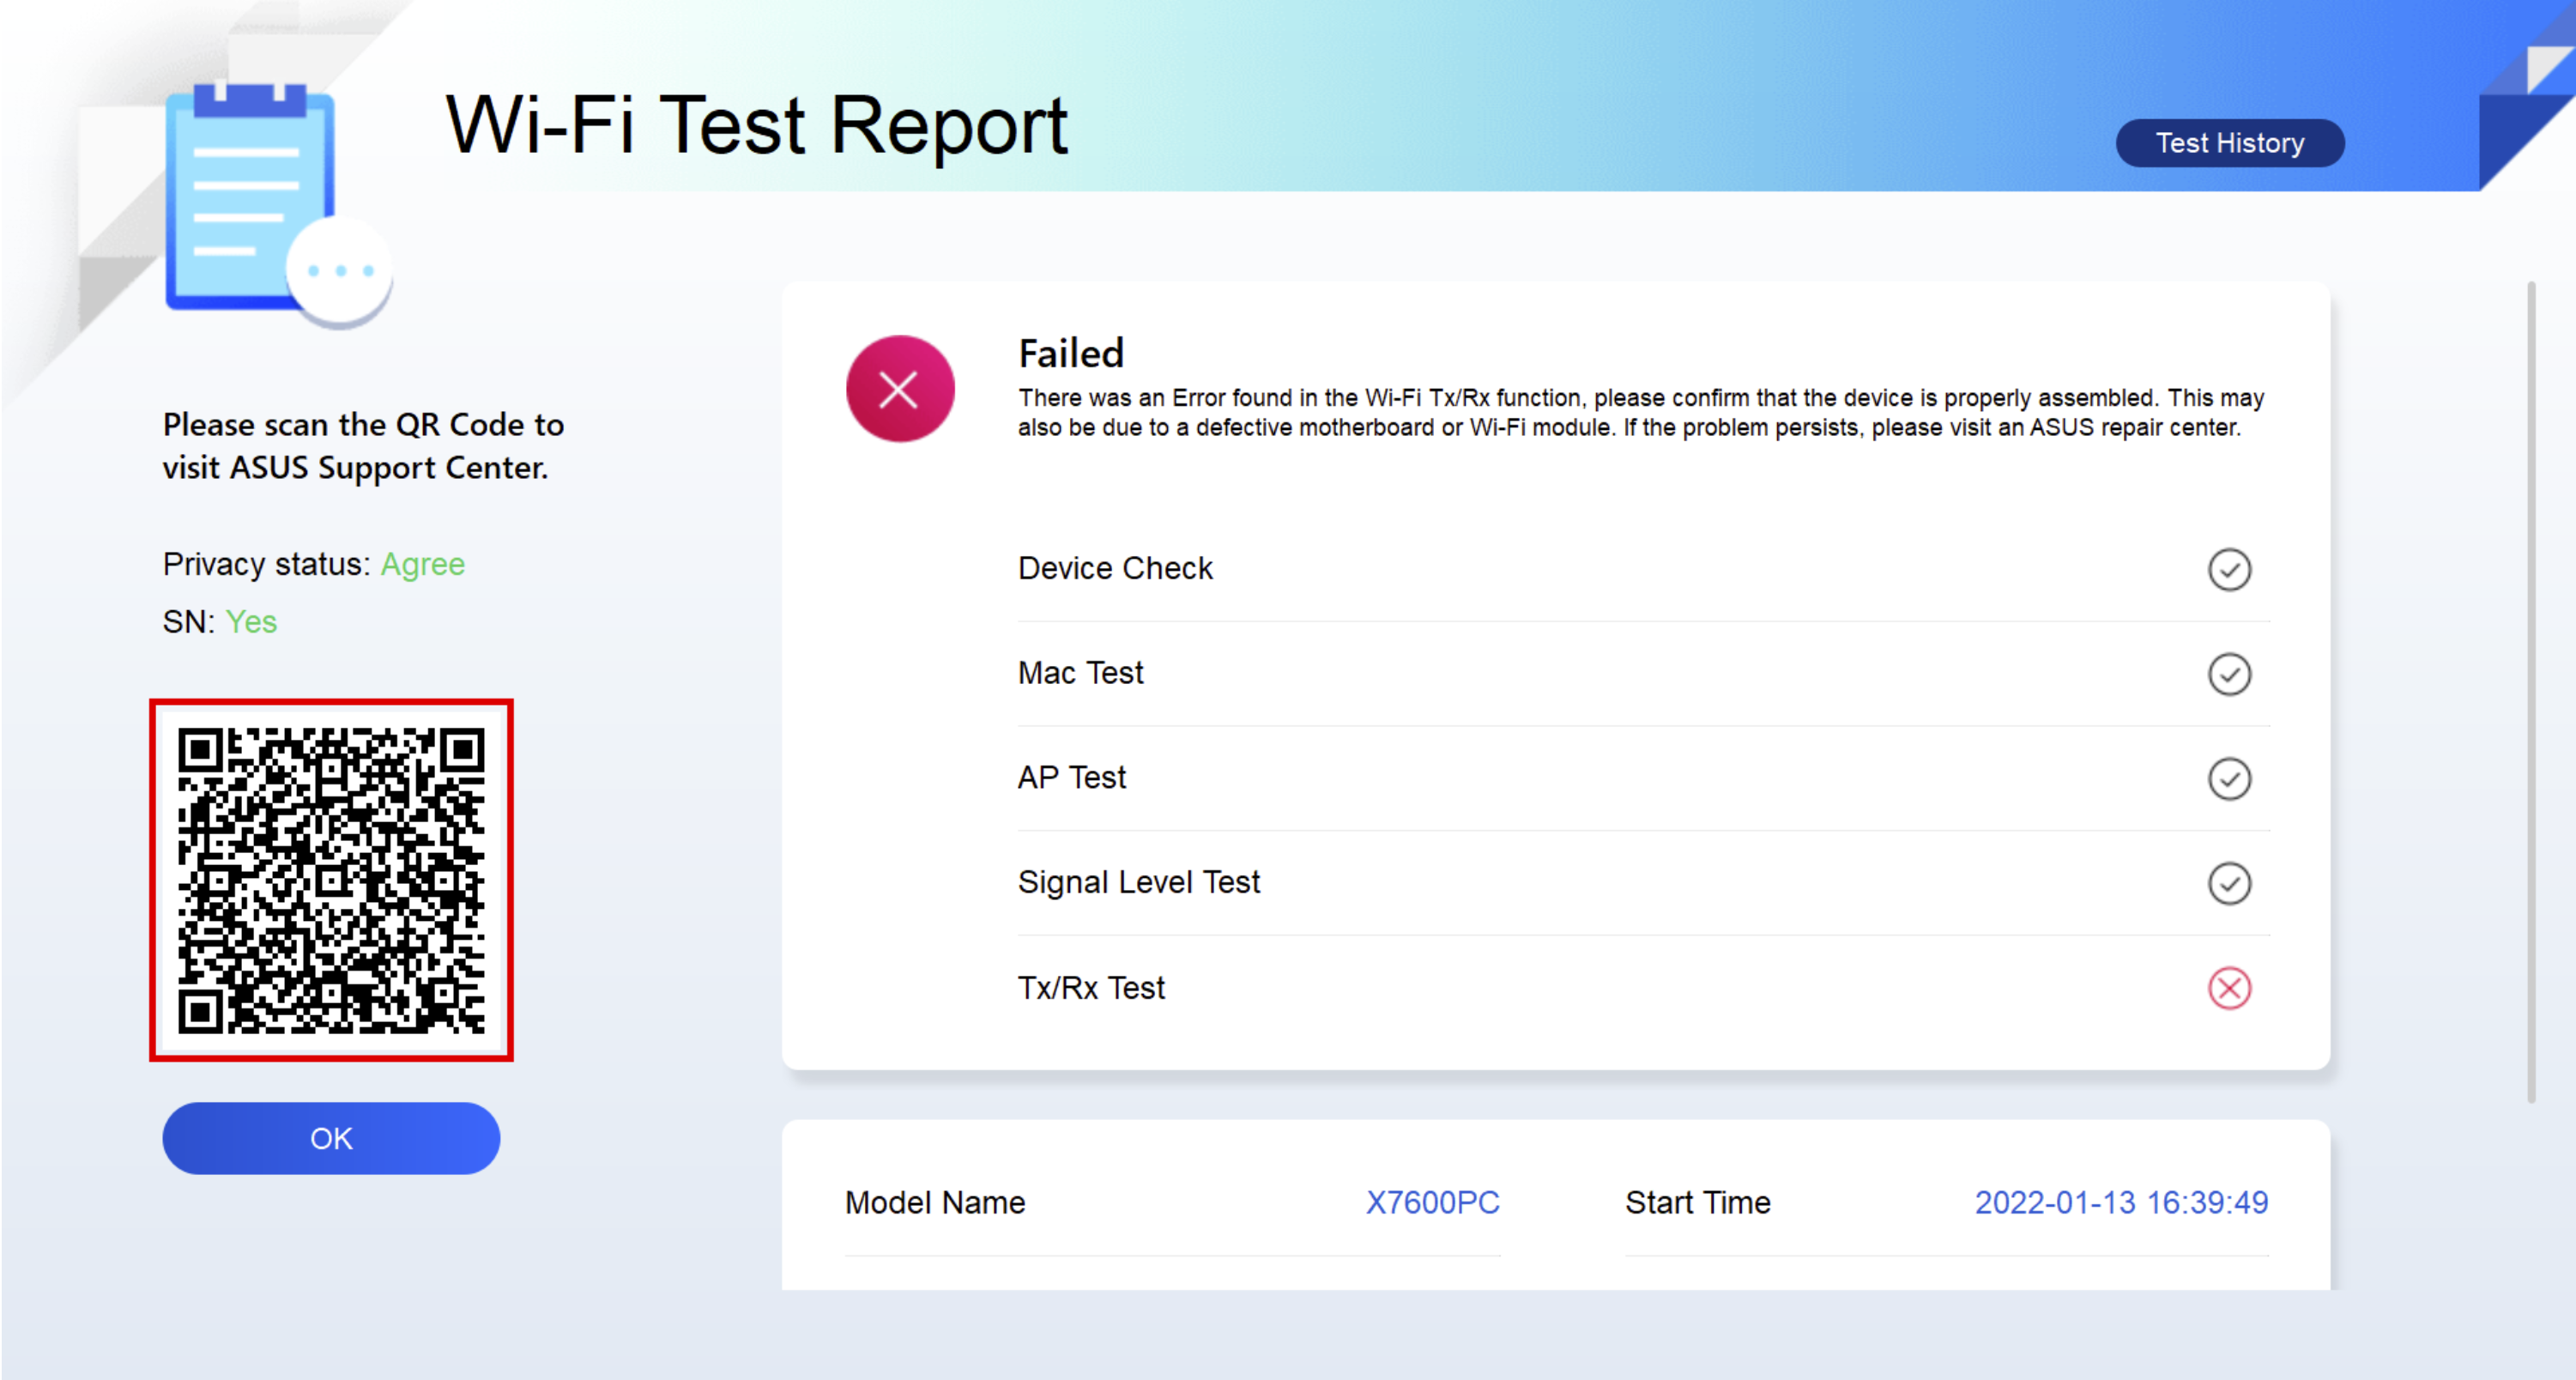
Q1: How can I do while the test report is showing failed?
A1: Please choose to agree the Privacy Policy first. If the diagnosis result shows that the component is abnormal, System Diagnostics will generate QR Code, test report and diagnosis code. You can scan the QR Code with your mobile phone and other devices to access ASUS online RMA.
* Repair service and policy may vary by country. Please check the service information on ASUS Support website.
* You must agree to System Diagnostics Privacy Policy in MyASUS in UEFI in order to upload test results to the Service Request system.
Q2: Can my Gaming laptop support Cloud Recovery?
A2: Currently support models,
Intel CPU : Support CPU platform Alder lake (GU603ZU/ZV/ZI, FX507ZU/ZV/ZI, FX707ZU/ZV/ZI models) or later.
AMD CPU : Support CPU platform Rembrandt Plus (GA402N serial, FA617N serial, FA507N serial, FA707N serial) or later.


