[All-in-One PC] How to Find/Pair the Receiver for a Wireless Keyboard and Mouse
To ensure that your wireless keyboard or mouse functions properly, please follow these steps:
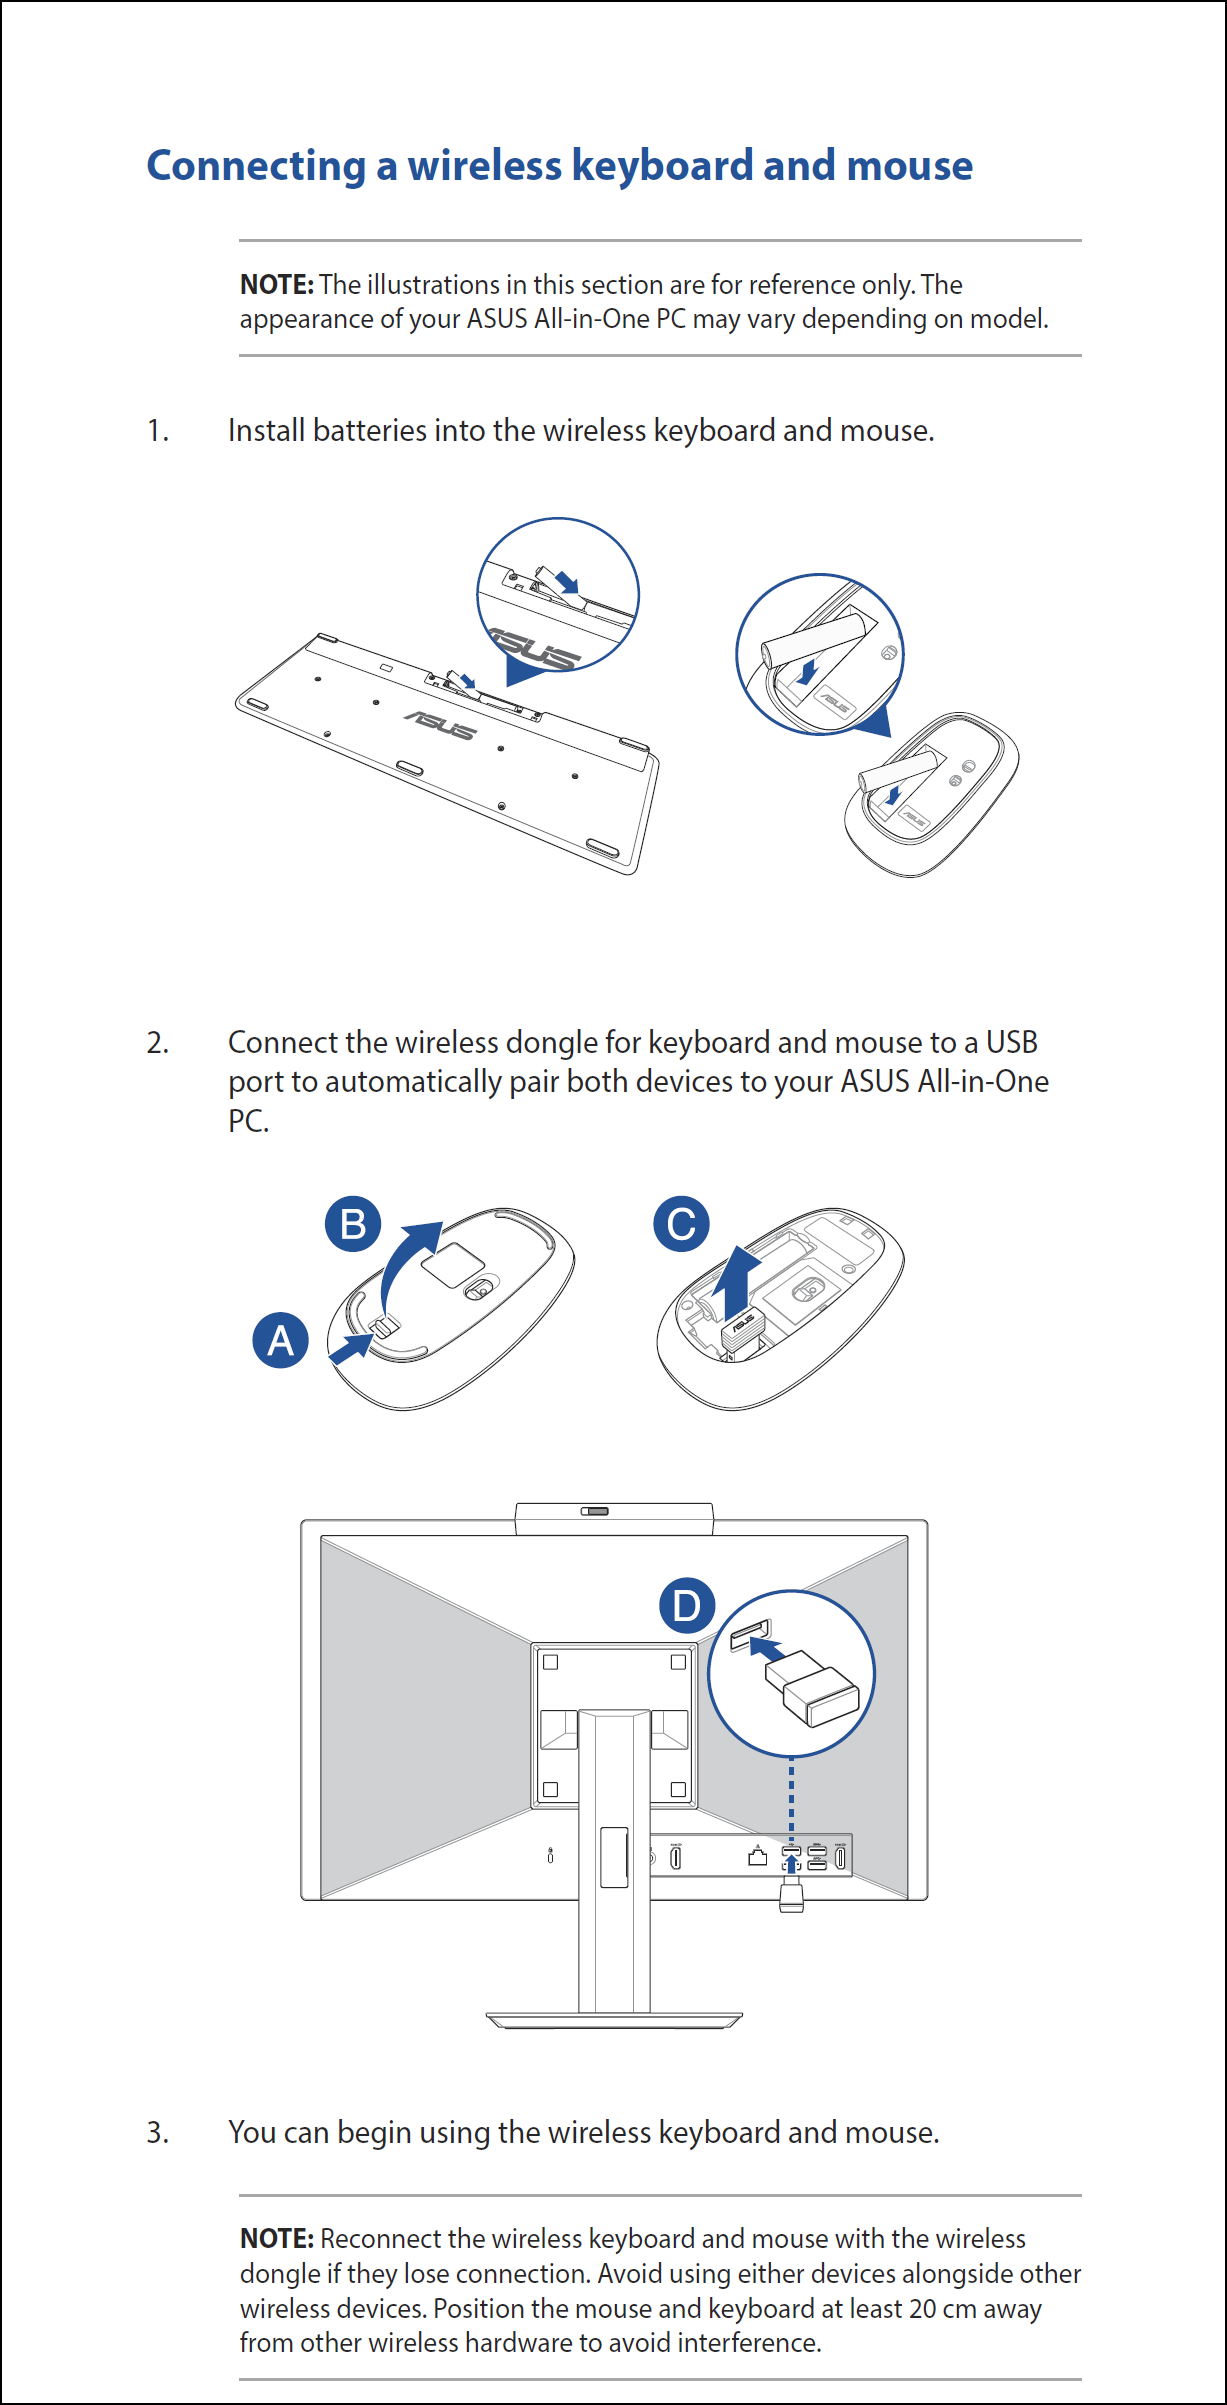
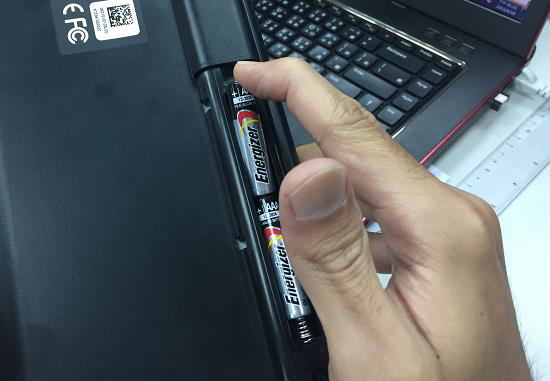
- Check the Power:
- Ensure that the batteries used in the wireless keyboard or mouse are in good condition and are installed correctly inside the devices.
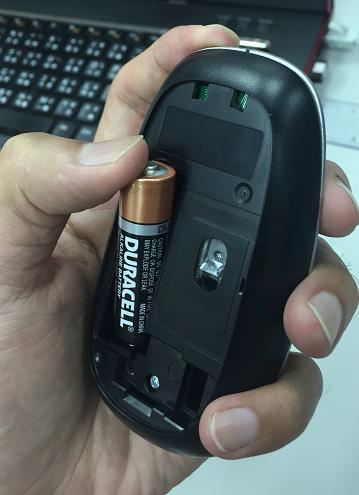
- Installing the Receiver:
- Ensure that your computer has the USB receiver for the wireless keyboard or mouse installed. Usually, the receiver is located inside the keyboard or mouse. Refer to the following illustration for the specific location (the exact location may vary depending on the model of the wireless keyboard or mouse; for more details, please refer to the User Manual of your computer).
- If you are unsure whether your product includes a wireless keyboard or mouse, please confirm with the retailer from whom you purchased the ASUS product or contact the local ASUS customer service center.
How to Re-pair the Wireless Keyboard and Mouse
If you encounter connection issues between your computer and the wireless keyboard or mouse, refer to the following steps to re-pair them:
Wireless Keyboard
- Connect the wireless keyboard's receiver to the USB port of your computer.
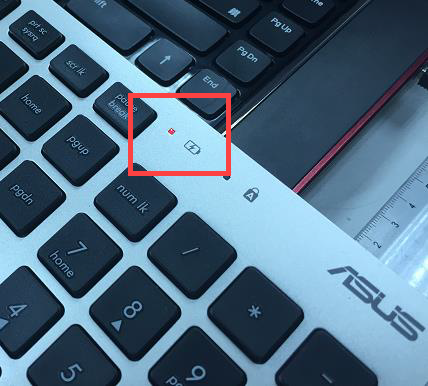
Note: The connection re-pairing time lasts only for 15 seconds. If pairing is not completed within this time, please start over from step 1. - Insert the batteries into the wireless keyboard. You should see the LED indicator light up in red and stay on for about three seconds.
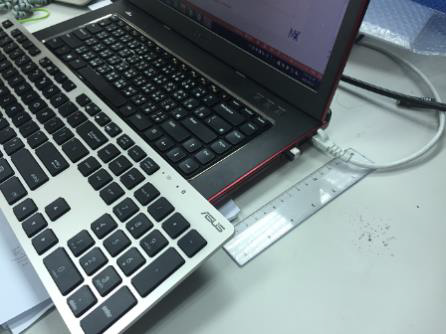
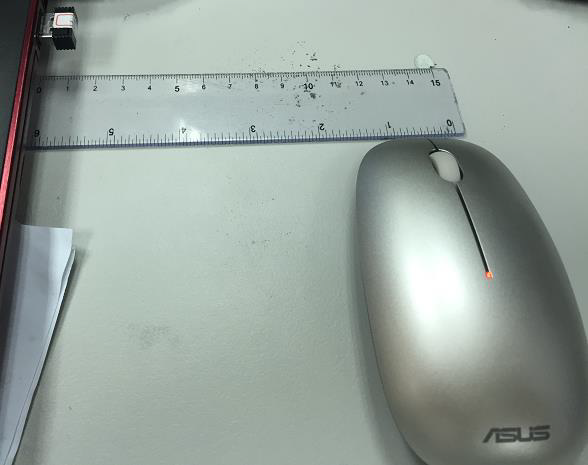
- Ensure that the wireless keyboard is within 15 centimeters of the USB receiver.
- Simultaneously press the 'ESC' key and the 'K' key on the wireless keyboard. When the LED indicator turns red and rapidly flashes for about five seconds before turning off, it indicates that pairing has been successful.

- Finally, verify that the wireless keyboard is functioning properly.
Wireless Mouse
- Connect the wireless mouse receiver to the USB port of your computer.
Note: The connection re-pairing time lasts only for 15 seconds. If pairing is not completed within this time, please start over from step 1. - Insert the batteries into the wireless mouse. You should see the LED indicator light up in red and stay on for about three seconds.
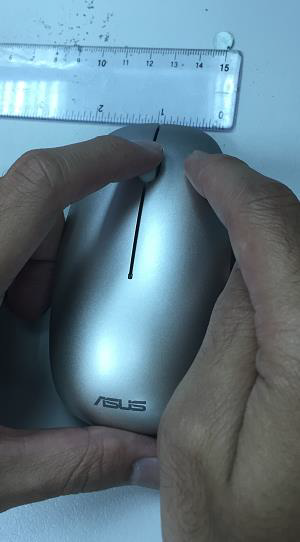
- Ensure that the wireless mouse is within 15 centimeters of the USB receiver.
- Simultaneously press the 'middle button' and the 'right button' on the wireless mouse (you may release the buttons after pressing). When the LED indicator turns red and rapidly flashes, it indicates that pairing has been successful.
- Finally, verify that the wireless mouse is functioning properly.