Liknande ämnen
- Troubleshooting - Device’s Battery not supplying power/charging, Battery not charging to full, Unable to power on via battery
- [Notebook] ASUS Battery Information Center
- Troubleshooting - Slow Charging / Battery Draining while Plugged in
- [Windows 11/10] Troubleshooting - Short Battery Life (Rapid Battery Drain)
Battery and Power Adapter (Charger) Specifications and Recommended Usage
Applicable Products: Notebook, Gaming Handheld
In this article, we will provide detailed specifications for ASUS original batteries and power adapters (chargers), along with guidelines for their optimal usage. This guide particularly focuses on scenarios where power outlets may or may not provide sufficient power to the device’s power adapter in specific situations, such as on an airplane, common wall outlets, and even power outlets on extension cords. The goal is to ensure that the device’s power adapter functions properly and adequately meets its energy requirements in various environments.
AC Adapter specification
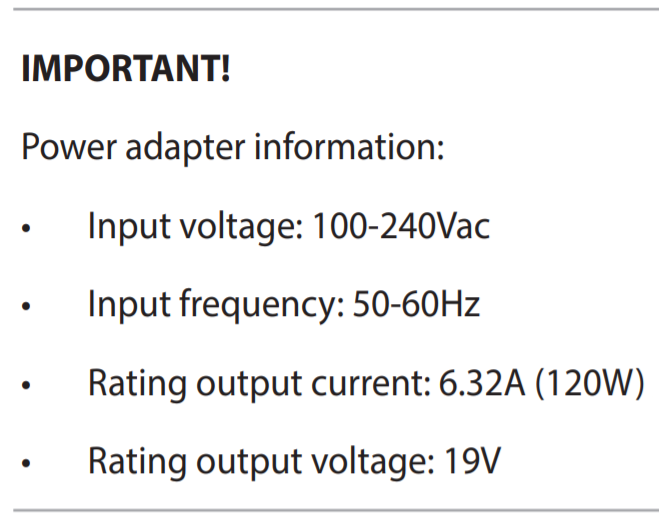
The AC adapter of ASUS product shows the input/output voltage/current (as below red square mark in the picture) and the safety certifications on the rear side.
INPUT: Applicable voltage is 100~240V as AC (Alternating Current), 50~60Hz as frequency, and 2A as current.
OUTPUT: Applicable voltage is 19V as DC (Direct Current) and 6.32A as current. The maximum watts is 19V * 6.32A = 120W.

You can also check AC Adapter specification in the User Manual. Here you can learn more about How to download User Manual.
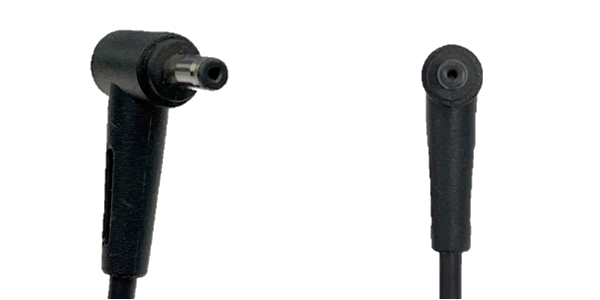
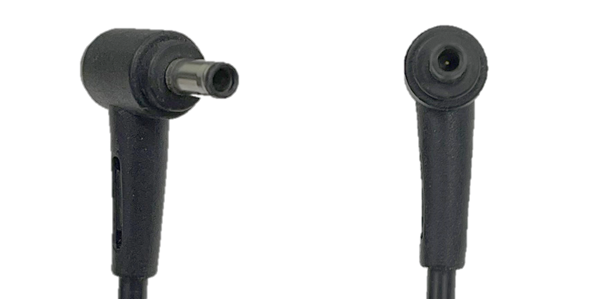
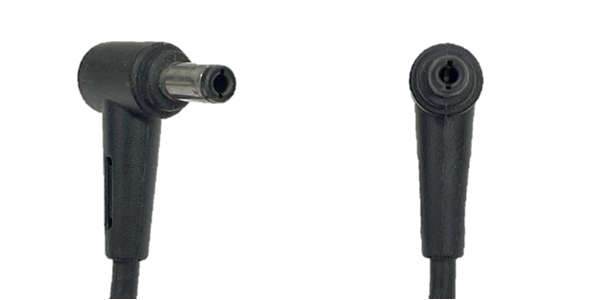
AC adapter connector specification
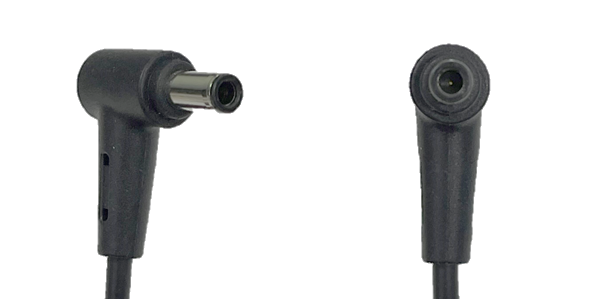
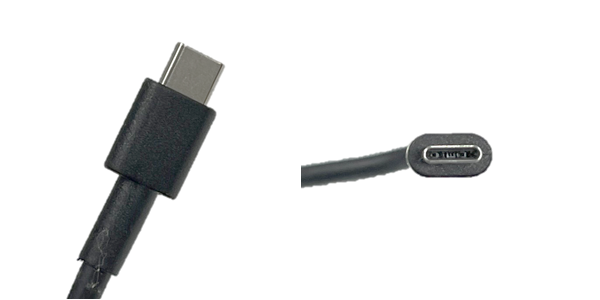
The following are the common connector specification of the AC adapter of ASUS products:
| Connector specification | 4.0 Ø | 4.5 Ø |
 |  | |
| 5.5 Ø | 6.0 Ø | |
 |  | |
| USB Type-C | ||
 |
How to check the AC adapter specification on the ASUS official site
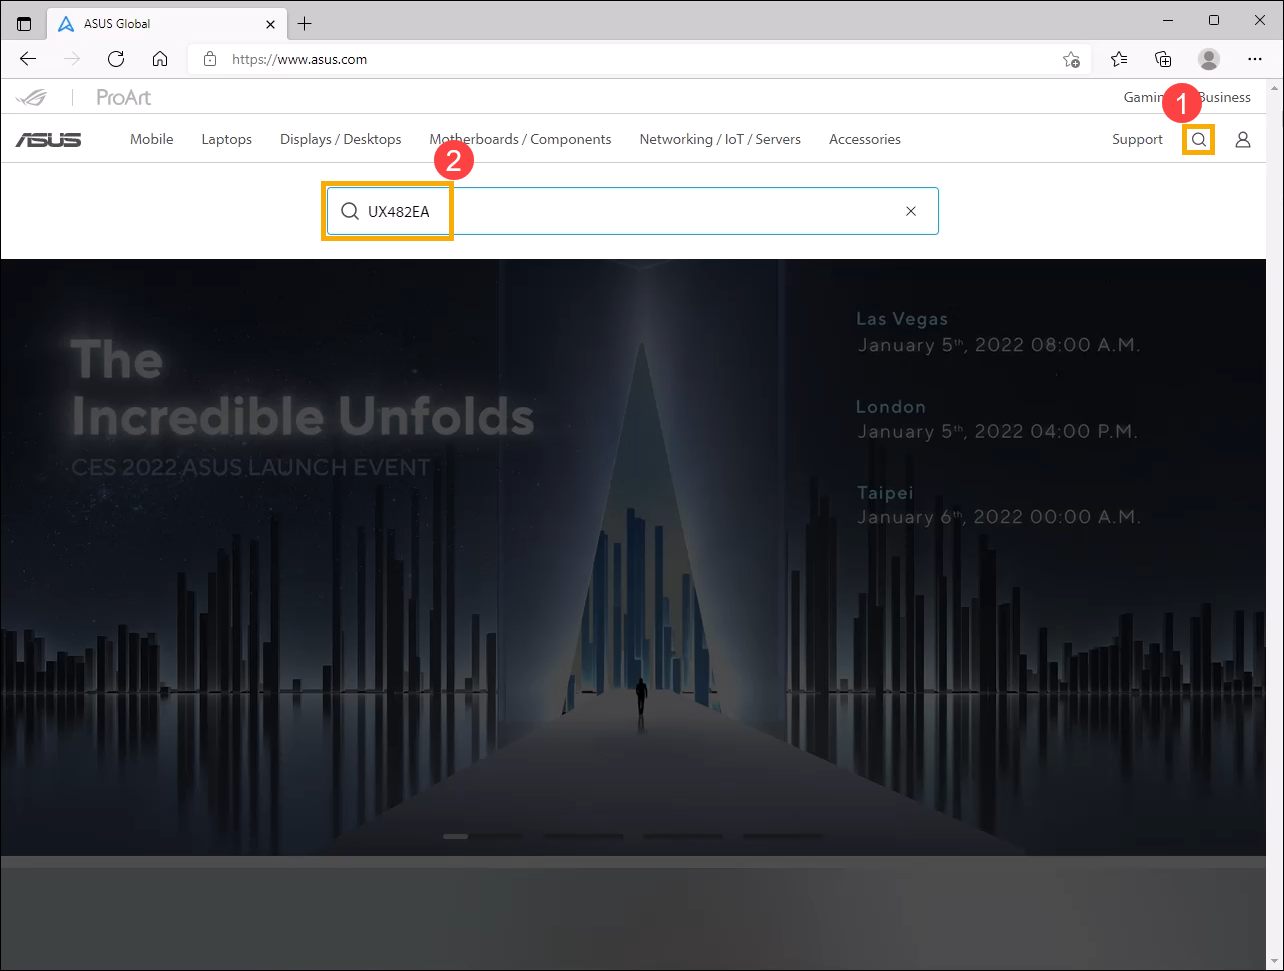
- Go to the ASUS official website, click [Search
 ]①, then input [Model name] and press Enter key on the keyboard②. Here you can learn more about How to check the model name. (The following takes UX482EA as an example.)
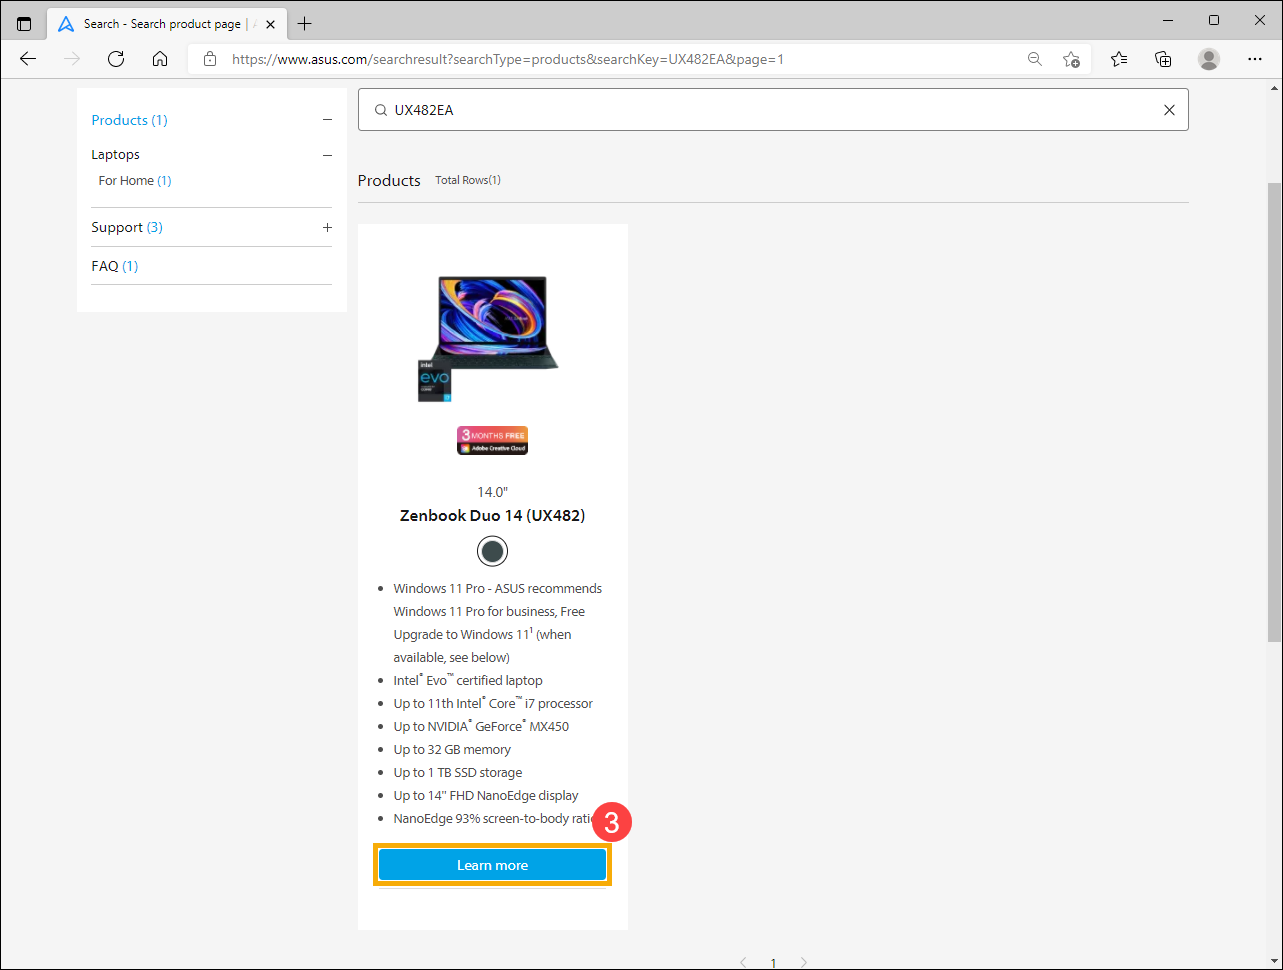
- Select [Learn more]③.
- After entering the product page, select [Tech Specs]④.

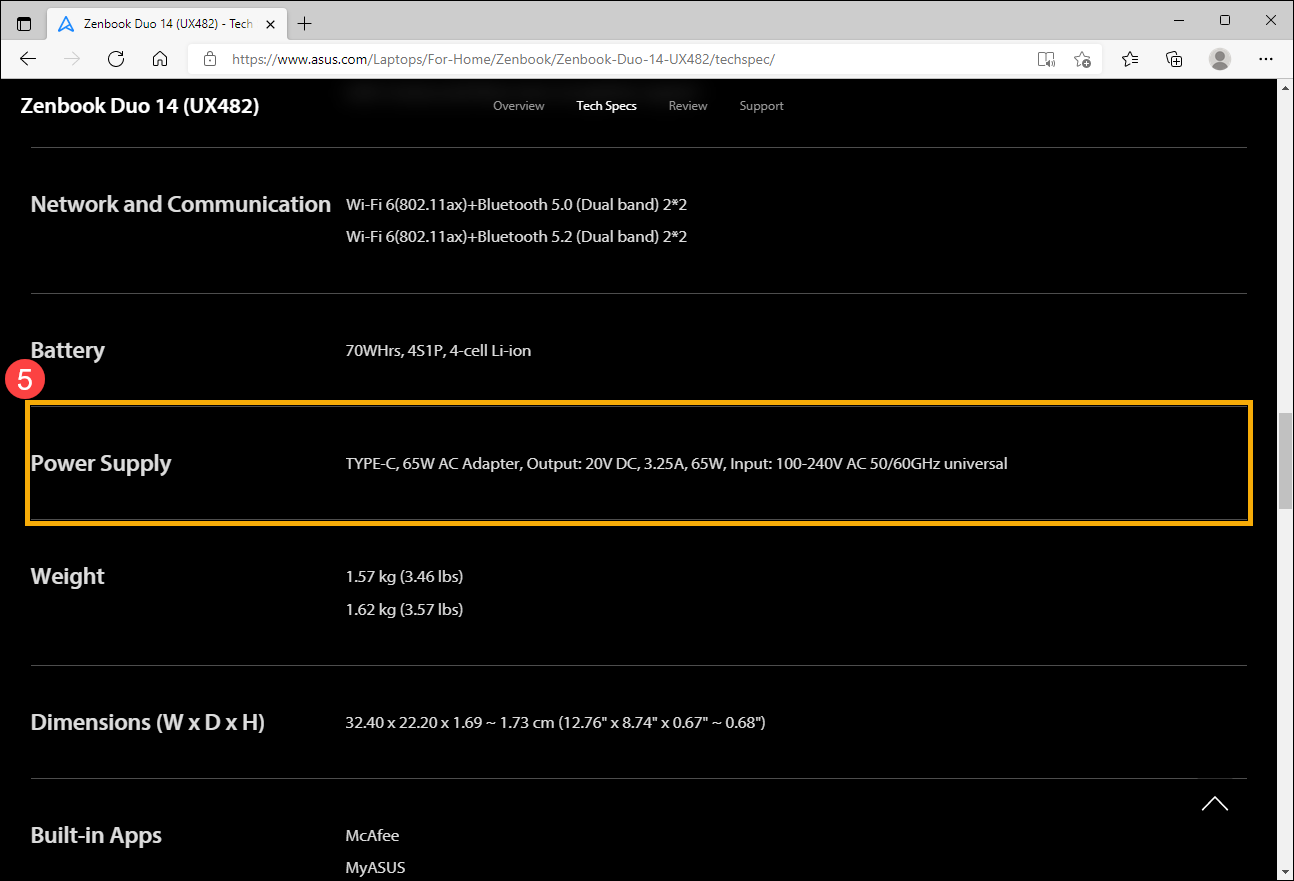
- On the Tech Specs page, you can find the AC adapter information on the Power Supply spec field⑤.
The maintain and recommended use of AC adapter and cable
Please refer to the following items to properly use the AC adapter and power cable of the ASUS product to prevent potential damages to the device.
- For the best performance, please use ASUS original AC adapter and power cable for your ASUS device to avoid compatibility issues.
- Do not use different adapters on different models, or plugging in different sizes of connectors might cause damages. Even though the size of the DC Jack is the same, please ensure the adapter specification (e.g. 19V / 4.74A) is the same. Otherwise, the adapter or device will be damaged due to wrong usage.
- Before charging the device with the adapter, please make sure no abnormal stuff (such as dust or tiny cotton) inside the connectors of the AC adapter and device. If there is stuck stuff, please clean it before using the AC adapter.
- Ensure that all ports, including the power cord, adapter, and outlet, are fully inserted and securely connected when attaching the power adapter to prevent issues such as poor charging caused by loose connections.
- Do not place the adapter on the ground while using it because the office chair wheels can easily damage the power cable causing and cause short circuits or electricity leak for the cable.
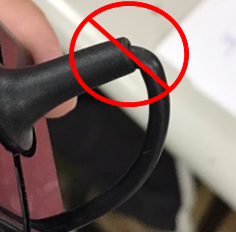
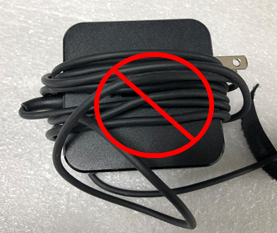
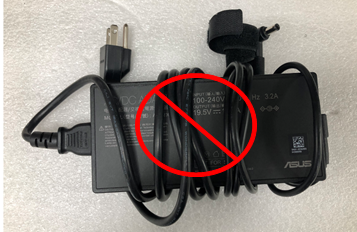
- While using the AC adapter: Please stretch the power cable of the AC adapter, and do not tie it up on the AC adapter or anything.
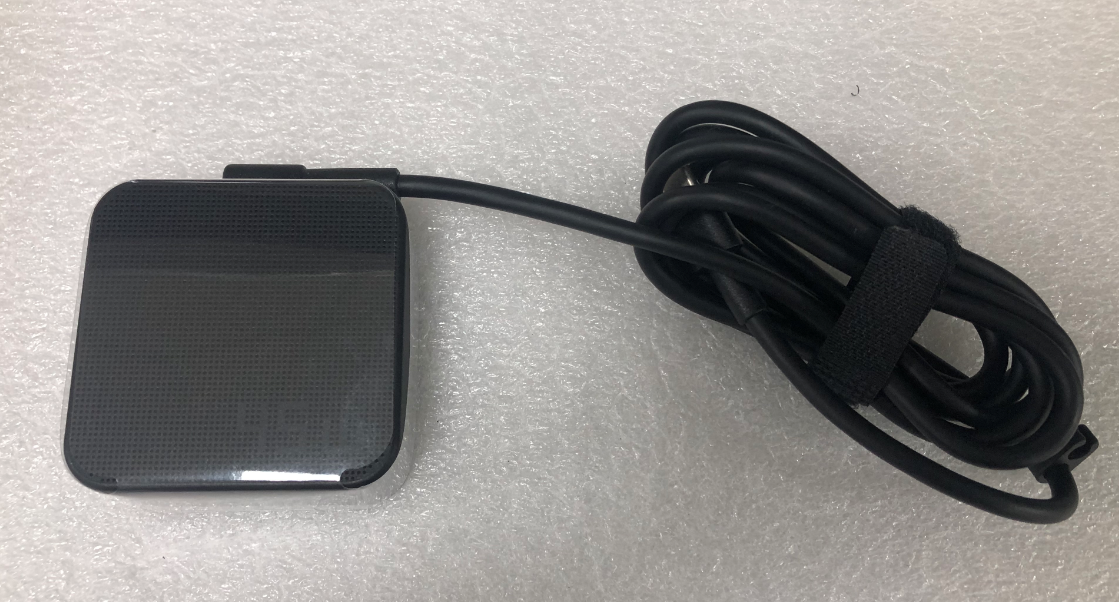
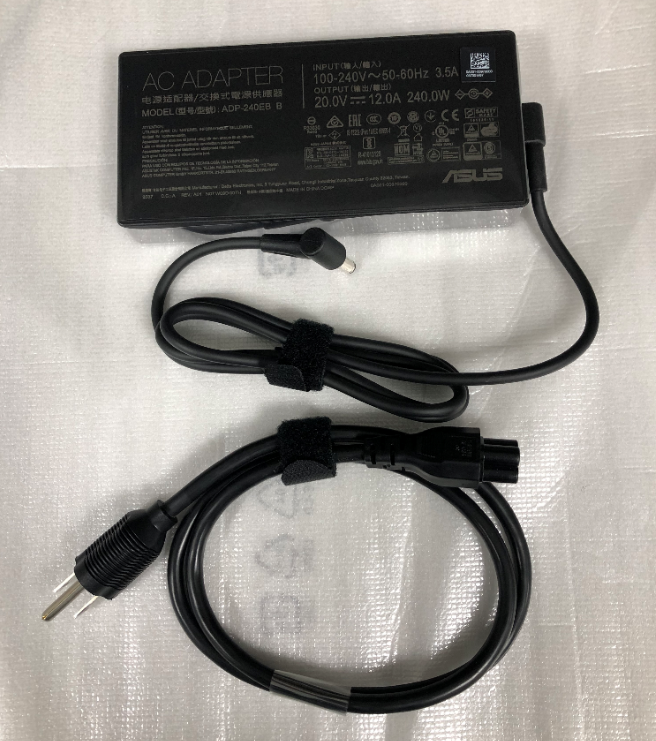
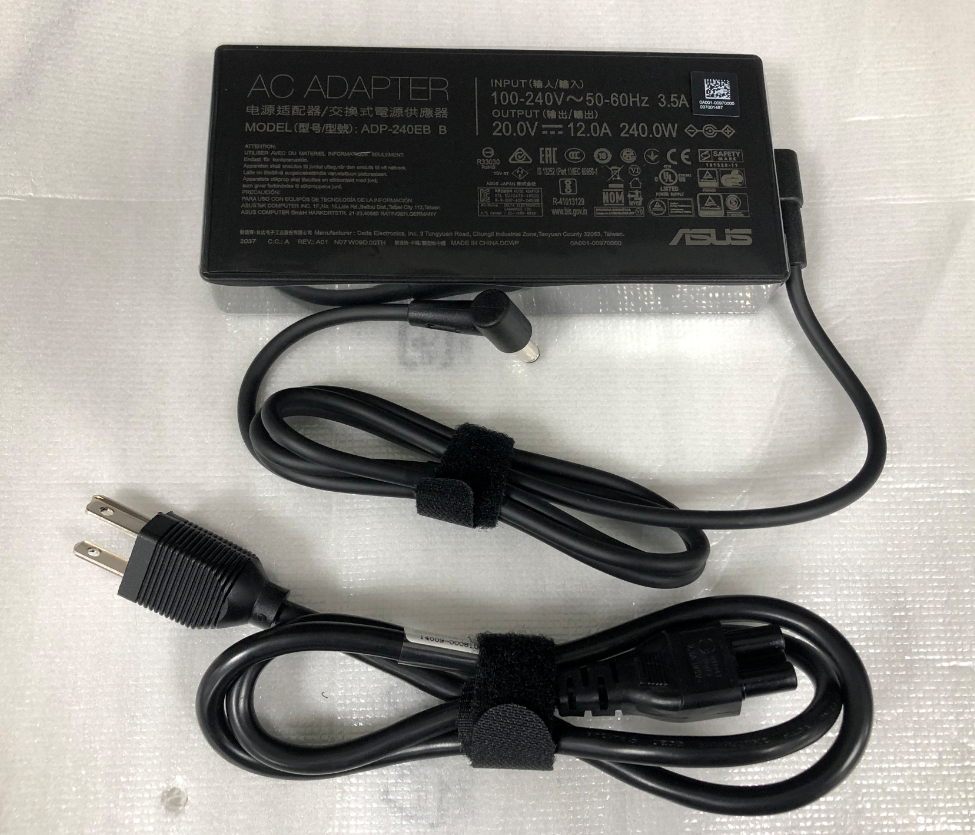
- Store the AC adapter or while not using it: Please refer to the following illustrations to store the power cable properly and use Velcro to tie it up. This way not only saves the cable easily but also prevents it broken.
Note:
- The generation of heat by the adapter during the charging process is a normal phenomenon. However, if the cables are broken or damaged, it may cause a short circuit between the inside of the device and the adapter, leading to potential hazards such as electric shock, overheating, or even catch the fire.
- Please do not tie the cable on the AC adapter or anything because inappropriately tying may cause the inside cooper wire of the cable broken. The following illustrations are the incorrect methods of tying cable.
Battery instructions
ASUS battery of devices utilize Li-ion battery which has no battery memory effect, and the system is able to prevent over-charge/excessive discharge/charge temperature control.
One thing to be emphasized is that Li-ion battery will 'self-discharge' and battery level will slightly go down even though it is not used.
If the battery had been stored for a long time and discharged to 0%, it may cause the voltage of the battery lower than the specification of Under Voltage, and the battery will be damaged and no longer rechargeable. Therefore, you need to always keep a certain amount of charge remaining before long-term storage without using.
We recommend to charge the battery to 50%, turn the device off, and remove the AC adapter when not using the device for a long time. Recharge the battery to 50% every three months to refresh the battery and prevent battery damage due to over-discharge.
For other battery introduction, here you can learn more about ASUS Battery Information Center.
Charge your Notebook PC
- Connect the AC power cord to the AC/DC adapter.
- Connect the DC power connector into your Notebook PC’s power (DC) input port.
- Plug the AC power adapter into a 100V~240V power source.
Charge the Notebook PC for 3 hours before using it in battery mode for the first time.
Note: The power adapter may vary in appearance, depending on models and your region. For detailed information, please refer to your User Manual instructions.
![]()
Q & A
Q1: Why does my device stop charging after battery level is 60% or 80%?
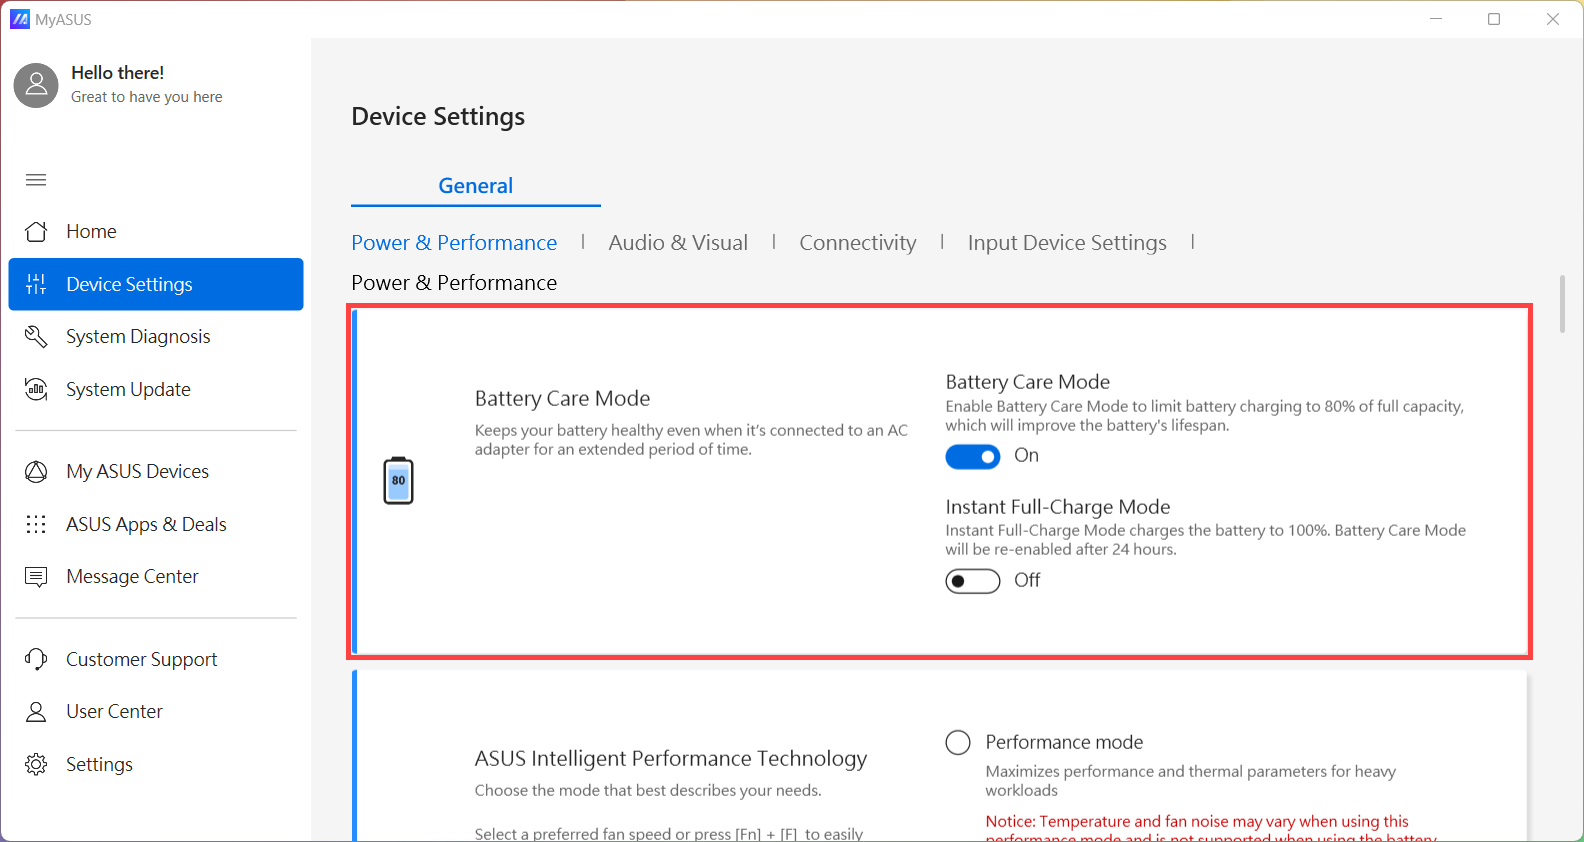
A1: Please first ensure whether you have configured the ‘Battery Care Mode’ in MyASUS. This software allows users to set the maximum power of RSOC (Relative State of Charge) through ASUS Battery Care Mode to extend battery life. Learn more about MyASUS - Device Settings.
Note: For CPU platform models prior to Intel Alder Lake or AMD Rembrandt, this feature in MyASUS is called ‘Battery Health Charging’, and you can choose to limit battery charging to 60%, 80%, or 100%.
Note: If your MyASUS does not support device settings, learn more about Why can I only see the partial features in the MyASUS app. Please make sure you have configured the battery maintenance mode of ASUS Battery Health Charging software. Learn more about ASUS Battery Health Charging software.
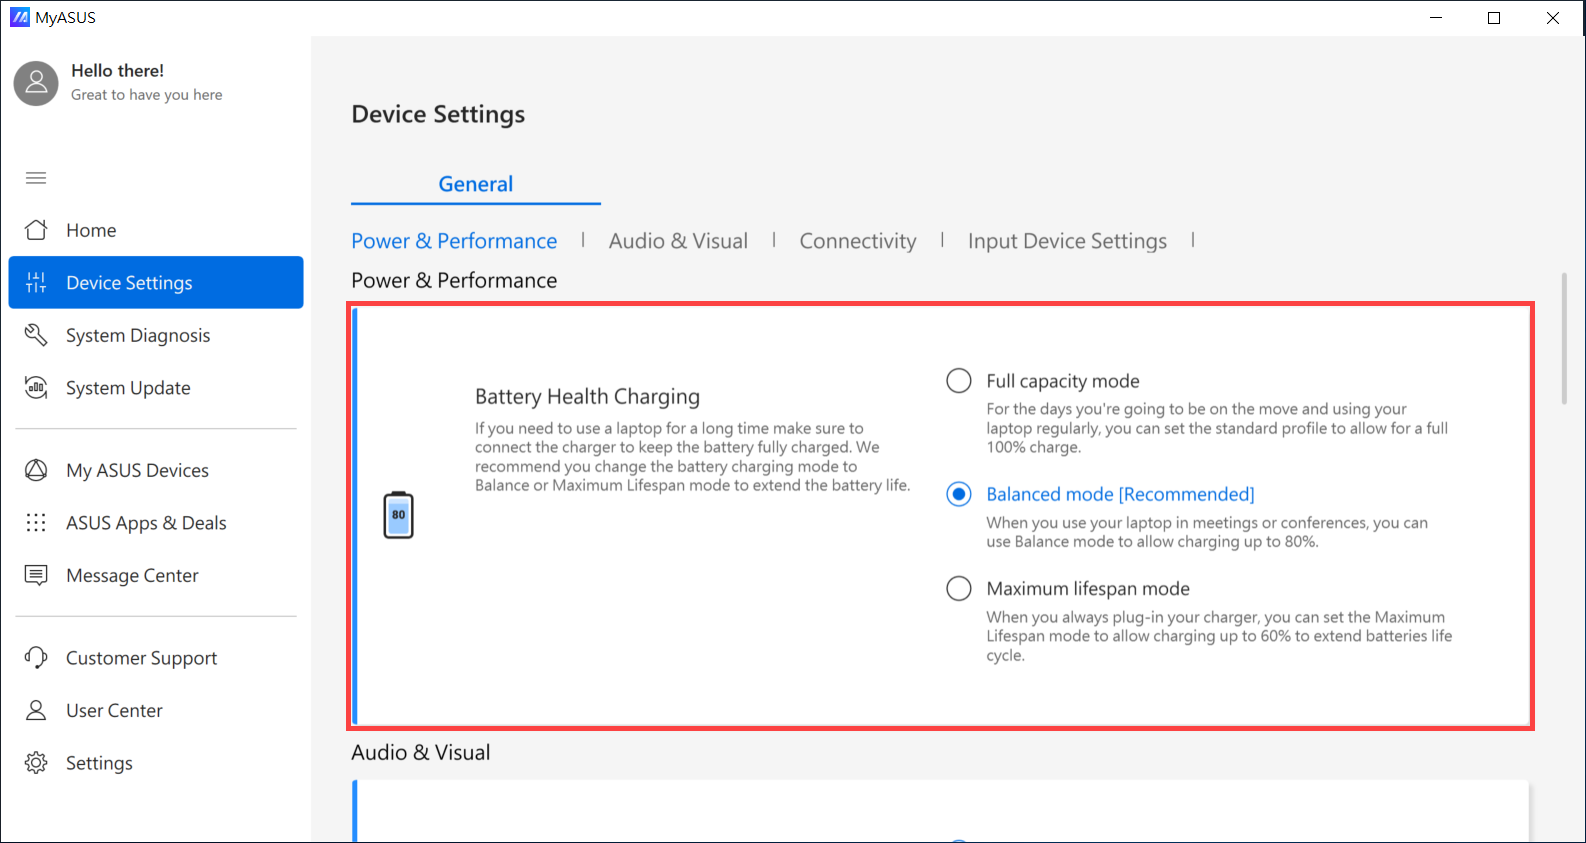
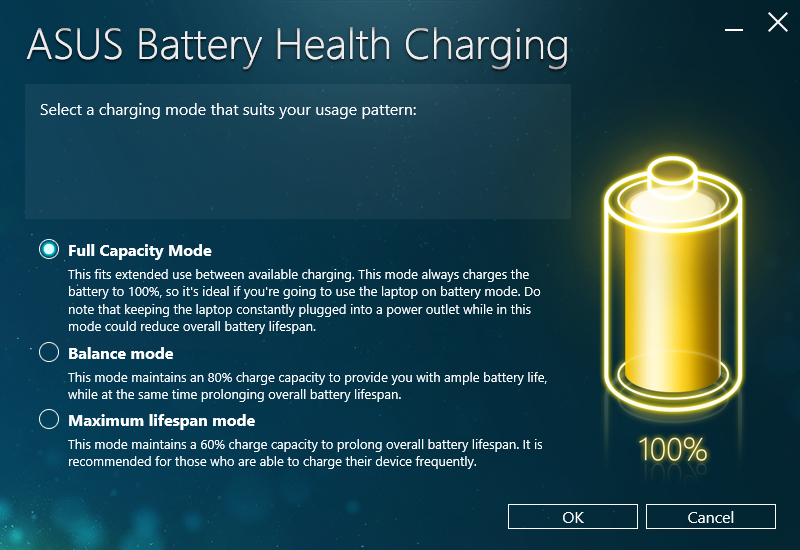
Q2: Why are the time and the settings not correct in BIOS configuration after I did not use the device for a long time?
A2: Because most devices are using the embedded battery, it will have no power if the device had not used or recharged, and then BIOS time and settings will return to default.
If you will not use the device for a long time, please charge the battery to 50% and turn the device off, then recharge the battery to 50% every month to prevent the battery has no power.
If you still cannot resolve your problem, download MyASUS and try the System Diagnosis for troubleshooting. Click below!
Please provide your battery, power cable and ac adapter if repair service is required so we can examine each accessory.


