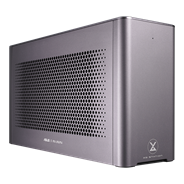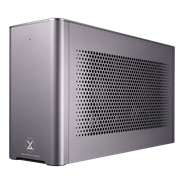
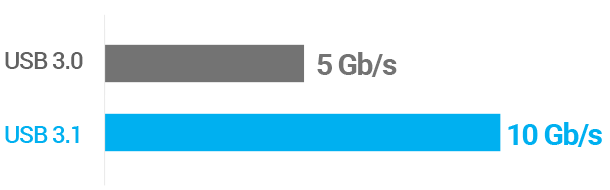
Easy-fit 10Gbit/s USB 3.1 Experience
The USB 3.1 Front Panel slides easily into any standard 5.25-inch drive bay, so in just three simple steps you'll enjoy the benefits of USB 3.1's 10Gbit/s transfer speeds:

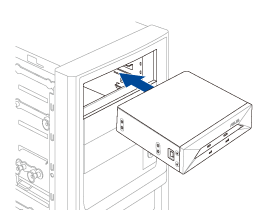
1Slide the USB 3.1 Front Panel into your preferred 5.25-inch drive bay and tighten the retaining screws.
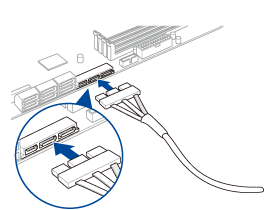
2Connect the included SATA Express cable to the SATA Express port on your PC's motherboard.
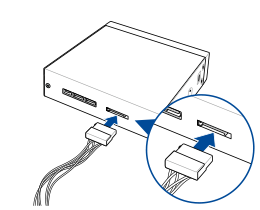
3Connect the SATA power plug to the USB 3.1 Front Panel. That's it — you're done!
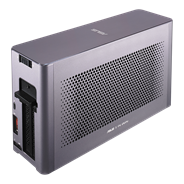
Dual-purpose DIY solution - front or back
The USB 3.1 Front Panel provides you multiple use way, just unscrew the box then you will have a DIY expansion card, slot your card in simple steps:
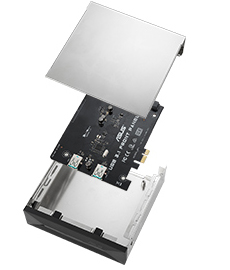
1Open USB 3.1 Front Panel and remove the printed-circuit board (PCB) from the housing.
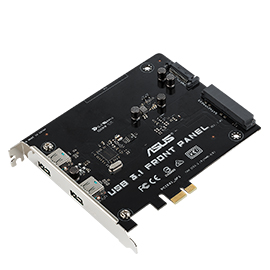
2Attach the supplied bracket to the removed PCB, transforming it into an expansion card.
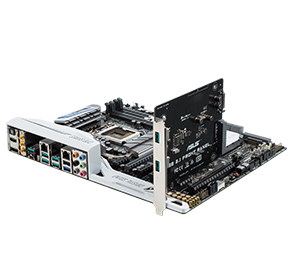
3Slide the expansion card into a spare slot and your PC now has two USB 3.1 Type-A ports at the back panel!