Nov. 20 2022
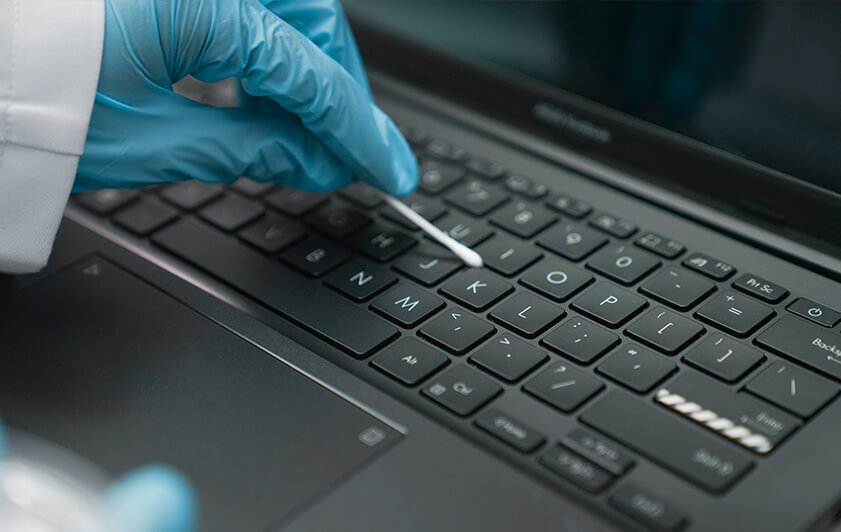
Studies say that personal
computer keyboards can have more bacteria than even a public
toilet seat!How gross is that!
But the keyboard is not the only part of your laptop you need to
be concerned about. The screen can get very smudgy and the vents
can get clogged by dust and gunk. And that’s not only an
aesthetic issue!
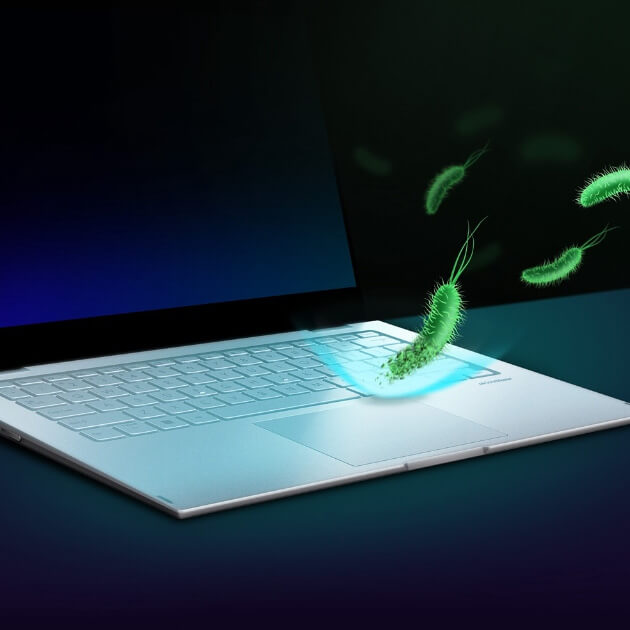
While new ASUS laptops come with
antibacterial guard, developing good hygiene habits is still paramount.
Every laptop owner should know how to clean their machine. We
are here to help you learn how to do it correctly, effectively,
and safely.
Cleaning Supplies
Before you start cleaning, you need to make sure you have the
right materials and cleaners. You may be thinking: “I have
plenty of cleaning supplies at home, can’t I just use those?”
Unfortunately, not everything is safe to use with your laptop.
You may be tempted to use paper towels and dish soap. But those
items ― and water ― should be avoided at all cost.
So what to buy? Here is your shopping list:
-
2 pieces of microfiber cloth (best if labeled appropriate
for computer screens)
- 75% Isopropyl alcohol (also known as rubbing alcohol)
-
Small, soft brush (best if labeled appropriate for computers
― e.g. keyboard brush)
- Thin cotton swabs
- Toothpicks
- Air blaster (can)
- Computer vacuum cleaner (optional)
You can often find all of these key items in computer cleaning
kits, available in electronics stores and online.
Now that you have everything you need, let’s get cleaning!
How to Clean Your Laptop Screen
The biggest part of your laptop is its screen. And having a tidy
one will probably have the biggest impact on your usage
experience. Start your computer cleanup with it!
The first thing you want to do is turn off your computer.
Next, you’ll want to remove any visible dust or small particles
from the display’s surface. You can do that in a couple of ways.
The most effective way may be via the air blaster. You can also
give it a once-over with the soft brush.
Now you’re ready to wipe the screen.
First, apply some rubbing alcohol on one piece of microfiber
cloth. Don’t use too much, though. You want the wipe to feel
slightly humid. If the liquid starts dripping down from the
wipe, it’s a sign you’ve used too much.
Gently rub your screen with the wet wipe in a circular motion.
Make sure to cover the whole area.
Once your whole screen has been cleaned with the alcohol-soaked
wipe, give it a once-over with the dry one. Make sure that all
the dust is gone. Look at your screen from a sharp angle to see
if any smudges, dust or fingerprints are left. If so, rub those
spots again until clean.
How to Clean Your Laptop Keyboard and Touchpad
As with screen cleaning, start by turning off your computer.
If you have an SSD-type storage drive in your laptop, you’ll
want to start cleaning the keyboard by flipping your laptop
upside down with the screen open. While holding it firmly to
ensure it doesn’t drop on the floor, shake it gently for 5-10
seconds. This step will help remove some of the particles stuck
under the buttons.
Please note that this step should be avoided if you have an
HDD-type storage in your laptop. Hard drives can be damaged with
vibration due to their spinning disk structure.
Next, flip your laptop back to normal position and place it on a
table or desk. Use the air blaster to blow out all the dust and
other particles from the keyboard and touchpad’s surface and the
gaps under the caps.
Alternatively, you can go over the keyboard and touchpad with
the soft brush.
Again, spray a little bit of alcohol on one of the microfiber
wipes, and then gently rub the whole surface of the keyboard and
touchpad.
Finally, dip a cotton swab in alcohol (make sure it’s humid, not
soaked, as with the cloth), and go over the spaces between the
caps, as well as the caps themselves, to make sure you reach all
the spots you may have missed earlier.
How to Clean Your Laptop Vents
It’s often overlooked, but an essential cleaning step is taking
care of your laptop’s vents and ports. If either are clogged, it
can seriously affect your computer’s functionality.
If you have a small vacuum cleaner, use it on your vents and
ports. If it comes with an attachable brush, make sure to put it
on. Go over each two or three times.
Then, take a dull toothpick and clean out the dust and gunk from
the computer ports (you can make a sharp toothpick blunt by
gently pressing the tip of the pick against a hard surface).
Make sure not to damage the connectors. Repeat this step for the
vents, without damaging the little metal net, if there is one.
Next, take a cotton swab and dip it in rubbing alcohol. Make
sure it’s humid, not dripping with liquid. Use it to very gently
go over the vents and connectors in the I/O ports with the soft
part of the swab. If the swab doesn’t fit, don’t force it,
simply skip this step.
After you’ve completed these steps, you can use the air blaster
again to remove any remaining residue and to dry things out.
Cleaning is About More Than Just Aesthetics
Cleaning the laptop regularly is about more than just making it
look shiny and like new. Taking the steps above can also help
maintain problem-free functionality.
Residue under your keyboard can build up so much that, over
time, some buttons may stop working. That’s also true for I/O
ports. Even worse, clogged vents can obstruct the airflow in
your laptop, potentially leading to overheating, which can bring
about permanent damage.
We recommend performing this cleaning routine at least once a
month. Doing so will help keep your PC in tip-top shape!
But every once in a while, it’s also good to bring your laptop
to a certified specialist for cleaning. They will be able to
help you clean the parts of your computer that cannot be
accessed without disassembly (which we strongly discourage you
from doing on your own).
ASUS laptops come coated with an antibacterial layer that helps
inhibit the spread of bacteria and other germs. Combined with
maintaining good computer hygiene habits, this feature helps
ensure that your laptop is clean, germ-free, and safe to use.
Curious to learn more?
Learn More About ASUS Antibacterial Guard


