[Guest Network ] How to set up Captive Portal?
How to set up Captive Portal
Captive Portal provides a secure and customizable web authentication method for you to protect your guest network. The Captive Portal feature on ASUS router allows you to design your own pop-up splash screen and access policies.
Supported Models: BRT-AC828, 4G-AC68U, 4G-AC86U, 4G-AX56
To set up Captive Portal:
1. Key in 192.168.1.1 on your web browser.
- Enter the new IP address if you have already changed the default login IP address.
- If you forgot the new IP address, you can retrieve it by using the network tool “Device Discovery”.
2. On the login screen, key in the user name and password, then click OK. The wireless router’s web GUI launches.
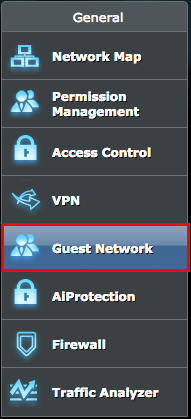
3. From the navigation panel, go to the Guest Network page.
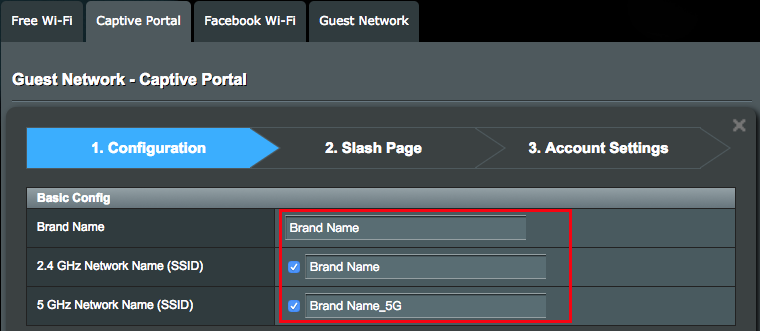
4.Fill out the following fields and click Apply.
Band Name: Management name for Captive portal
2.4GHz network name (SSID): Network name (SSID) for 2.4GHz network
5GHz network name (SSID): Network name (SSID) for 5GHz network
Idle Timeout: Idle timeout defines a period that the wireless session can remain idle. Once the time expires, the session will be terminated and the client needs to re-authenticate.
Connection timeout: Connection timeout defines a period that the wireless session can remain connected. Once the time expires, the session will be terminated and the client needs to re-authenticate.
Maximum Download Speed Per Client: The maximum download speed, in megabits per second, that a client can receive traffic when using the captive portal. This setting limits the bandwidth at which the client can receive data from the network.
Maximum Upload Speed Per Client: The maximum upload speed, in megabits per second, that a client can transmit traffic when using the captive portal. This setting limits the bandwidth at which the client can send data into the network.
Landing Page: Enter the URL (including https:// or https://) for the web page redirection after passing the authentication or agreeing to the service terms.

Splash Page Settings
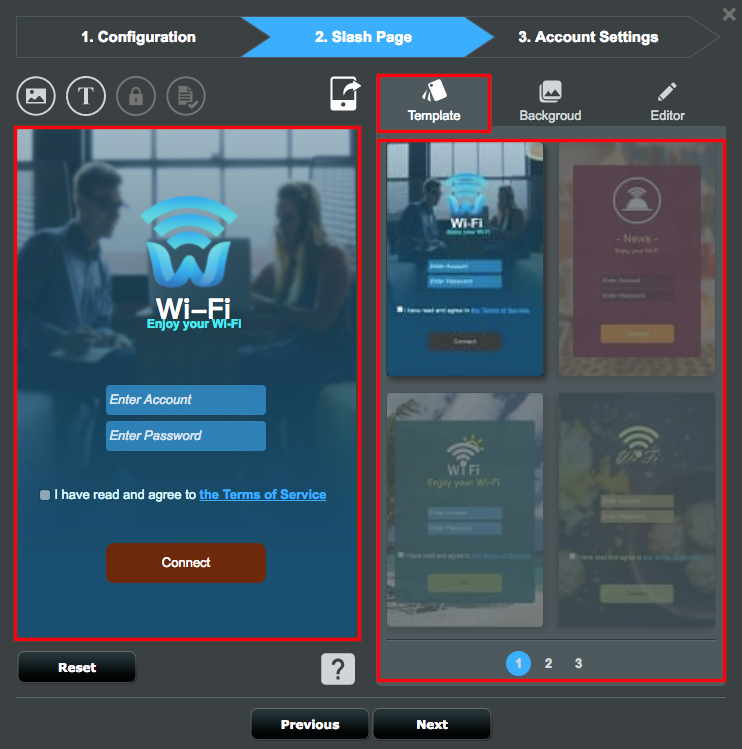
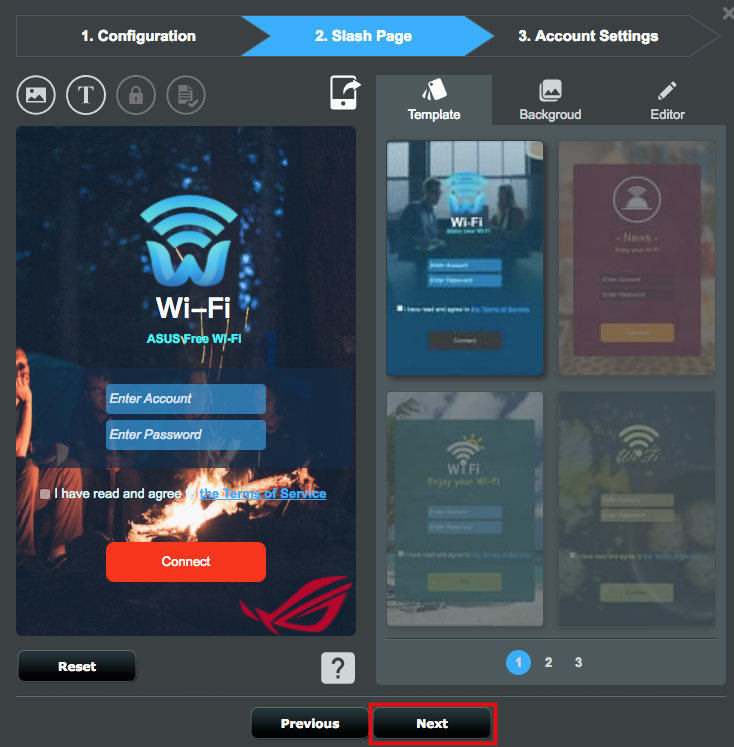
1. Template
1-1. Select the template you prefer.
2. Background Image Settings
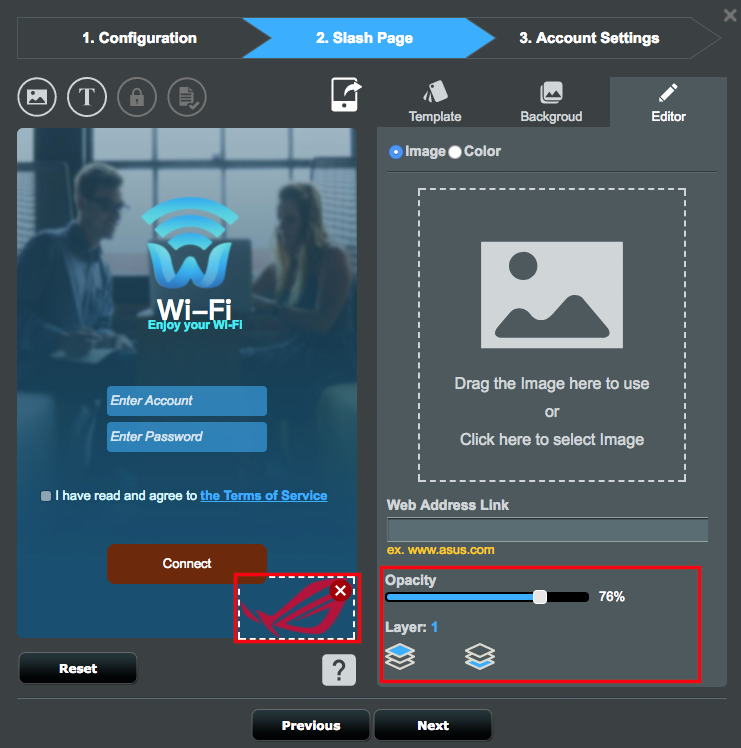
2-1. Click the Image icon at the upper left corner. Then select an image or drag and drop an image to upload.
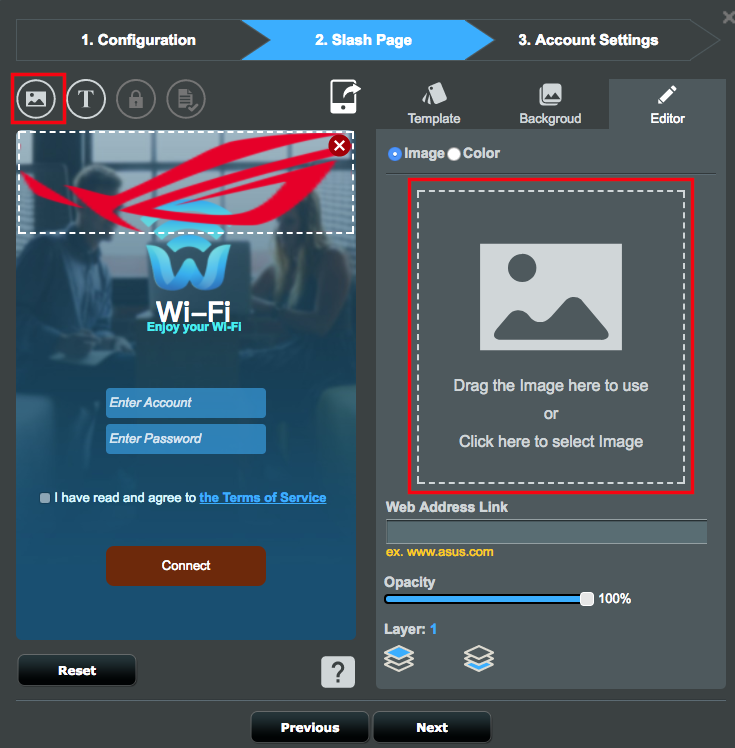
2-2. Adjust the size of the image, and configure more settings at lower right corner of the screen.
- Web Address Link: Enter the URL to be displayed when visitors click the image.
- Opacity: Adjusts the opacity of the image.
- Layer: Adjusts the layer of the image.
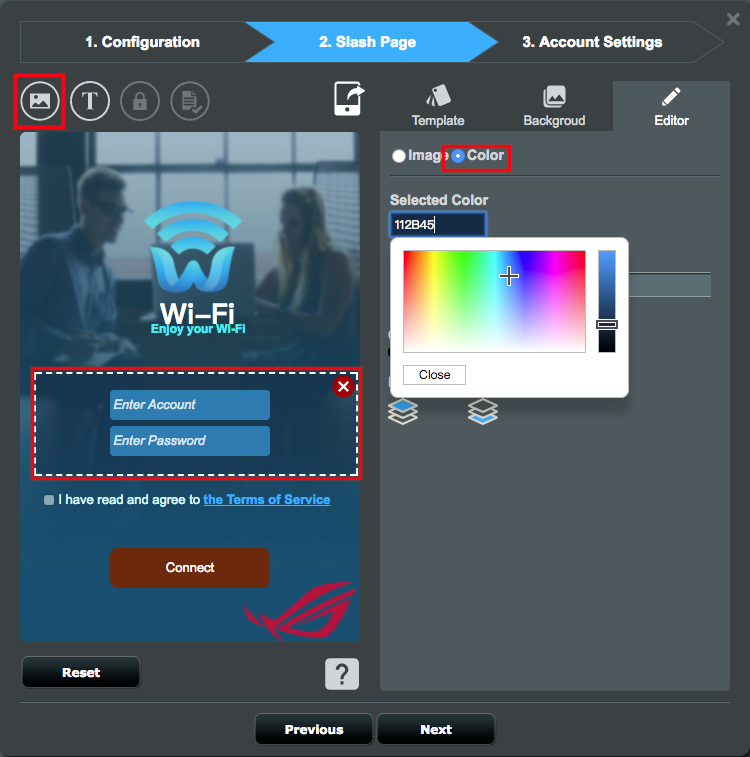
2-3.Select Color from the Editor tab, and set up your preferred color settings for the image.
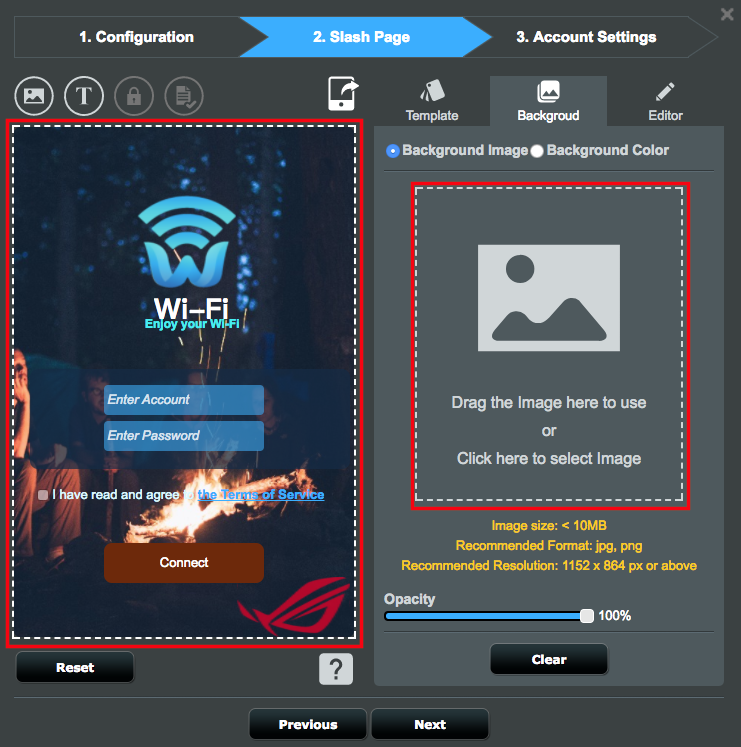
2-4.Click Background and select your background image.
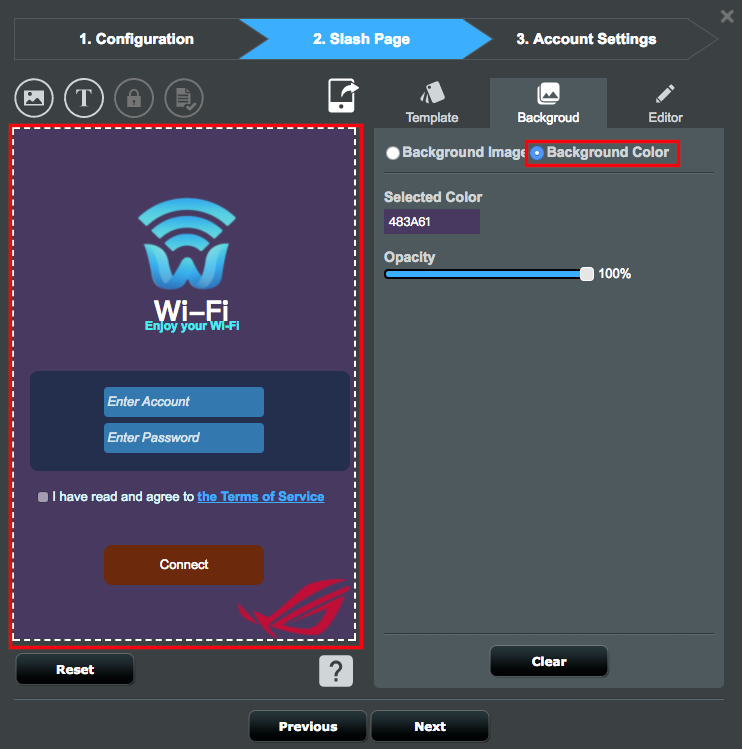
2-5.Click Background Color from the Background tab, and then select your preferred background color and adjust its opacity.
3. Text Settings
3-1. Enter the welcome text that you want to display.
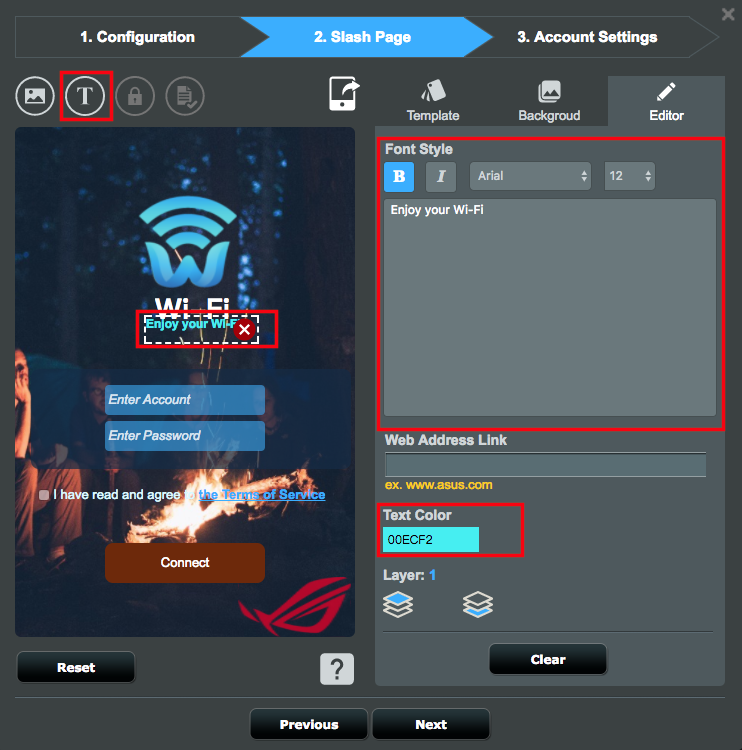
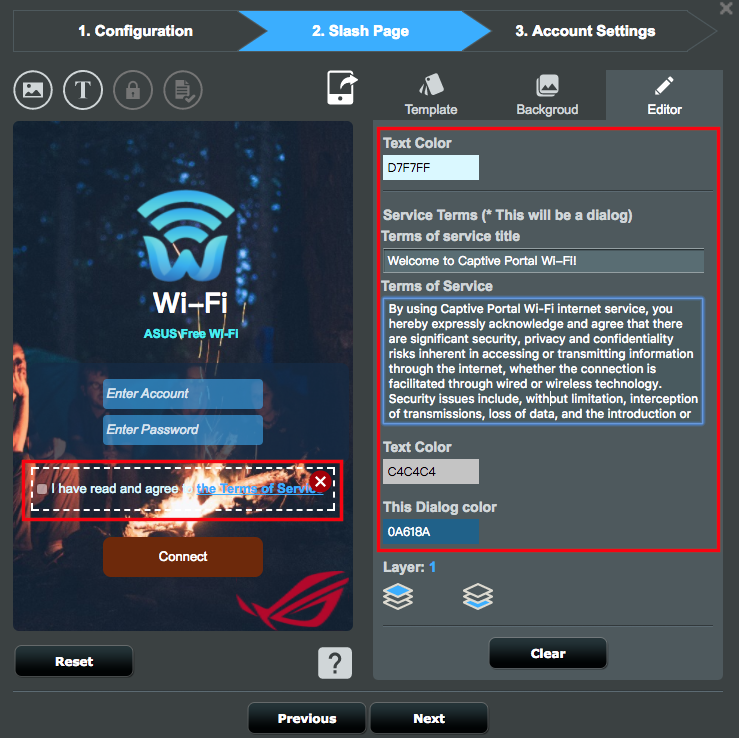
3-2. Enter the Terms of Service that you want to display when visitors click the Terms of Service hyperlink.
3-3. Enter the navigation button text, working-in-progress text, and error text.

3-4. When your design is complete, click Next.
3-5. Configure the user account settings and click Finish.
Verification: Select the verification method for the Captive Portal.
Username and password: Set up the username and password for Captive Portal authentication.

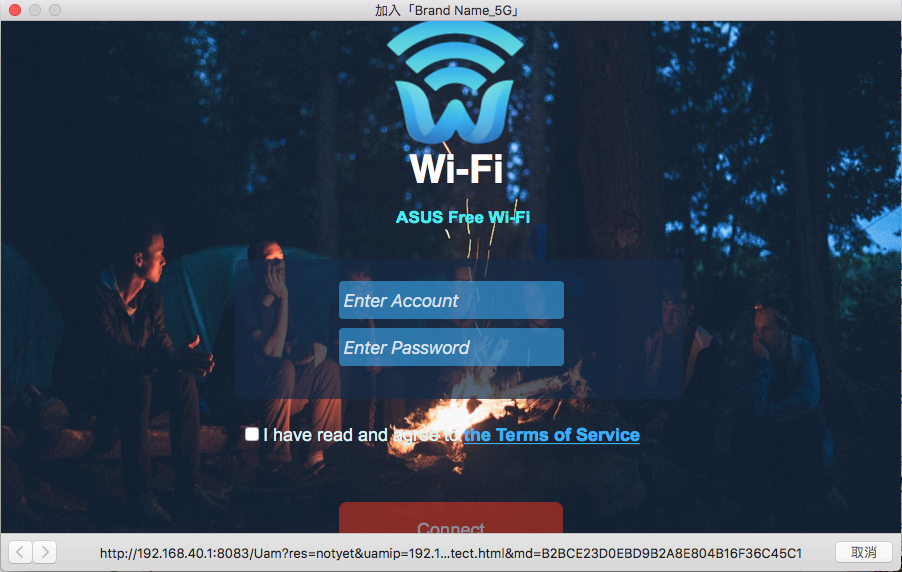
When the Captive Portal Wi-Fi network name appears in the list of available wireless networks, your configuration is now completed.
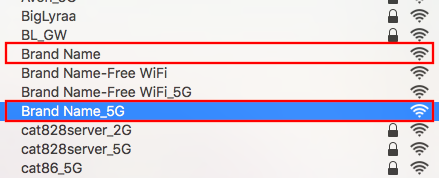
※ Tap the network name. The login screen for the Captive Portal Wi-Fi shows up as follows.

Advanced Network Settings
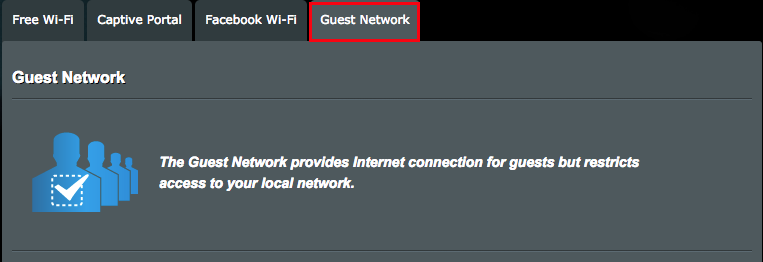
1. Click the Guest Network tab.
2. At the bottom of the list, you can find two Captive Portal Wi-Fi networks.
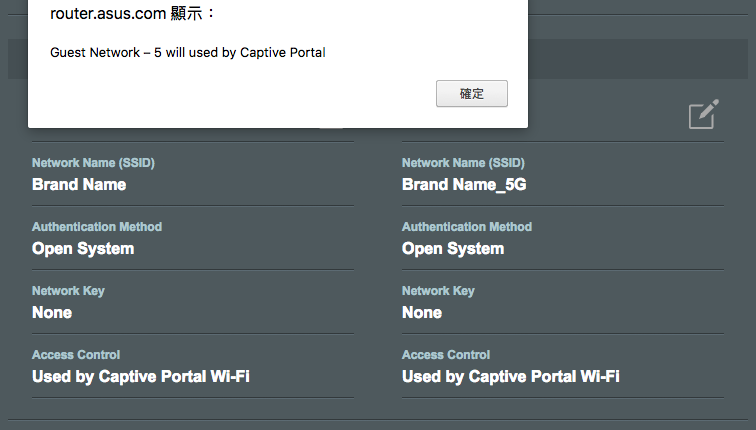
3. Click the Pencil (Edit) icon beside the network band to configure advanced network settings.

How to get the (Utility / Firmware)?
You can download the latest drivers, software, firmware and user manuals in the ASUS Download Center.
If you need more information about the ASUS Download Center, please refer this link.