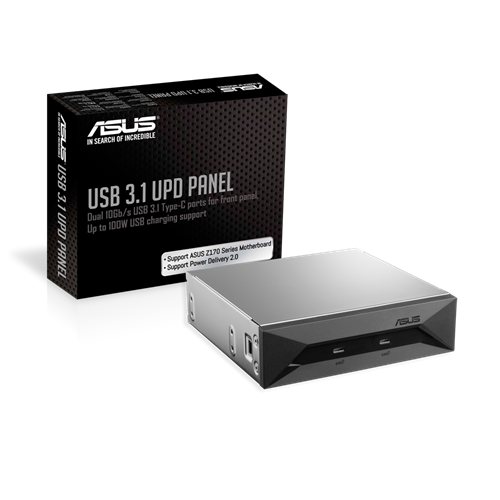
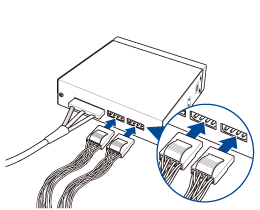
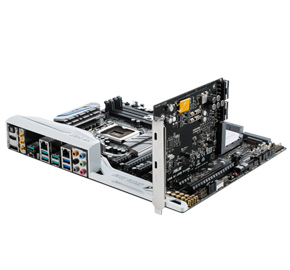
Stay charged! World’s first dual USB 3.1 Gen 2 Type-C front panel, with up to 100W charging
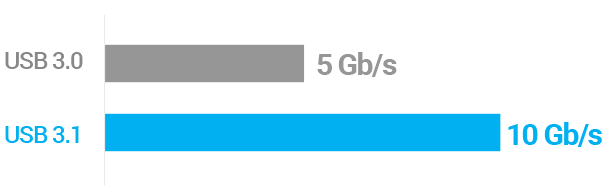
- Dual 10Gbit/s reversible USB 3.1 Gen 2 Type-C ports for your PC’s front panel
- USB Power Delivery technology for up to 100W USB charging
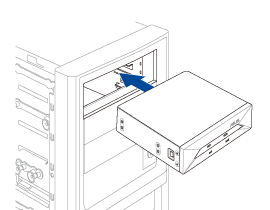
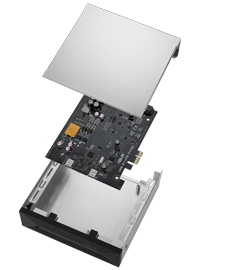
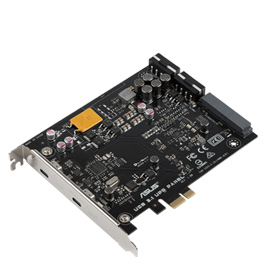
- Flexible installation, switching between front 5.25-inch front panel and rear PC expansion card
Compare
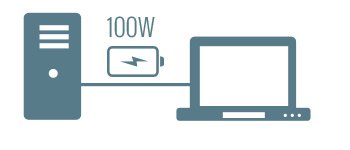 * Ensure the device you wish to charge

New
- Dual-chamber chassis with independent cooling zones for GPU and CPU
- Boundless panoramic design offers a fully unobstructed view
- Front panel high-speed USB Type-C® for high-speed data transfers
- Tool-free side panels
- Fully modular design
- Extreme cooling with four 140x28 ARGB fans
- Interchangeable side panel
- Removable top panel
- Support motherboards' hidden connectors design
- Support 360 AIO on top and 40-series graphics cards
- Air superiority with massive airflow support
- Ample space for better compatibility
- Extensive I/O for quick switch and faster transport
- Front panel IR Dust Indicator with timely reminders
- DIY friendly functions to save more time for build-up
- Effortless maneuvering with built-in mobile wheels
- Dual Chamber Chassis
- Panoramic View
- Front Panel High-Speed USB Type-C
- Tool-Free Side Panels
- Aura Sync
- Quasi-filter mesh panels
- Industry-leading spatial efficiency
- Tool-free side panels
- 32 mm wide cable-management
- Front panel USB Type-C® support
- Advanced FDB bearing with 76 CFM high airflow
- Double layer LED array
- Black and white editions
- 2mm anti-vibration pads
- Aura Sync
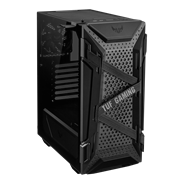
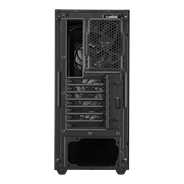
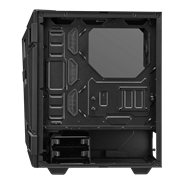
ASUS TUF Gaming GT301 ATX mid-tower compact case with tempered glass side panel, honeycomb front panel, 120mm AURA Addressable RGB fan, headphone hanger and 360mm radiator support.
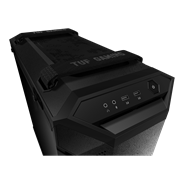
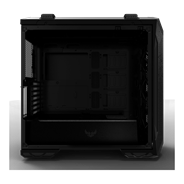
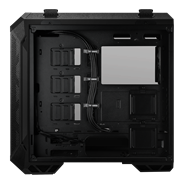
ASUS TUF Gaming GT501 case supports up to EATX with metal front panel, tempered-glass side panel, 120 mm RGB fan, 140 mm PWM fan, radiator space reserved, and USB 3.1 Gen 1
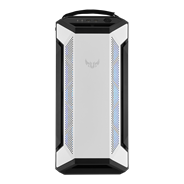
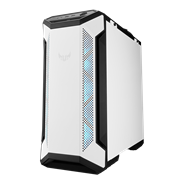
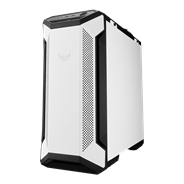
ASUS TUF Gaming GT501 White Edition case supports up to EATX with metal front panel, tempered-glass side panel, 120 mm RGB fan, 140 mm PWM fan, radiator space reserved, and USB 3.1 Gen 1