[Desktop Chassis] TUF Gaming GT501 Case FIO Module Replacement
Notice
1. Kindly wear gloves to protect your hands before proceeding with disassembly or assembly. Pay special attention to the corners of the parts to avoid any scratches.
2. When the side panel or front panel is made of glass, please handle it with extreme care during disassembly to avoid any collisions, falls, or undue stress.
3. When disassembling, please lay the casing flat on a stable surface to prevent the side panel from falling during the process.
4. Kindly ensure that the relevant wires are neatly arranged during assembly to prevent any damage to the wires throughout the process.
5. Keep track of all screws and small components during disassembly and assembly to avoid losing any parts.
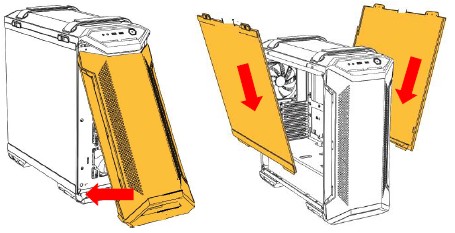
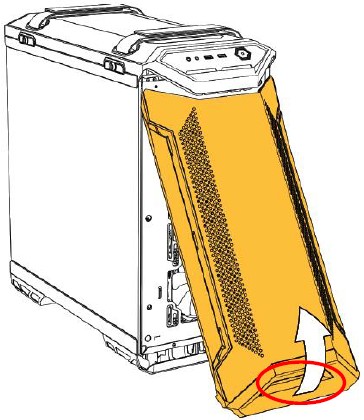
1.Open the front panel, hold the groove under the front panel (as shown in red circle), and pull hard forward and up.
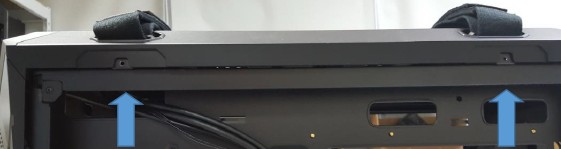
2.Remove the screws in corresponding positions under the back strap of the panel.
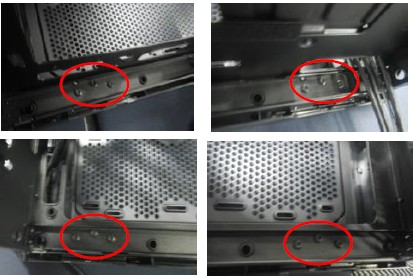
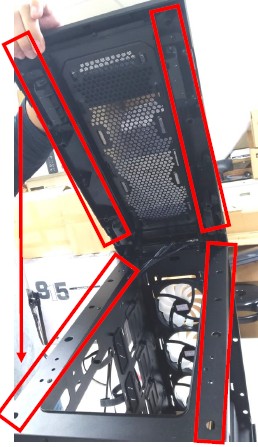
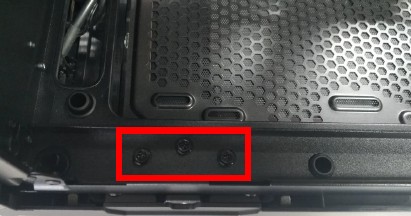
3.Remove a total of 12 screws, three screws a set, close to the four corners of the top cover (It is easier to remove the screws by inverting the chassis).
4.After removing the screws, hold the red circle area and pull the top cover upward to open it.

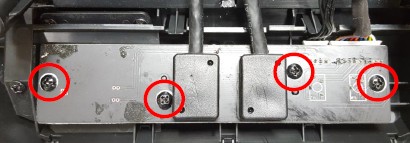
5.Remove the top cover, loosen four screws on the FIO Module and take out the FIO Module
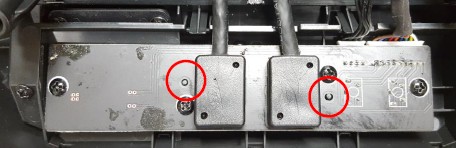
6.Place the new FIO Module in position, align the two plastic pins with the positioning holes.
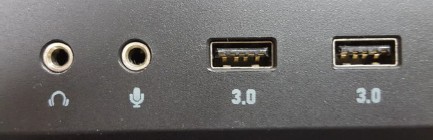
7.Make sure the front appearance looks good
-USB and audio holes must be aligned
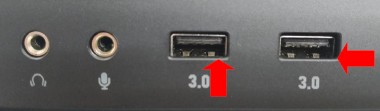
*Note: If USB holes are not aligned (as shown below),please adjust it again.
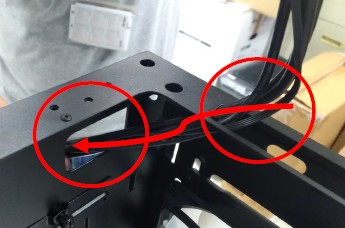
8.After tightening the screws on the FIO module, put the FIO module cable through the hole in the top of the front panel and then through the hole in the side panel.
9.Assemble top cover, note that the top cover tabs need to be aligned with the holes in the case.
10.Put the screws back to the top cover and case. (12 in total)
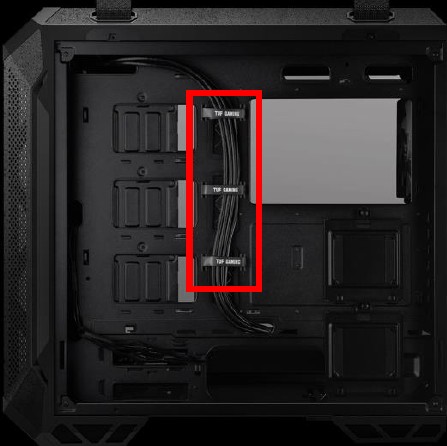
11.Fix the FIO module cable to the back of the case. Hook and loop fastener comes with it can be used to secure the cable.
12.Put the front panel back and then place the left and right side panels back and lock tight.