[NUC] UEFIシェルを使用してVisual BIOSでNUCを更新する方法
解決策
The UEFI Flash BIOS update utility allows you to update the Visual BIOS from the EFI Shell.
| 注意 | Most NUCs that shipped in 2019 and later use the Aptio V* BIOS core and not the Visual BIOS. For those models, see NUCsのAptio 5 BIOS用BIOSアップデートおよびリカバリーの手順 |
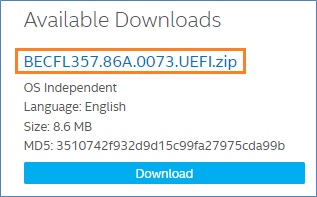
- ダウンロード the UEFI Flash BIOS Update file (*.UEFI.zip). 例:
- ダブルクリック the *.UEFI.zip to extract its files.
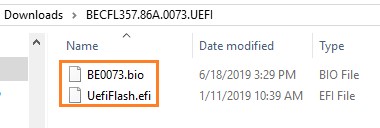
- コピー UefiFlash.efi and the .bio file to the bootable USB device.
- 接続 the USB drive to a port on the NUC.
- 設定 the BIOS of the target computer to boot to the EFI Shell:
- 押す F2 during start to enter BIOS setup.
- 移動 Advanced > Boot > Secure Boot.
- 無効 セキュアブートが有効になっている場合。
- 次に進む Advanced > Boot > Boot Configuration。
- Boot Devicesペインで、有効にする Internal UEFI Shell。
- 押す F10 を押して変更を保存し、BIOSセットアップを終了します。
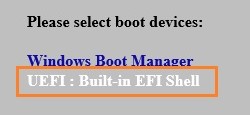
- 押す F10 起動時に押してブートメニューを開きます。
- 選択する UEFI: Built-in EFI Shell。
- コマンドプロンプトで、現在のディレクトリをUSBフラッシュドライブに変更するために fsX:と入力します。ここで、XはデバイスマッピングリストからUSBフラッシュドライブのドライブ番号です。
例:USBドライブがfs3の場合、入力 fs3:と押すEnter。 - コマンドプロンプトで、入力 UefiFlash.efi XXX.bio、ここでXXX.bioは.bioファイルのファイル名で、Enterを押します。
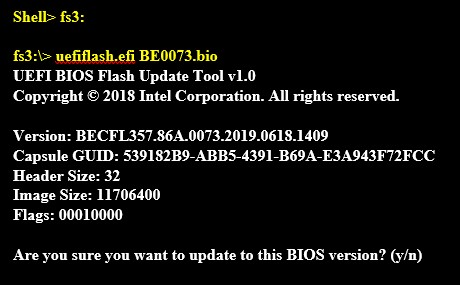
- 押す Y アップデートを開始します。
- 待つ BIOSアップデートが完了するまで。
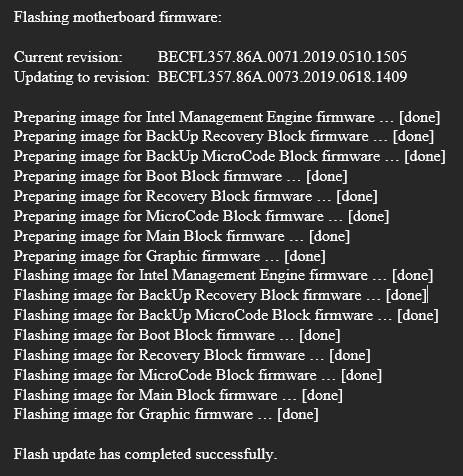
- 完了後、コンピュータが再起動します。
- BIOS を元の設定に戻す:
- コンピュータを再起動します。
- 起動時に F2 を押して BIOS セットアップに入ります。
- Advanced > Boot > Boot Configuration に移動します。
- Boot Devices パネルで、Internal UEFI Shell を 無効 にします。
- Advanced > Boot > Secure Boot に移動します。
- 元々有効になっていた場合は、Secure Boot を 有効 にします。
- 変更を保存して BIOS セットアップを終了するには F10 を押します。


