Jan 04, 2024
In the realm of modern technology, Daily Use laptops have become indispensable tools for work, communication, and entertainment. However, the very nature of their frequent use often leads to the accumulation of dirt, dust, and debris on their keyboards, hindering their performance and posing potential health risks. This comprehensive guide aims to empower tech-savvy individuals with the knowledge and techniques to effectively clean their laptop keyboards, ensuring optimal functionality and a hygienic user experience.
Essential Supplies for a Successful Cleaning Mission
Before embarking on this crucial task, gather the necessary cleaning supplies:
A soft, lint-free microfiber cloth: This gentle material effectively removes dust and debris without scratching the delicate keyboard surface.
Rubbing alcohol (isopropyl alcohol): This potent disinfectant eliminates harmful bacteria and germs, promoting a cleaner and healthier work environment.
Q-tips or cotton swabs: These precision tools reach those hard-to-clean areas between the keys, ensuring through sanitation.
Preparing the Keyboard for Cleaning:
Safety First: Always ensure your laptop is completely powered off and unplugged from any power source before initiating any cleaning activities.
Dislodge Loose Debris: Turn the laptop upside down and gently tap or shake it to dislodge any loose crumbs, dirt, or debris. This initial step simplifies the subsequent cleaning process.
Deep Cleaning Procedure:
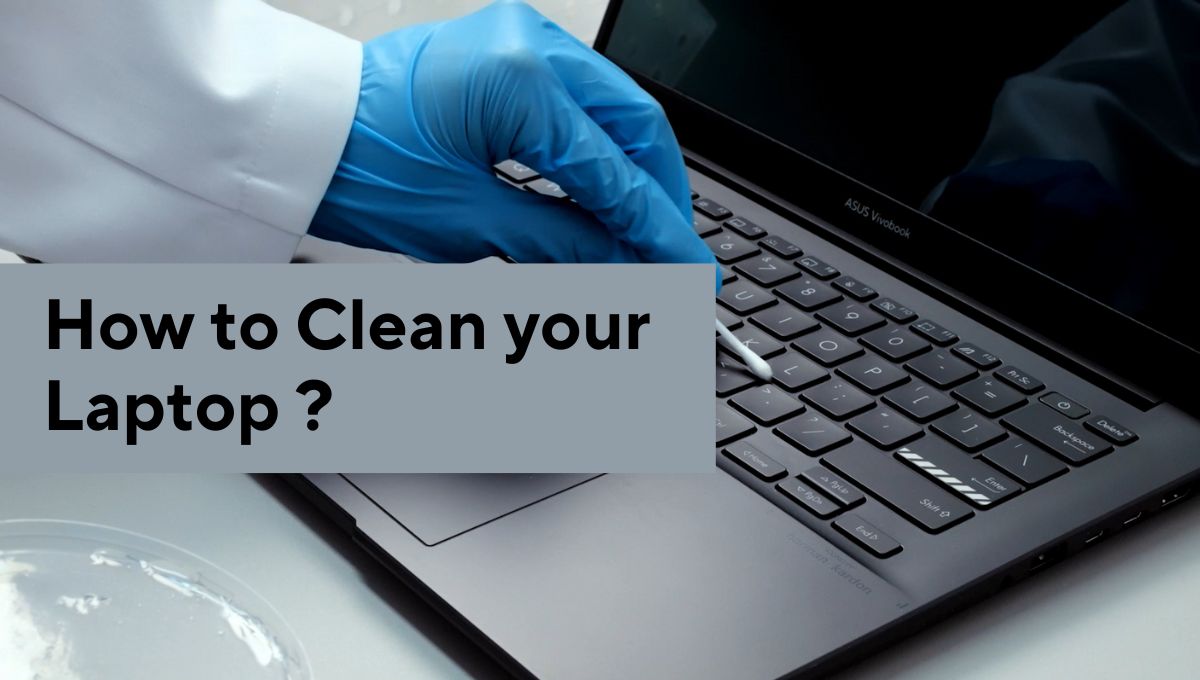
Disinfect the Keys: Dampen a Q-tip or cotton swab with rubbing alcohol and carefully wipe down each key, paying close attention to the spaces between them. This eliminates bacteria and germs, promoting a hygienic keyboard environment.
Clean the Entire Keyboard: Using a soft, lint-free microfiber cloth dampened with rubbing alcohol, thoroughly wipe down the entire keyboard surface, including the space bar, touchpad, and hinges. This removes any remaining dirt and leaves your keyboard sparkling clean.
Drying and Reassembly:
Air-Drying: After completing the cleaning process, allow the keyboard to air dry completely before closing your laptop. This prevents any moisture from damaging the internal electronics.
Reconnect and Power On: Once the keyboard is completely dry, reconnect your laptop to a power source and turn it on. Enjoy the satisfaction of working on a clean and sanitized keyboard.
Preventive Measures for Long-Lasting Keyboard Cleanliness:
Practice Good Hand Hygiene: Regularly wash your hands to prevent the transfer of dirt and oils to your keyboard. This simple habit can significantly reduce the frequency of deep cleaning.
Avoid Eating or Drinking Near Your Laptop: Crumbs and spills can wreak havoc on your keyboard, so it's best to keep food and beverages at a safe distance.
(Optional) Utilize a Keyboard Cover: if you are adamant on sitting and eating near your laptop, invest in a high-quality keyboard cover to protect your keyboard from dust, spills, and accidental damage.
Regular Maintenance: Make it a habit to clean your keyboard regularly, even if it doesn't appear visibly dirty. This proactive approach maintains optimal performance and prevents the accumulation of stubborn grime.


