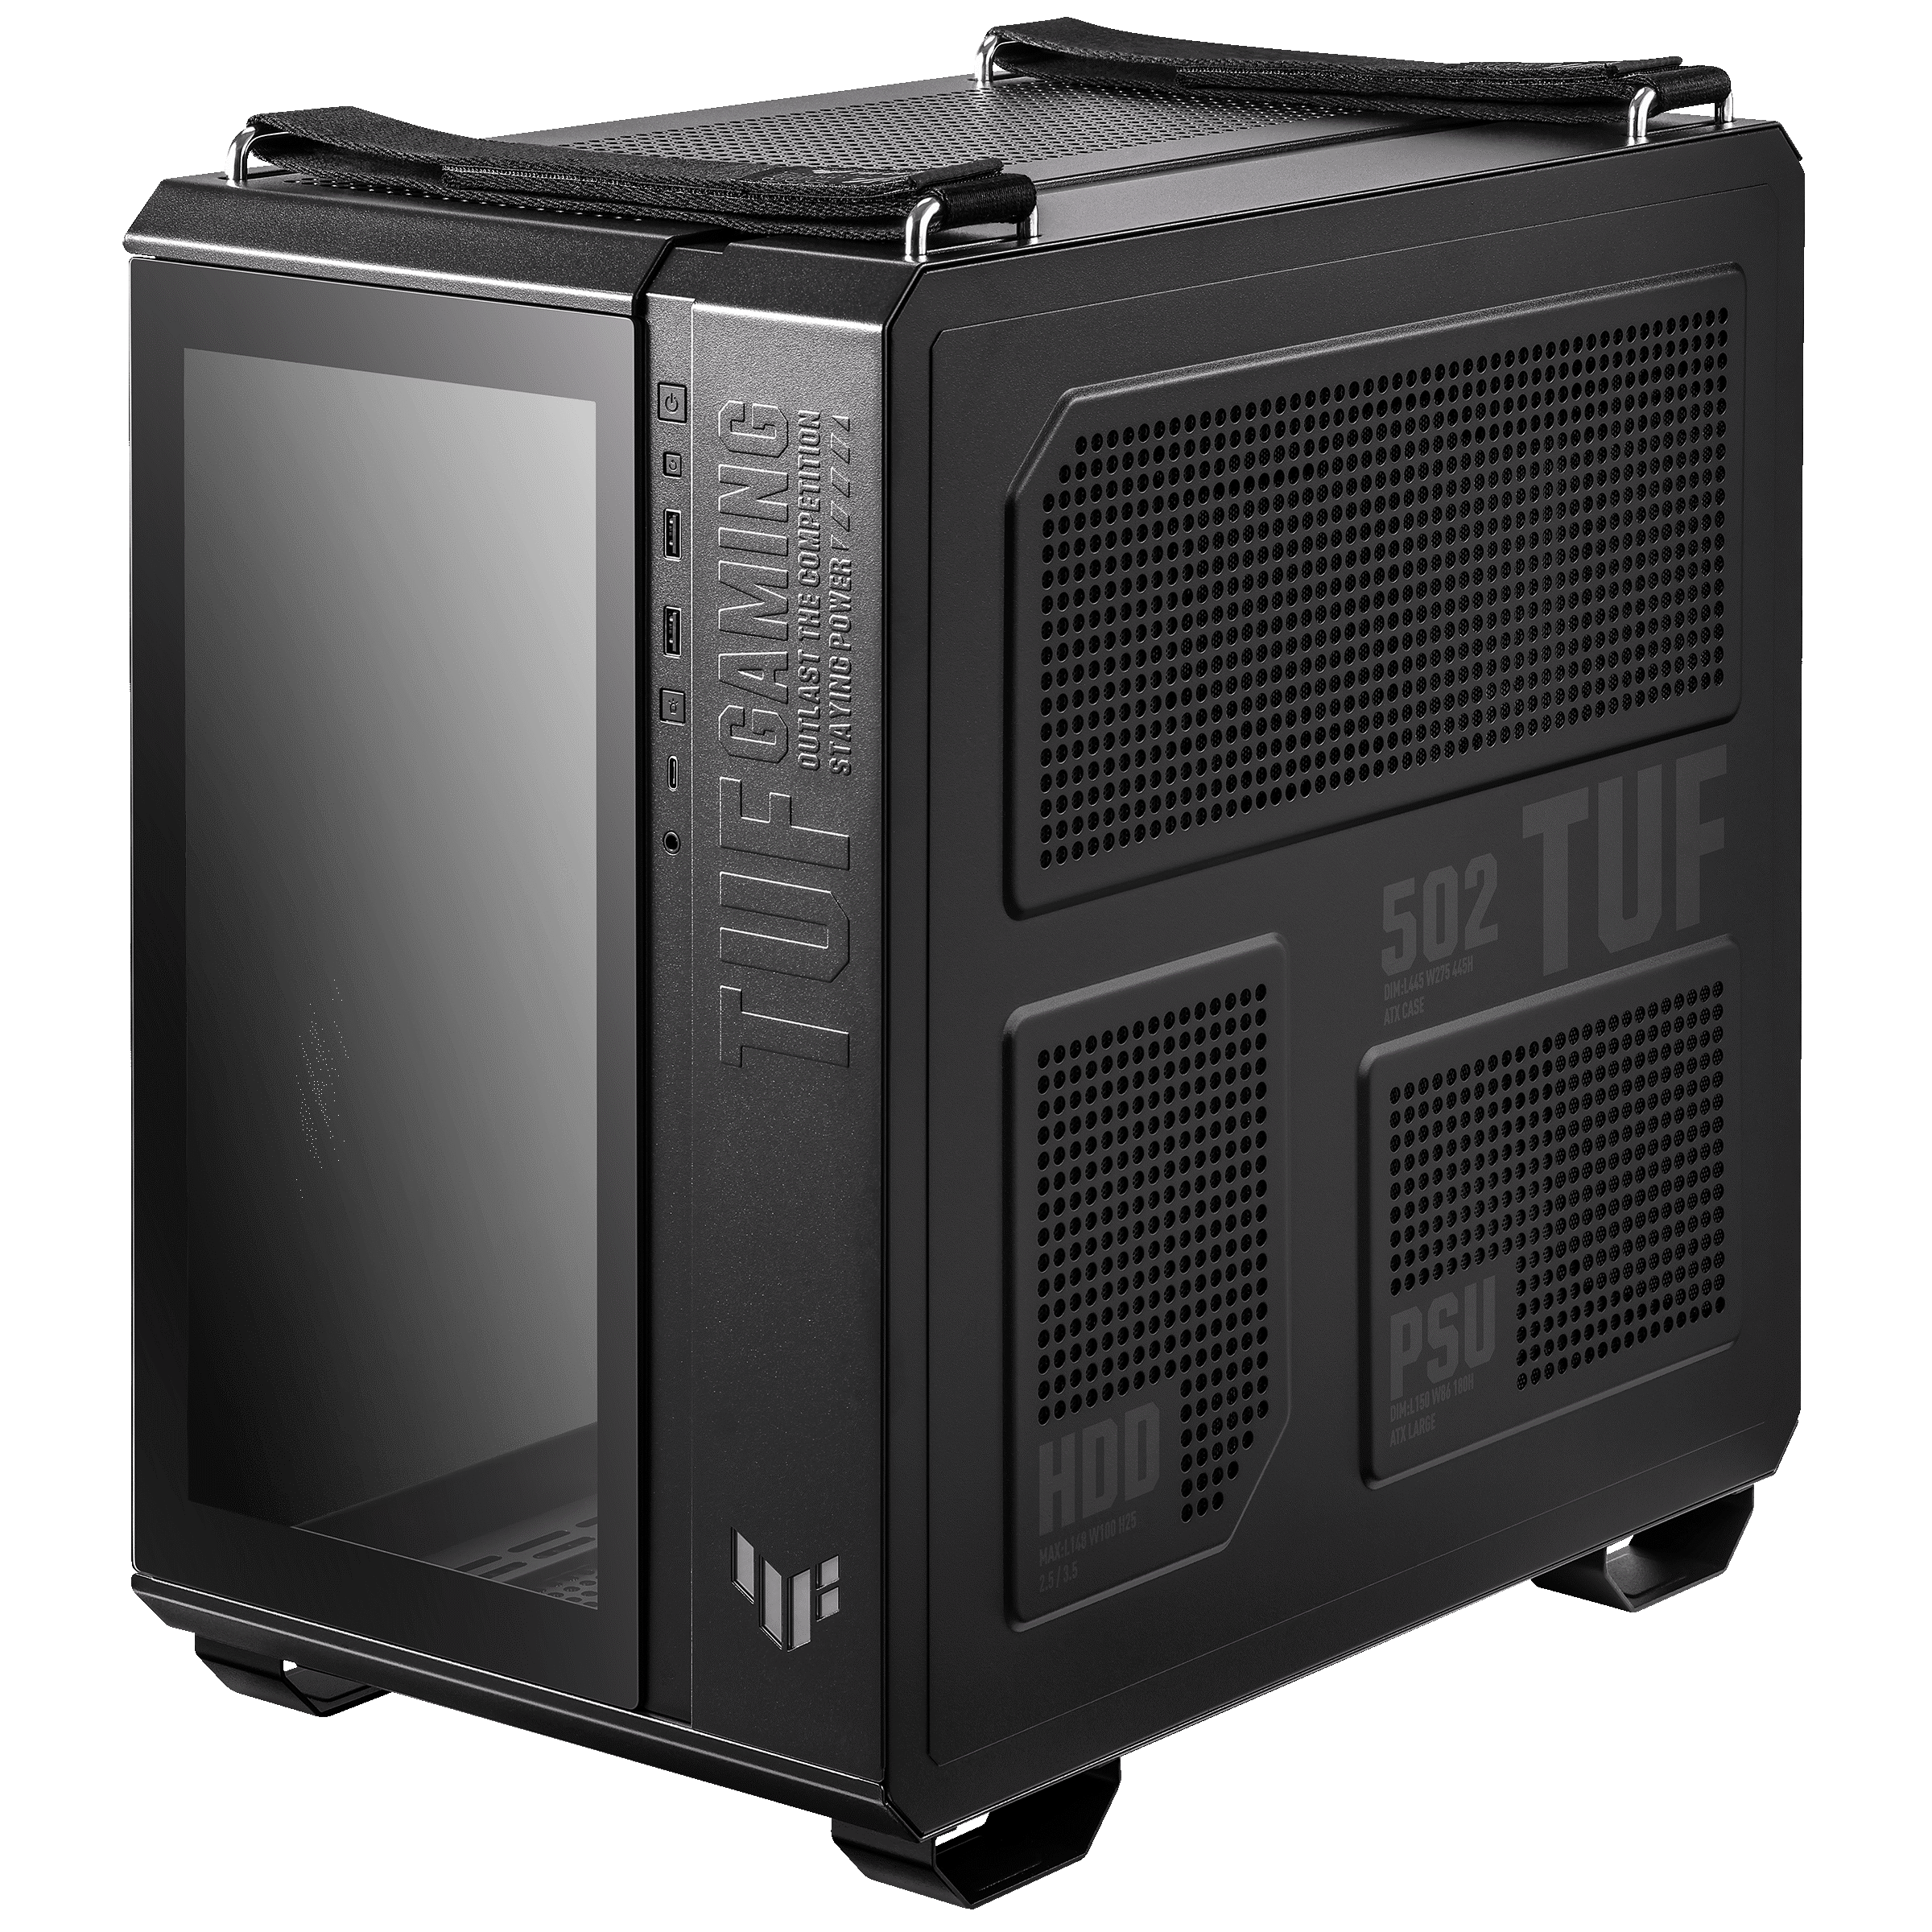
[Desktop Chassis] How to install a hard disk in the HDD bracket of the GT502 case?
Notice
1. Kindly wear gloves to protect your hands before proceeding with disassembly or assembly. Pay special attention to the corners of the parts to avoid any scratches.
2. When the side panel is made of glass, please handle it with extreme care during disassembly to avoid any collisions, falls, or undue stress.
3. When disassembling, please lay the casing flat on a stable surface to prevent the side panel from falling during the process.
4. Kindly ensure that the relevant wires are neatly arranged during assembly to prevent any damage to the wires throughout the process.
5. Keep track of all screws and small components during disassembly and assembly to avoid losing any parts.
1. Prepare tool.
Phillips screwdriver(PH2)

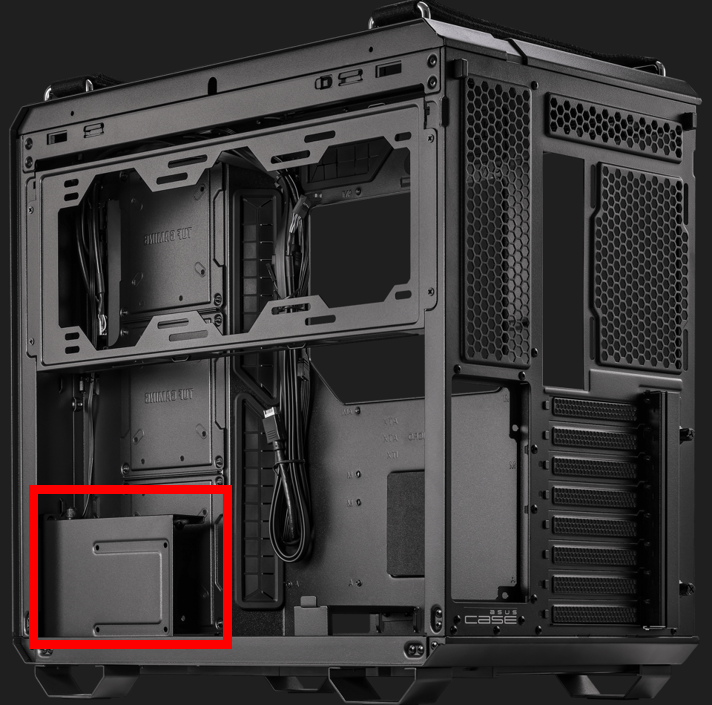
2. Remove the left panel of the case
Note: Please put the case on a flat table to prevent the side panel from falling during disassembly and assembly. Please handle with care when disassembling and assembling the glass side panel to avoid collision/drop/heavy pressure.
Tool-Free Side Panels: To remove the left panel of the chassis, simply press the button on the back of the chassis and the left panel will automatically pop up and be removed.

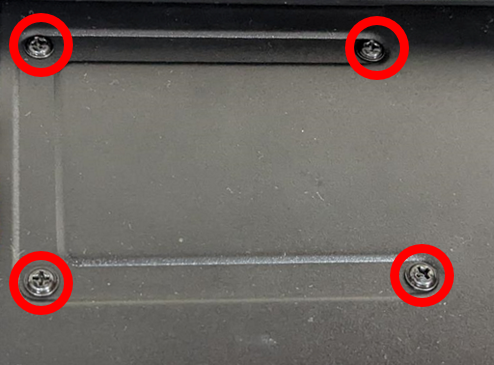
3. After removing the left side panel, you can see the HDD bracket at the bottom of the case in the red frame below.
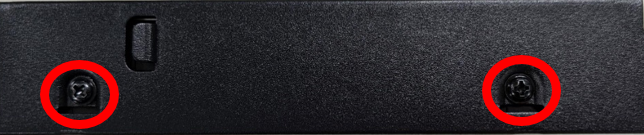
4. Turn the 2 screws counterclockwise to remove the HDD bracket.

5. Install a 3.5" or 2.5" hard disk drive using the B screws.
B screw icon

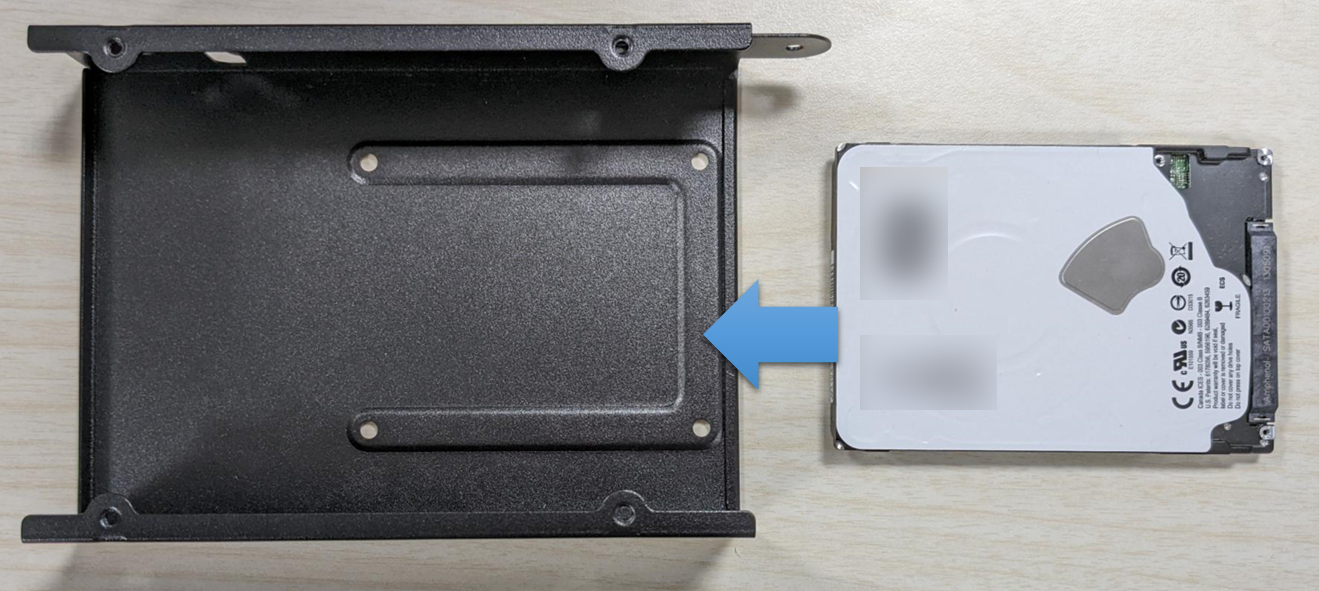
The following example installs a 3.5" hard disk drive into the HDD bracket.
(1) Please place the 3.5" hard disk drive into the HDD bracket.

(2) Use four B screws to lock the 3.5" hard disk drive to the HDD bracket (two screws on each side).
(3) Put the HDD bracket back into the case, and fix the HDD bracket by locking the 2 screws clockwise, and the installation is complete.

The following demonstrates how to install a 2.5" hard disk drive into the HDD bracket.
(1) Please place the 2.5" hard disk drive into the HDD bracket.
(2) Use four B screws to lock the 2.5" hard disk drive to the HDD bracket.
(3) Put the HDD bracket back into the case, and fix the HDD bracket by locking the 2 screws clockwise, and the installation is complete.

FAQ
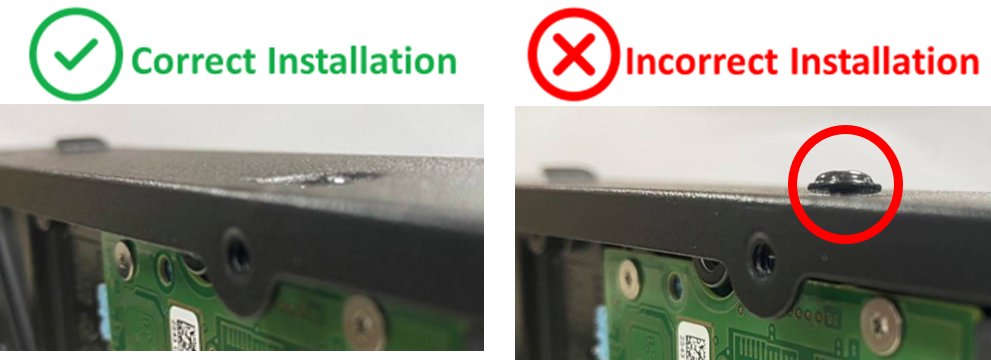
1. After installing a 3.5" hard disk drive, why can't the HDD bracket be put back into the case?
Please make sure the screws are fully locked and fixed, and the screws should not be higher than the shell of the HDD bracket (as shown below).
2. Can the hard disk drive be locked to the HDD bracket at the bottom of the case with the A screw attached to install the hard disk drive?
Please use the B screws attached to fix the hard disk drive.
- A screw icon
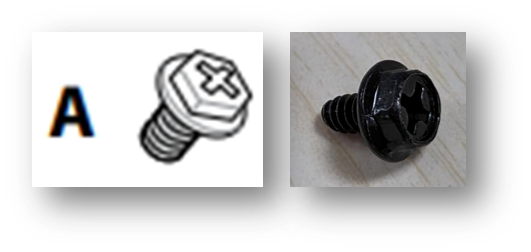
- B screw icon
GT502 ASUS official website product introduction https://www.asus.com/motherboards-components/gaming-cases/tuf-gaming/tuf-gaming-gt502/