[NUC] Updating NUC BIOS with Visual BIOS Using the F7 Menu
The F7 BIOS update option allows you to update the system BIOS during the boot process and before the operating system loads.
Here's how.
1. Prepare a USB device.
2. Download and save the BIOS file. [NUC] Where Can I Download the BIOS File?
3. Navigate to the "Capsule File for BIOS Flash through F7" folder.
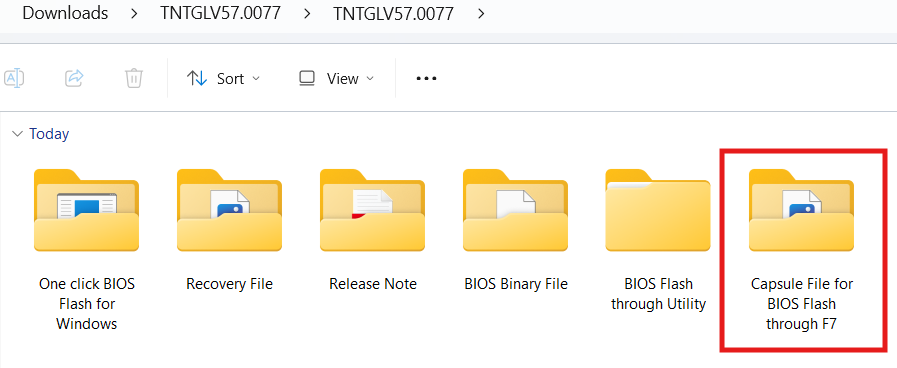
4. Copy the .CAP BIOS to the USB device.
5. Plug the USB device into a USB port of the target computer.
6. Start the NUC.
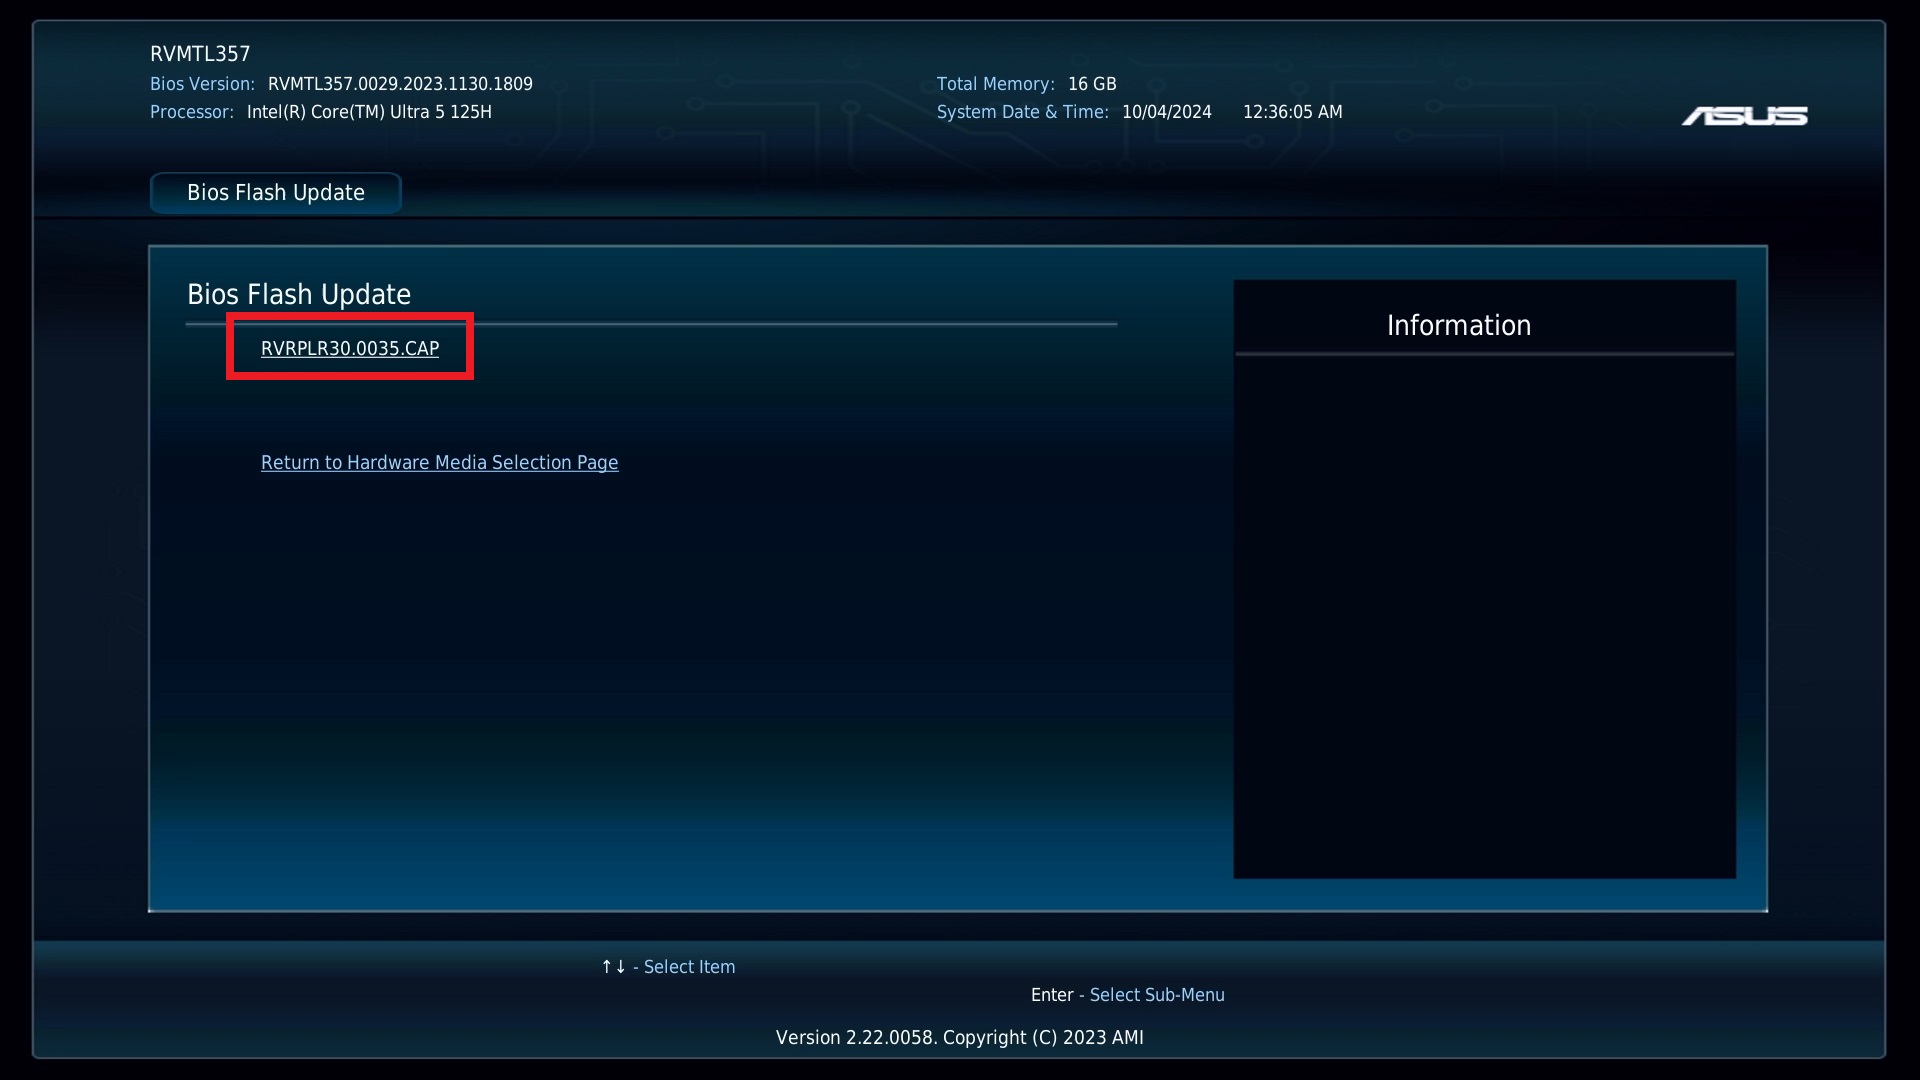
7. During boot, when the F7 prompt is displayed, press F7 to enter the BIOS Flash Update tool.
8. Select the USB device and press Enter
9. Select the .bio file and press Enter
10. Confirm you want to update the BIOS by pressing Enter.
11. Wait 2–5 minutes for the update to complete.
12. When the BIOS update is complete, the computer will boot back into Windows.
After any BIOS update, ASUS recommends the following steps:
1. Press F2 during start to enter BIOS Setup.
2. Press F9 to set BIOS default values.
3. Customize any BIOS settings, if desired (optional).
4. Press F10 to save and exit BIOS Setup.
If the BIOS update fails, you can follow below FAQ to try recovery BIOS:
[NUC] BIOS Update and Recovery Instructions for NUC with Visual BIOS