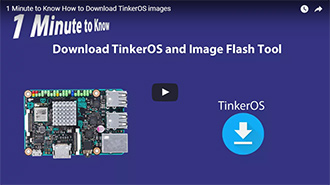
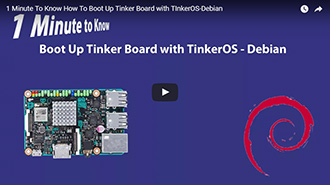
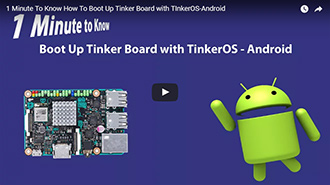
Class-Leading Performance
Tinker Board
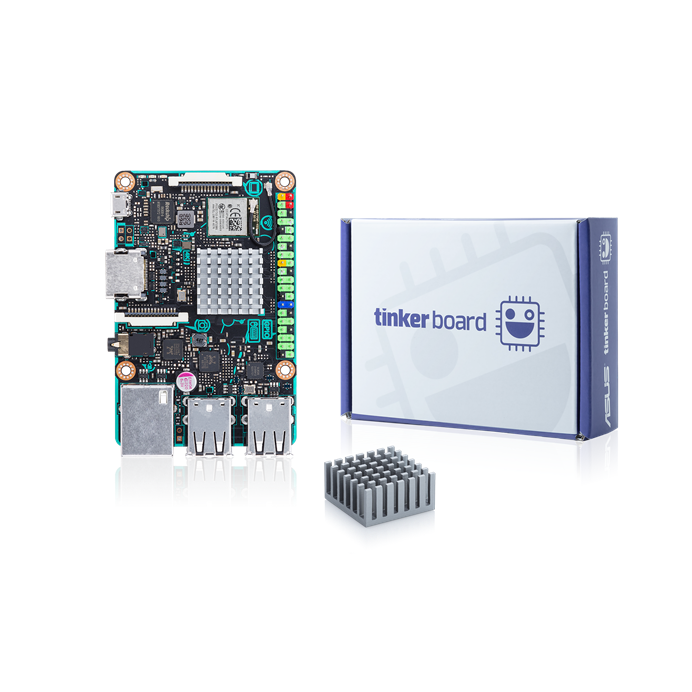
tinker board
tinker your way to the future

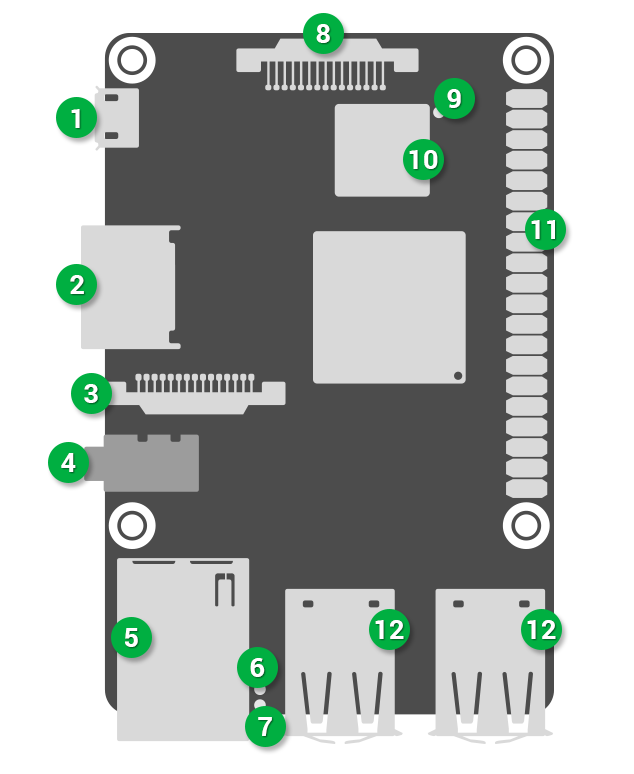
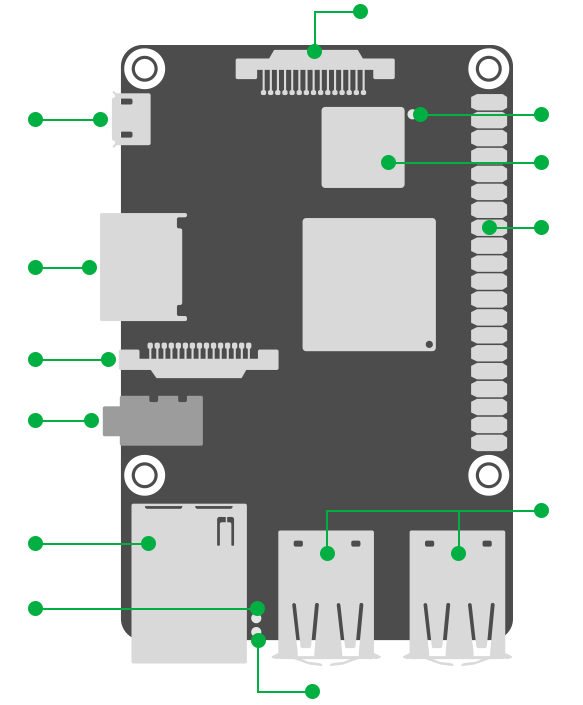
(5V/2~2.5A power is required)
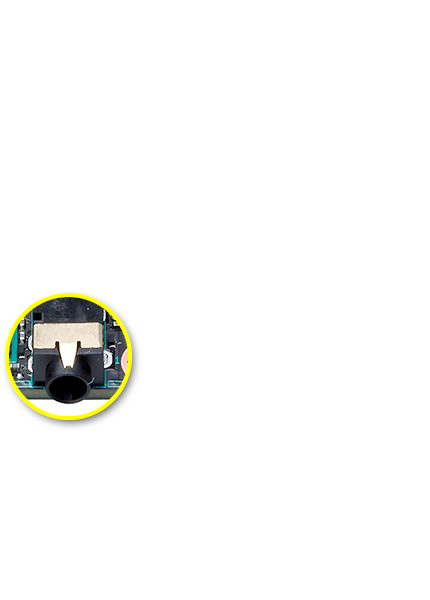
HD Audio
(MHF4)
Bluetooth 4.0 + EDR
Features & Functionality
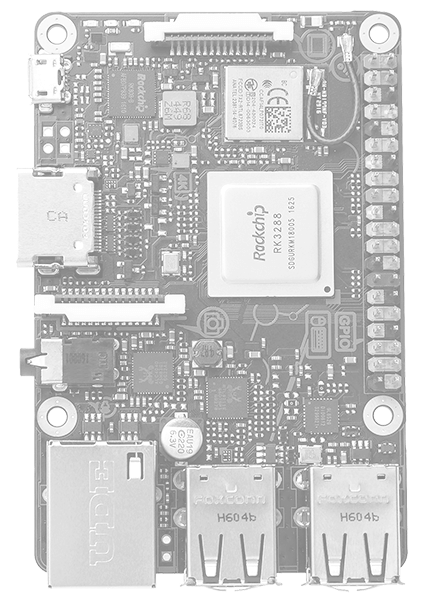
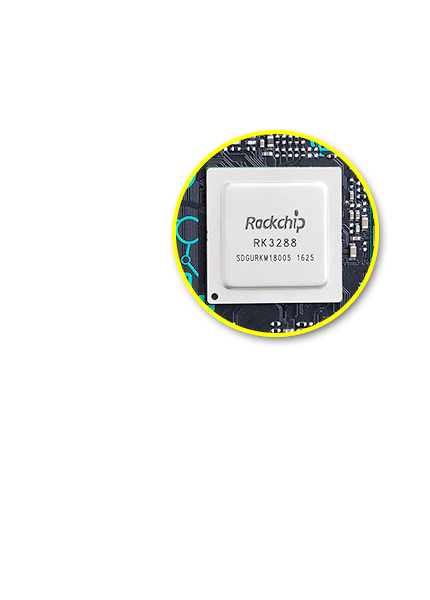


Robust GPU Performance & Functionality
*HD & UHD video playback at 30 fps on Tinker Board is currently only available via the included media player. Third-party video players and applications may not offer hardware acceleration, which will result in limited or unstable playback performance. Please refer to the FAQs for more information.
HD Audio Quality
Maker-Friendly, with IoT Connectivity
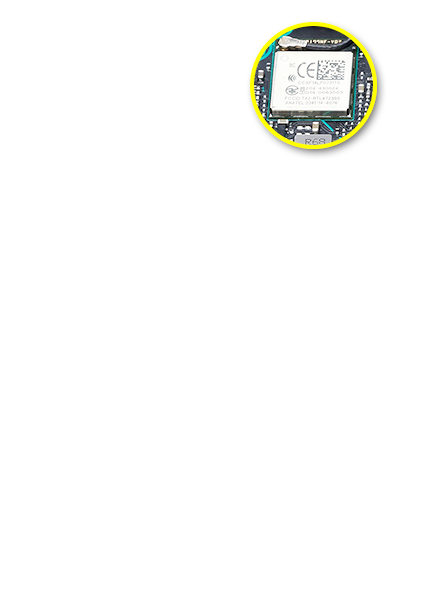
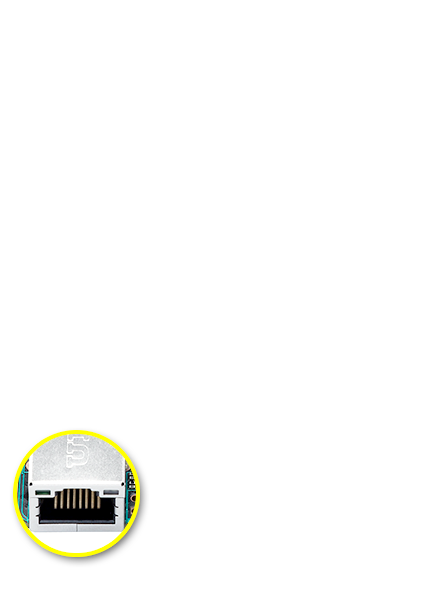
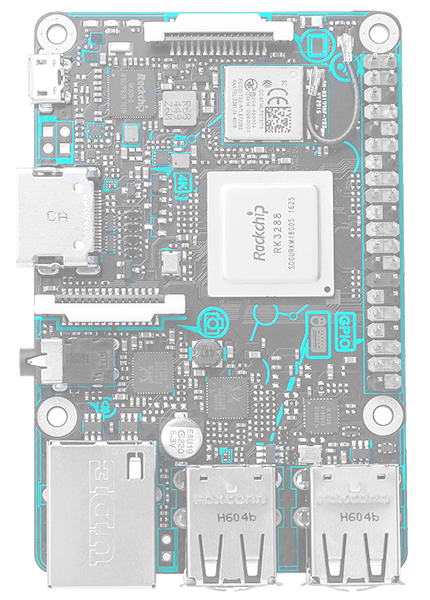
Tinker Board also features Gbit LAN for Internet and network connectivity. A dedicated bus resource designed for the LAN port ensures consistent Ethernet performance. The integrated Wi-Fi and Bluetooth controller on the Tinker Board is shielded with a metal cover to ensure minimal interference and improved radio performance. An integrated IPEX antenna header allows for easy antenna replacement or upgrades.
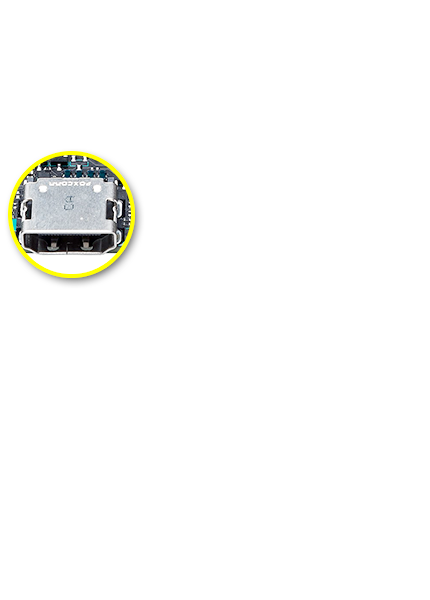
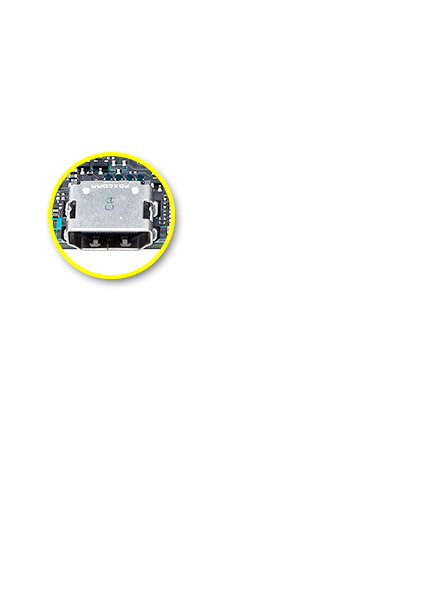
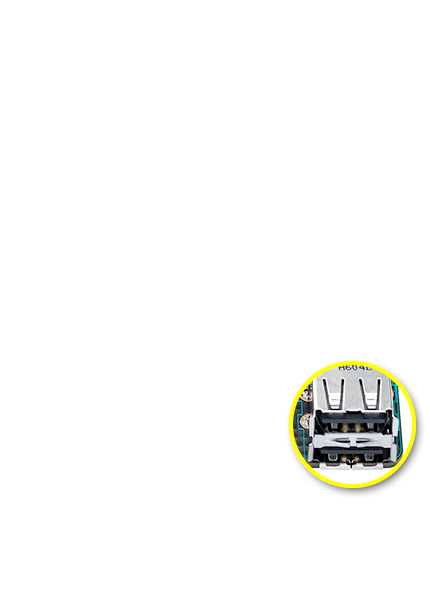
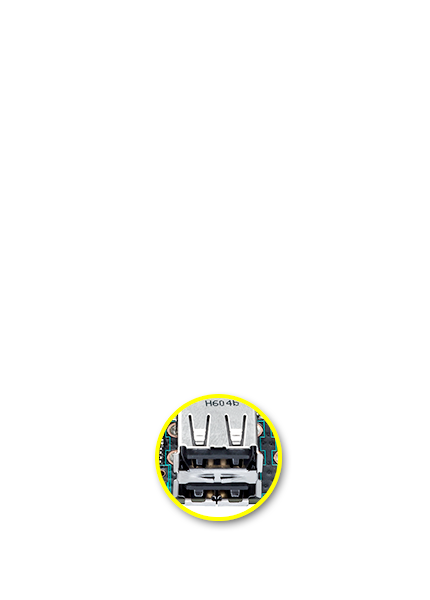
Tinker Board also features a full-size HDMI output. Additionally, it includes four USB 2.0 ports for extensive peripheral and accessory connectivity.
Enhanced DIY Design
The PCB dimensions and topology of the Tinker Board align with standard SBC boards, allowing support for a wide range of chassis and physical accessories. The PCB features silk-screening with a connection header and location callouts, for improved connection clarity. The onboard MIPI headers also feature color-coded pull tabs.
Tinker Board also includes a heatsink, which helps improve heat dissipation under heavy loading or in hot ambient environments.
TinkerOS ‧ Supported OS ‧ Applications
Furthermore TinkerOS has been carefully designed to be extremely lightweight and responsive. Running on top of the base Debian 9 is a the LXDE desktop environment. This GUI is optimized specifically for SBC boards. It also features plug & play NTFS support allowing for easy access to Windows based flash drives and external hard drives. The included web browser has also been carefully selected and optimized. It based on Chromium allowing for speed and stability along with a number of extensions. The ASUS team has help to enable hardware acceleration of the browser allowing for improved web rendering and video playback including HD resolutions in YouTube.
TinkerOS also includes a number of popular applications allowing for easy programming and development. These include IDLE / Python as well as Squeak / Scratch.
Beyond TinkerOS and its Debian Linux offering Tinker Board also support the Android Operating system. This allows for an entirely different usage scenarios ranging from media playback, gaming, and much more.
Tinker Board Performance
CPU Performance

GPU Performance

Stream and Memory Performance

SD Card Read/Write Speed
.Read speeds: up to 89% faster
.Write speeds: up to 40% faster

*Card spec: ADATA Premier UHS-I C10 64GBexFAT
Network/Audio Specifications
| Specification | Wi-Fi | Audio Format / Sample Rate |
Audio Function |
|---|---|---|---|
| Tinker Board | 802.11 b/g/n with upgradable IPEX antenna | Play: 24bit/192KHz, Record: 24bit/96KHz | Audio output, Microphone input |
| Competitor SBC | 802.11 b/g/n | 16bit/48KHz | Audio output only |
Networks Performance
.Transfer/receive speeds

.LAN performance with USB transfer

USB Speed
.Read speeds: up to 154% faster
.Write speeds: up to 6% faster

*Card spec: Kingston DataTraveler 64GB USB3.0
Wi-Fi Performance (Signal Loss)

| Location: OctoScope platform Target AP: ASUS RT-AC66U (Broadcom) |
Standard: b/g/n mixed Channel: 6 Bandwidth: 20MHz Security: none |
*Tinker Board - OS: Linux 4.4.0+ armv7l l Image Version: V20170113 l Memory Type: 2GB l CPU Type, Speed[GHz]: Cortex-A17 Quad-core 1.8GHz l GPU Type, Speed[MHz]: Mali™ T-764
*Competitor SBC - OS: Linux 4.4.11+ armv7l l Memory Type: 1GB l CPU Type, Speed[GHz]: Cortex-A53 Quad-core 1.2GHz l GPU Type, Speed[MHz]: VideoCore IV
Community ‧ Contact Us
Share your idea with us via
Documentation
Getting started
Requirement:
.1 x Micro USB cable and a 5V/2~2.5A USB power adapter with LPS marking
.1 x Monitor with HDMI cable
.1 x Keyboard and Mouse set
Note: To enhance the system stability, using high-speed SD card (Class 10 or above) is highly recommended.
2. Rename the image to output.img and then put the file into the FlashUSB folder
3. Execute FlashUSB.sh
===============================================
Select the disk you want to flash:
sdc -Multiple_Flash_Reader_058F63616476-0:1
sdb -Generic-_Compact_Flash_058F63616476-0:0
Enter the number:0
dd if=/home/yihsin/Rockchip/aa7-demo/out/target/output.img of=/dev/sdc seek=0 bs=16M conv=notrunc
flash start!
flash end!
===============================================
Insert the microSD card into the slot on the Tinker Board.
Connect the power supply, keyboard, mouse and your monitor. Now boot it up!
2. Download and run the "Win32DiskImager" application
2.1 Browse and select the source image file to be flashed (Image File)
2.2 Select the microSD card as the destination (Device)
2.3 Click "Write"
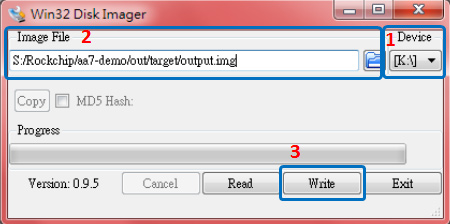
3. Safely remove the microSD card with the new bootable image, then insert into the microSD card slot on the Tinker Board.
4. Connect the power supply, keyboard, mouse and your monitor. Now boot it up!
Insert the bootable micro SD card into your Tinker Board, then connect the power supply, keyboard, mouse, and monitor to boot up
Hardware
Typically, tinker board uses between 700 to 1000mA, depending on which peripherals are connected. It may use as little as 500mA when no peripherals are attached. Maximum power for the tinker board is 1A. If you need to connect a USB device to bring power requirements above 0.5A, then you must connect to it via an externally powered USB hub.
The USB ports enable the attachment of peripherals such as keyboards, mice and webcams. This provides the board with additional functionality.
There are some differences between the USB hardware on the tinker board and the USB hardware on desktop computers, laptops and tablets.
The USB host port inside the tinker board is for power supply only, RK3288, was originally intended to be used in the mobile market, e.g. the single USB port on a phone for connection to a PC, or to a single device. In essence, the OTG hardware is simpler than the equivalent hardware on a PC.
OTG typically supports communication to all types of USB devices, but to provide an adequate level of functionality for most of the USB devices that one might plug into a tinker board, the system software has to do more work.
Learn More
Supported Devices
If you have a device and wish to use it with a tinker board, then plug it in. Chances are that it will be compatible. If you're running a graphical interface (such as an LXDE desktop environment in the OS), then it's likely that an icon or other message will pop up to announce the new device.
Port Power Limits
It should be noted that hot-swapping high-powered devices into the tinker board's USB ports may result in a brownout, which may cause the tinker board to reset.
Download
- TinkerOS-Android
- TinkerOS-Debian
- GPIO API for C
- GPIO API for Python
- GPIO API for Scratch
- 2D Drawing
- 3D Drawing
- Schematics
- QVL
- FAQ
GPIO API
Python
1. Open a terminal and Install dependency package.
sudo apt-get update
sudo apt-get install python-dev python3-dev
2. Download Python GPIO library*
git clone http://github.com/TinkerBoard/gpio_lib_python.git
3. Navigate to folder
cd gpio_lib_python/
4. Install Python GPIO library for Tinker Board S
sudo python setup.py install
sudo python3 setup.py install
5. Reference codes
There're few sample codes under this folder /gpio_lib_python/test
*If get “git command not found”, please install git first by apt with follow commands. sudo apt-get update
sudo apt-get install git
C
1. Open a terminal and download C GPIO library*
git clone http://github.com/TinkerBoard/gpio_lib_c.git
2. 2. Navigate to folder
cd gpio_lib_c/
3. Install C GPIO library for Tinker Board S
sudo ./build
4. Check install success or not
gpio -v
gpio readall
5. Reference codes
There're few sample codes under this folder /gpio_lib_c/examples
*If get “git command not found”, please install git first by apt with follow commands.
sudo apt-get update
sudo apt-get install git
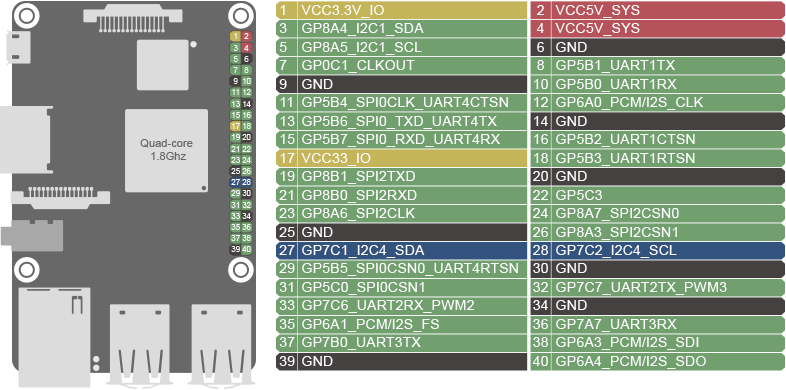
GPIO pinout
| GPIO.Setmode (GPIO.ASUS) |
GPIO.Setmode (GPIO.BOARD) |
Pinout | Physical Pin Number |
Pinout | GPIO.Setmode (GPIO.BOARD) |
GPIO.Setmode (GPIO.ASUS) |
| 1 | VCC3.3V_IO |
12 | VCC5V_SYS |
2 | ||
| 252 | 3 | GP8A4_I2C1_SDA |
34 | VCC5V_SYS |
4 | |
| 253 | 5 | GP8A5_I2C1_SCL |
56 | GND |
6 | |
| 17 | 7 | GP0C1_CLKOUT |
78 | GP5B1_UART1TX |
8 | 161 |
| 9 | GND |
910 | GP5B0_UART1RX |
10 | 160 | |
| 164 | 11 | GP5B4_SPI0CLK_UART4CTSN |
1112 | GP6A0_PCM/I2S_CLK |
12 | 184 |
| 166 | 13 | GP5B6_SPI0_TXD_UART4TX |
1314 | GND |
14 | |
| 167 | 15 | GP5B7_SPI0_RXD_UART4RX |
1516 | GP5B2_UART1CTSN |
16 | 162 |
| 17 | VCC33_IO |
1718 | GP5B3_UART1RTSN |
18 | 163 | |
| 257 | 19 | GP8B1_SPI2TXD |
1920 | GND |
20 | |
| 256 | 21 | GP8B0_SPI2RXD |
2122 | GP5C3 |
22 | 171 |
| 254 | 23 | GP8A6_SPI2CLK |
2324 | GP8A7_SPI2CSN0 |
24 | 255 |
| 25 | GND |
2526 | GP8A3_SPI2CSN1 |
26 | 251 | |
| 233 | 27 | GP7C1_I2C4_SDA |
2728 | GP7C2_I2C4_SCL |
28 | 234 |
| 165 | 29 | GP5B5_SPI0CSN0_UART4RTSN |
2930 | GND |
30 | |
| 168 | 31 | GP5C0_SPI0CSN1 |
3132 | GP7C7_UART2TX_PWM3 |
32 | 239 |
| 238 | 33 | GP7C6_UART2RX_PWM2 |
3334 | GND |
34 | |
| 185 | 35 | GP6A1_PCM/I2S_FS |
3536 | GP7A7_UART3RX |
36 | 223 |
| 224 | 37 | GP7B0_UART3TX |
3738 | GP6A3_PCM/I2S_SDI |
38 | 187 |
| 39 | GND | 3940 | GP6A4_PCM/I2S_SDO | 40 | 188 |
* We strongly recommend that you regularly backup all data stored in the device. ASUS shall not be liable for any damage to or loss of programs or data stored in the Tinker Board series, and shall not be responsible for data recovery, backup, or any charges arising therefrom.
* In no event shall ASUS be liable for any defect, damage or data loss arising from product repair or replacement.
- Overview
- 3rd Party Partners
- Performance
- Community ‧ Contact Us
- Videos
- Documentations ‧ Download


