[Chromebook] MyASUS - Introduction
2. Home Page
- 4.1 Repair Service
- 4.2 System Diagnosis
- 4.3 FAQ
- 4.4 Contact ASUS
5. User Center
6. Settings
※ Chromebook MyASUS only supports ASUS Chromebooks, if you are an ASUS non-Chromebook laptop user, please refer to the following link for MyASUS on the laptop: [Notebook] MyASUS - Introduction | Official Support | ASUS Global
MyASUS for Chromebook Extension is available on some ASUS Chromebooks, please click Connect to confirm if your Chromebook is supported.
(1) You can click the circle in the lower left corner of the desktop and then click ①[MyASUS] to open it. If you can't find MyASUS, you can also try to enter MyASUS in ②[Search] to find out if there is MyASUS.
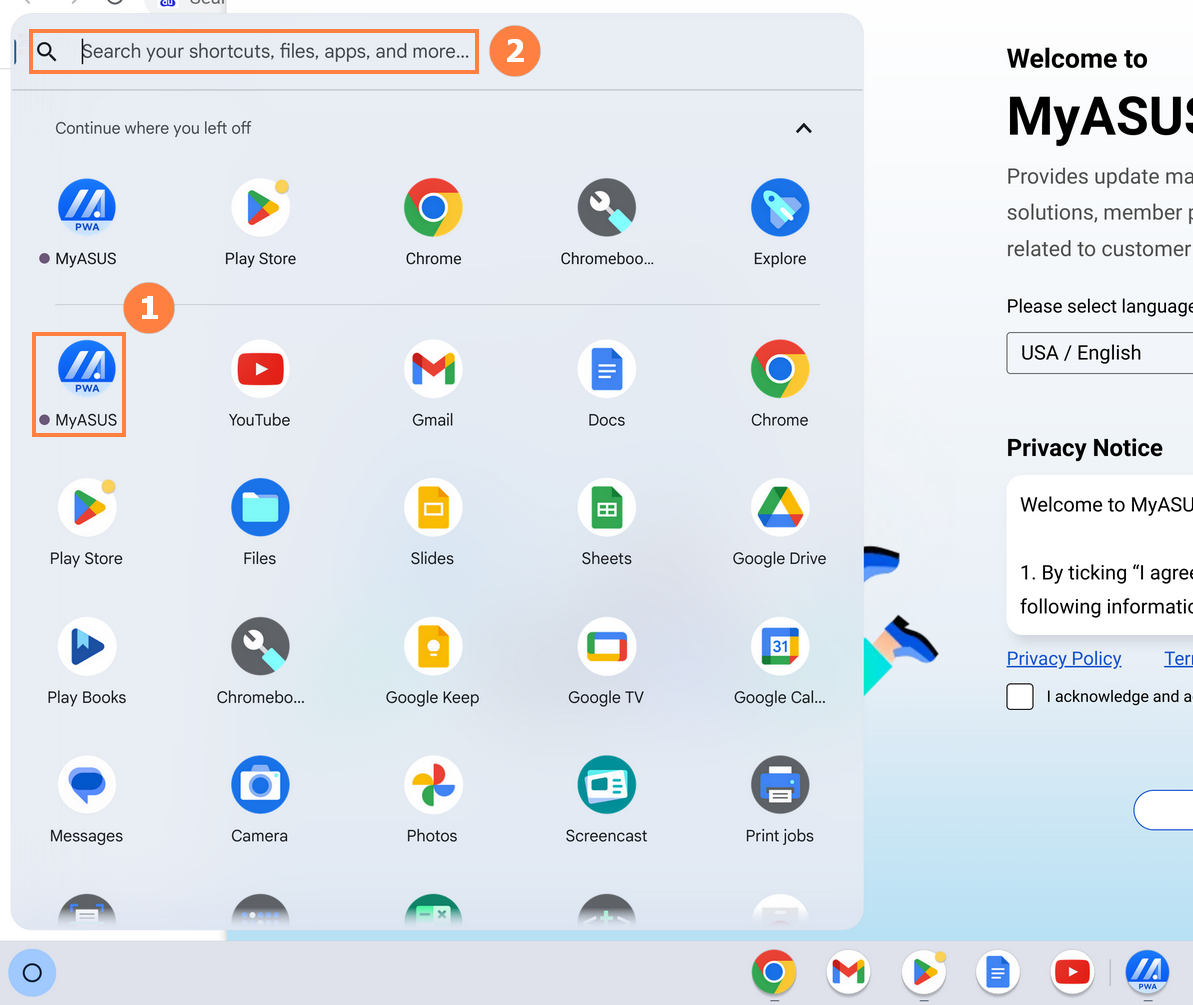
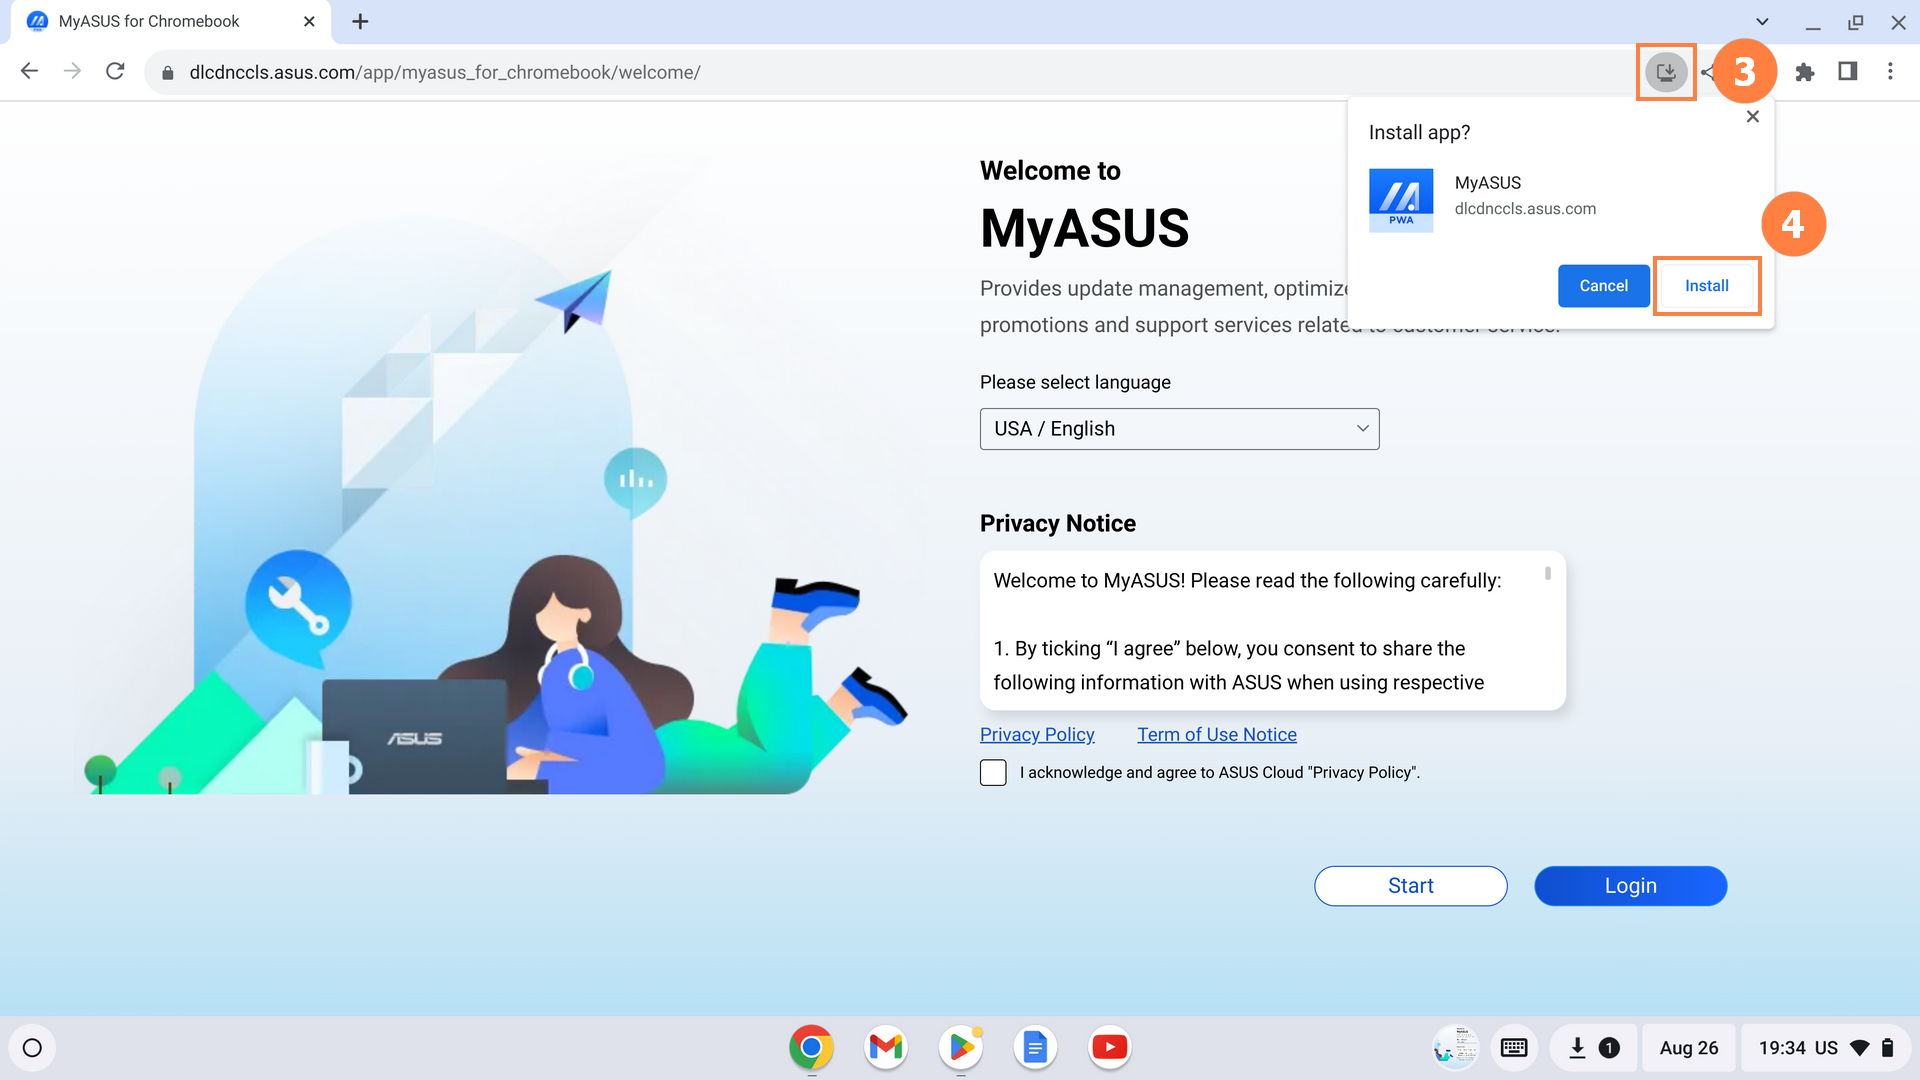
(2) If MyASUS is not installed on your computer, please click MyASUS for Chromebook to quickly open MyASUS in the browser. After MyASUS is opened in the browser, click ③[Install app], then click ④[Install].
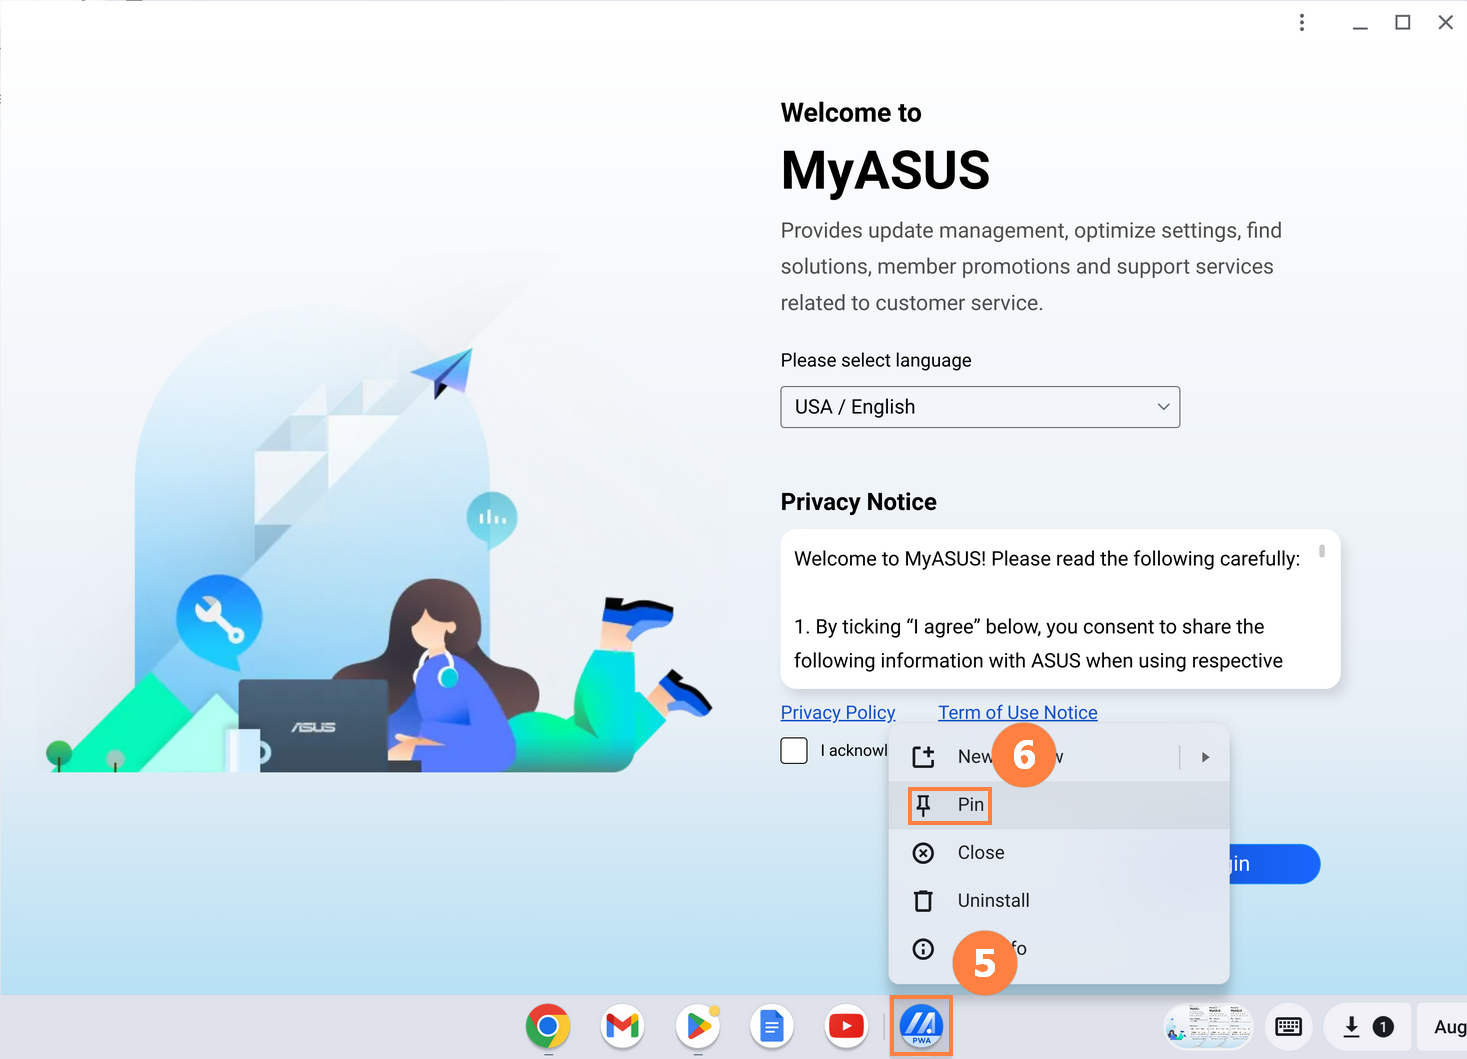
(3) After clicking [Install], the installation version of MyASUS will automatically start. Right-click ⑤[MyASUS], then left-click ⑥[Pin] to pin MyASUS to the taskbar. This will allow you to quickly open MyASUS the next time you use it.
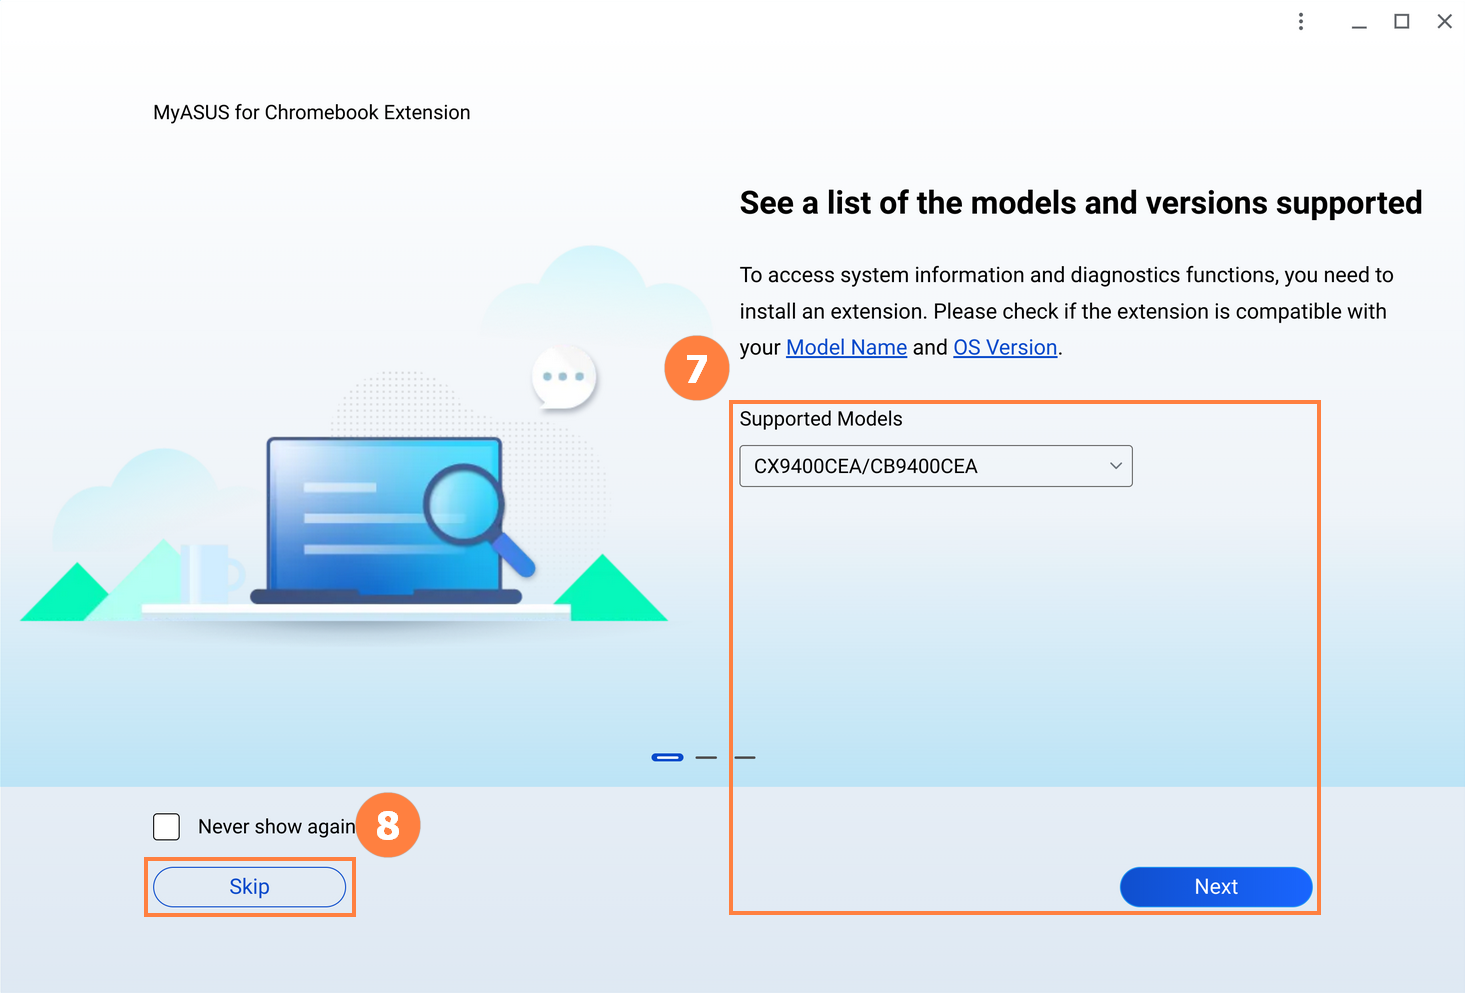
(4) Enter MyASUS, the following screen will be displayed, you can click ⑦[Supported Models] and then click [Next] to install the MyASUS for Chromebook Extension.
If your computer model is not listed in [Supported Models], you can click ⑧[Skip] to enter the MyASUS homepage.
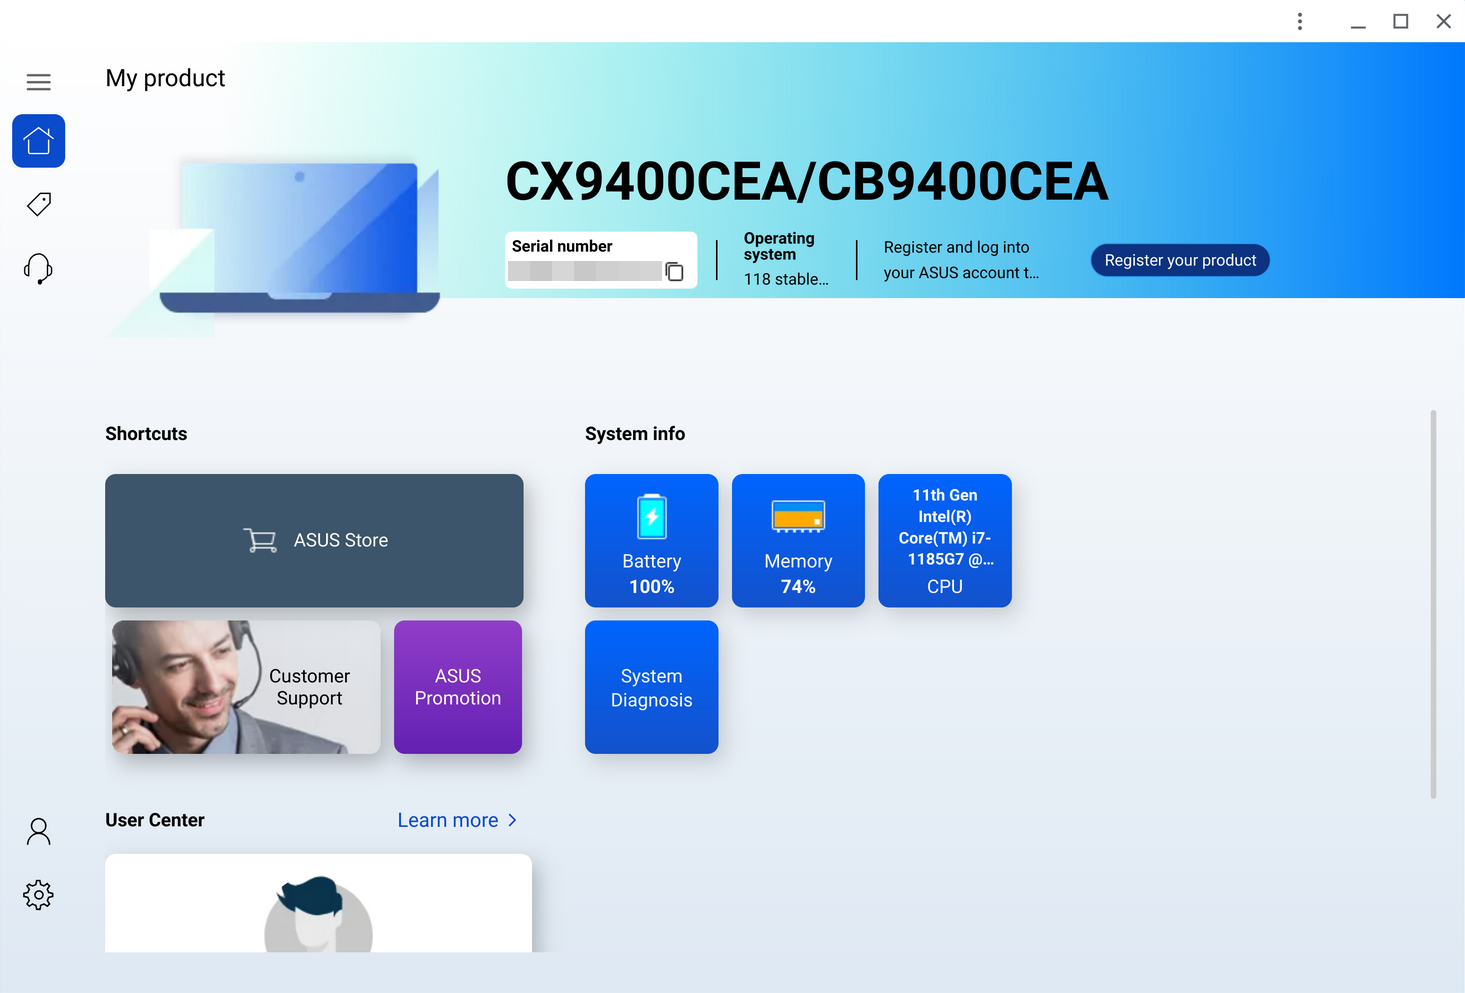
(5) The MyASUS homepage displays the main features of MyASUS, and users can access further settings and details by clicking on the button on the homepage to go to the appropriate page.
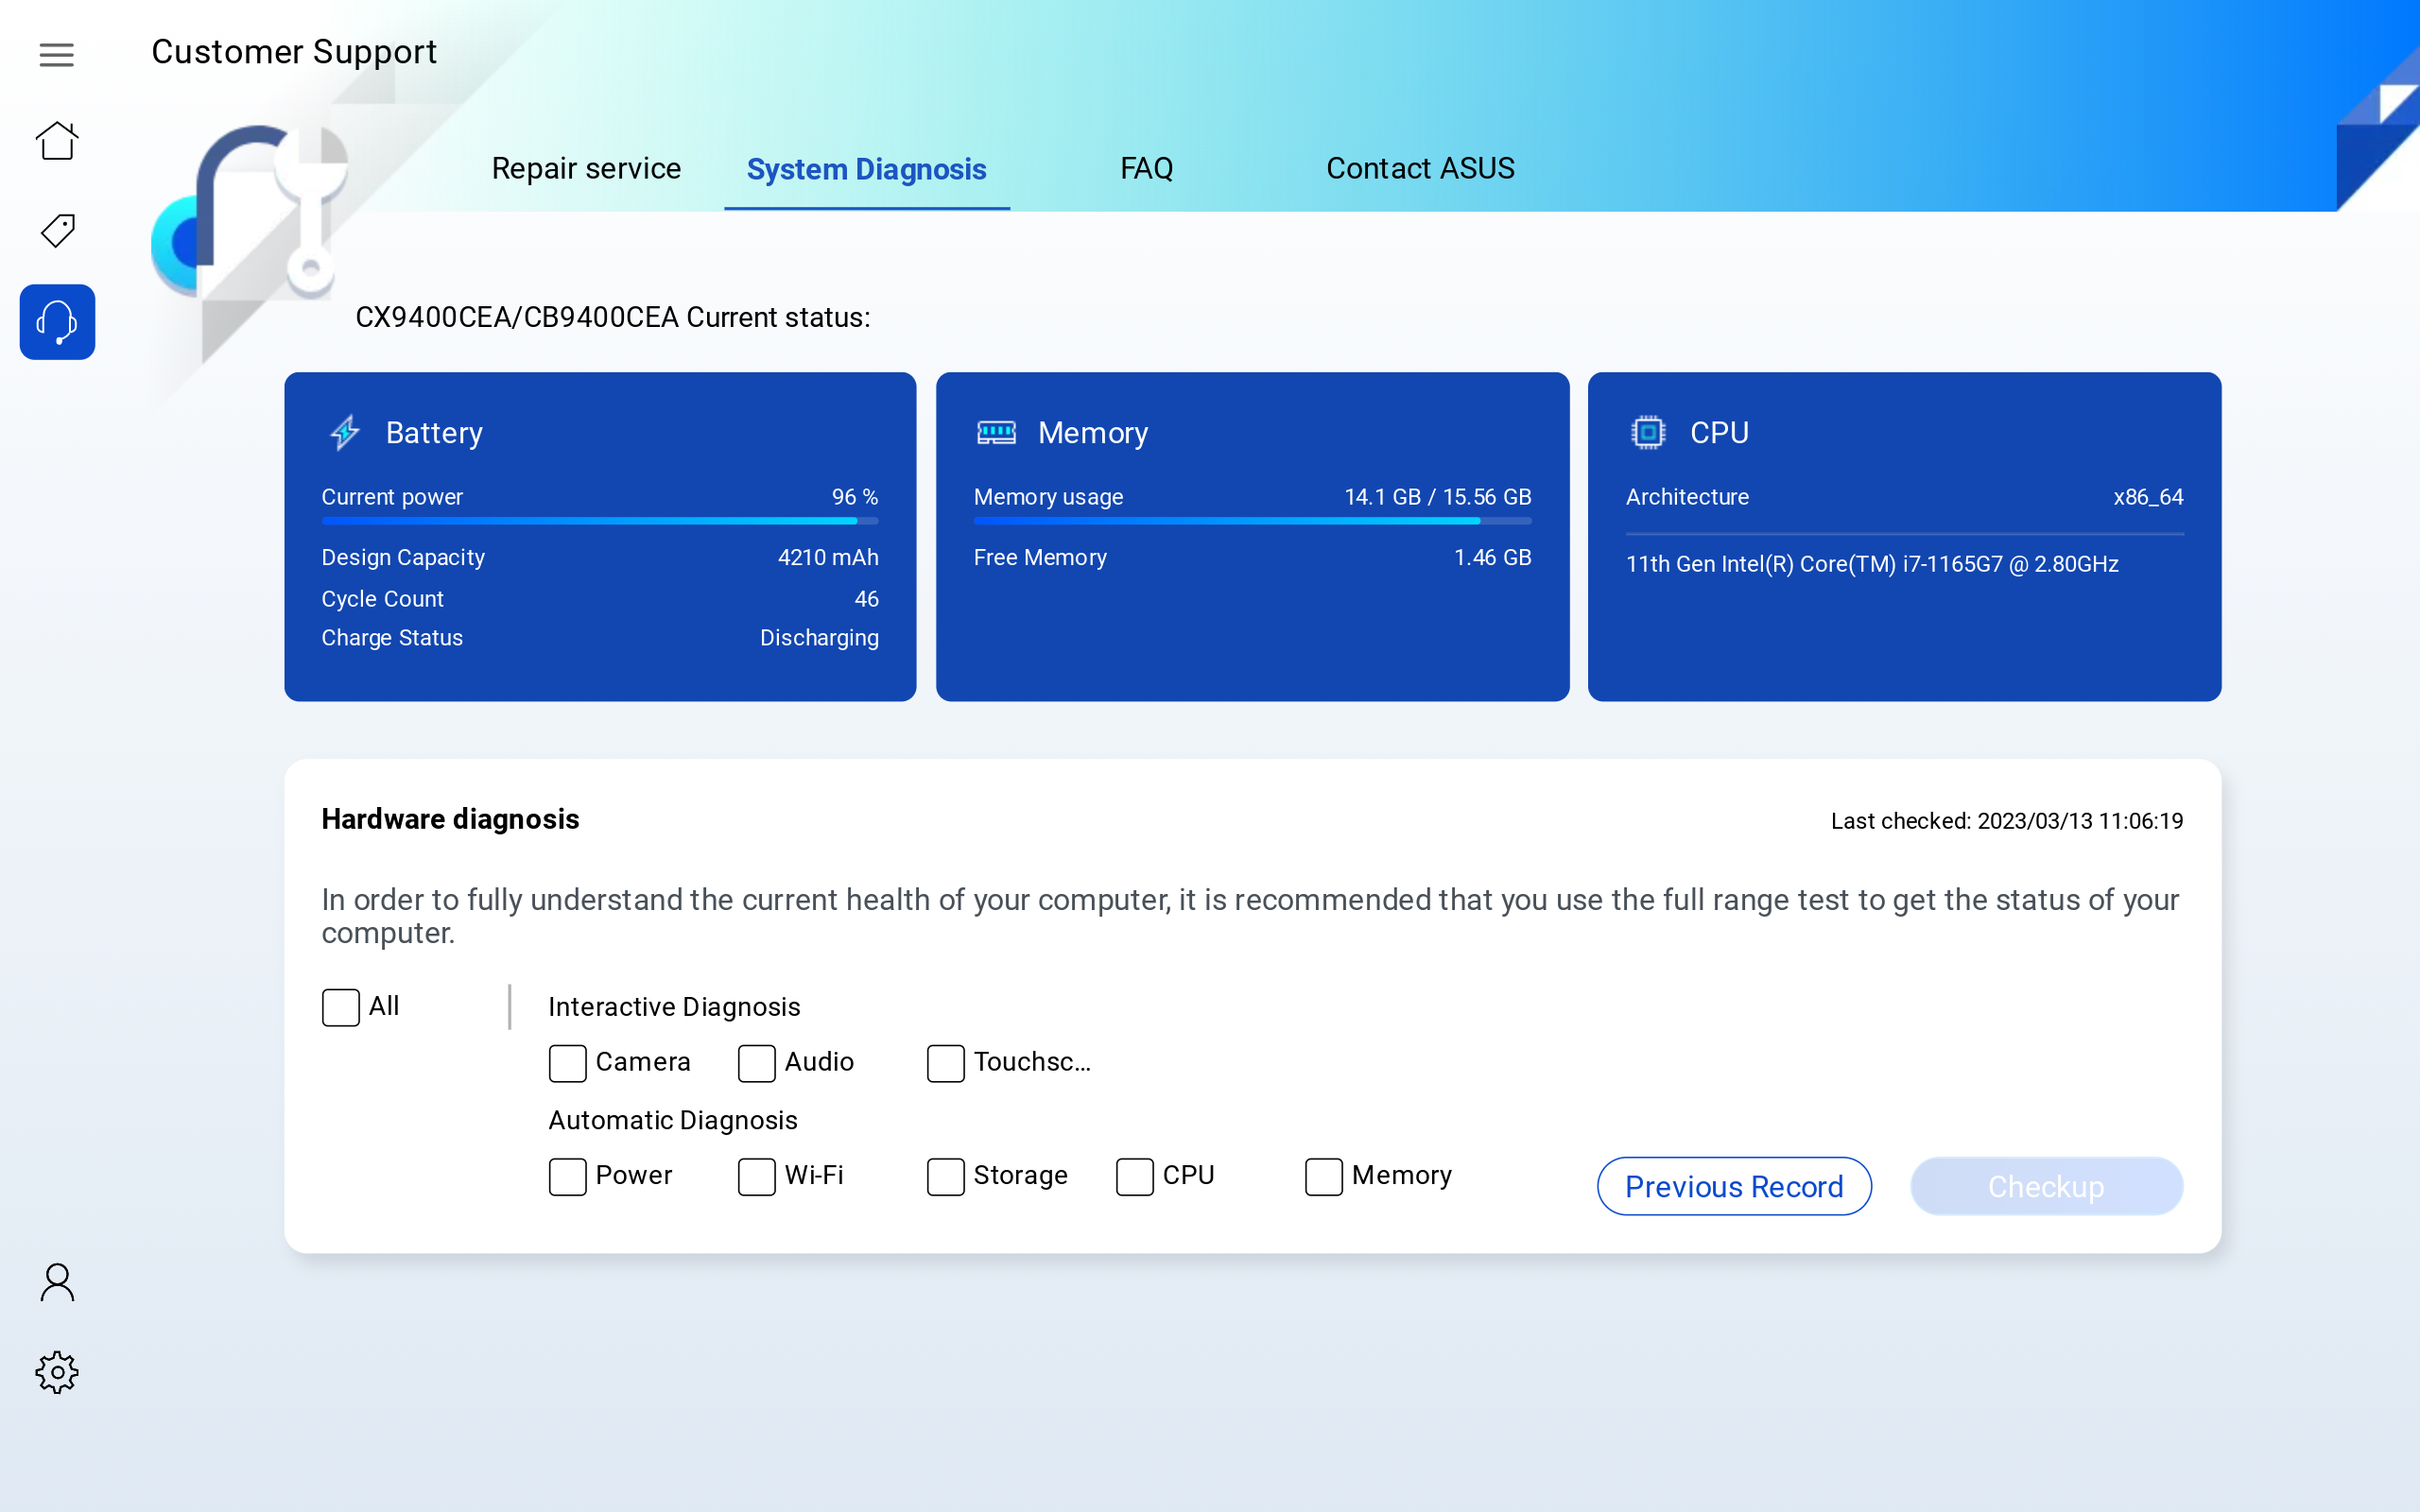
In addition, users can click "System Diagnostics" to jump to the diagnostic function, and select "Select All" to start the check.
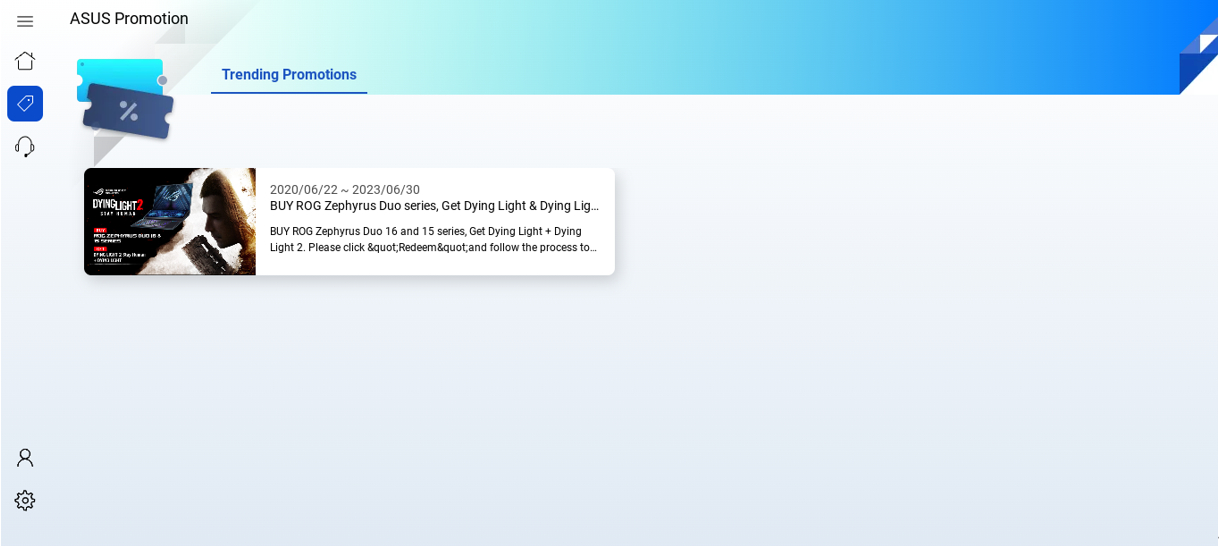
3. ASUS Promotion
ASUS Promotion delivers the latest news regard to ASUS product and exhibition.
4.1 Repair Service
Repair Status: You can check the Repair Status via RMA number or product S/N.
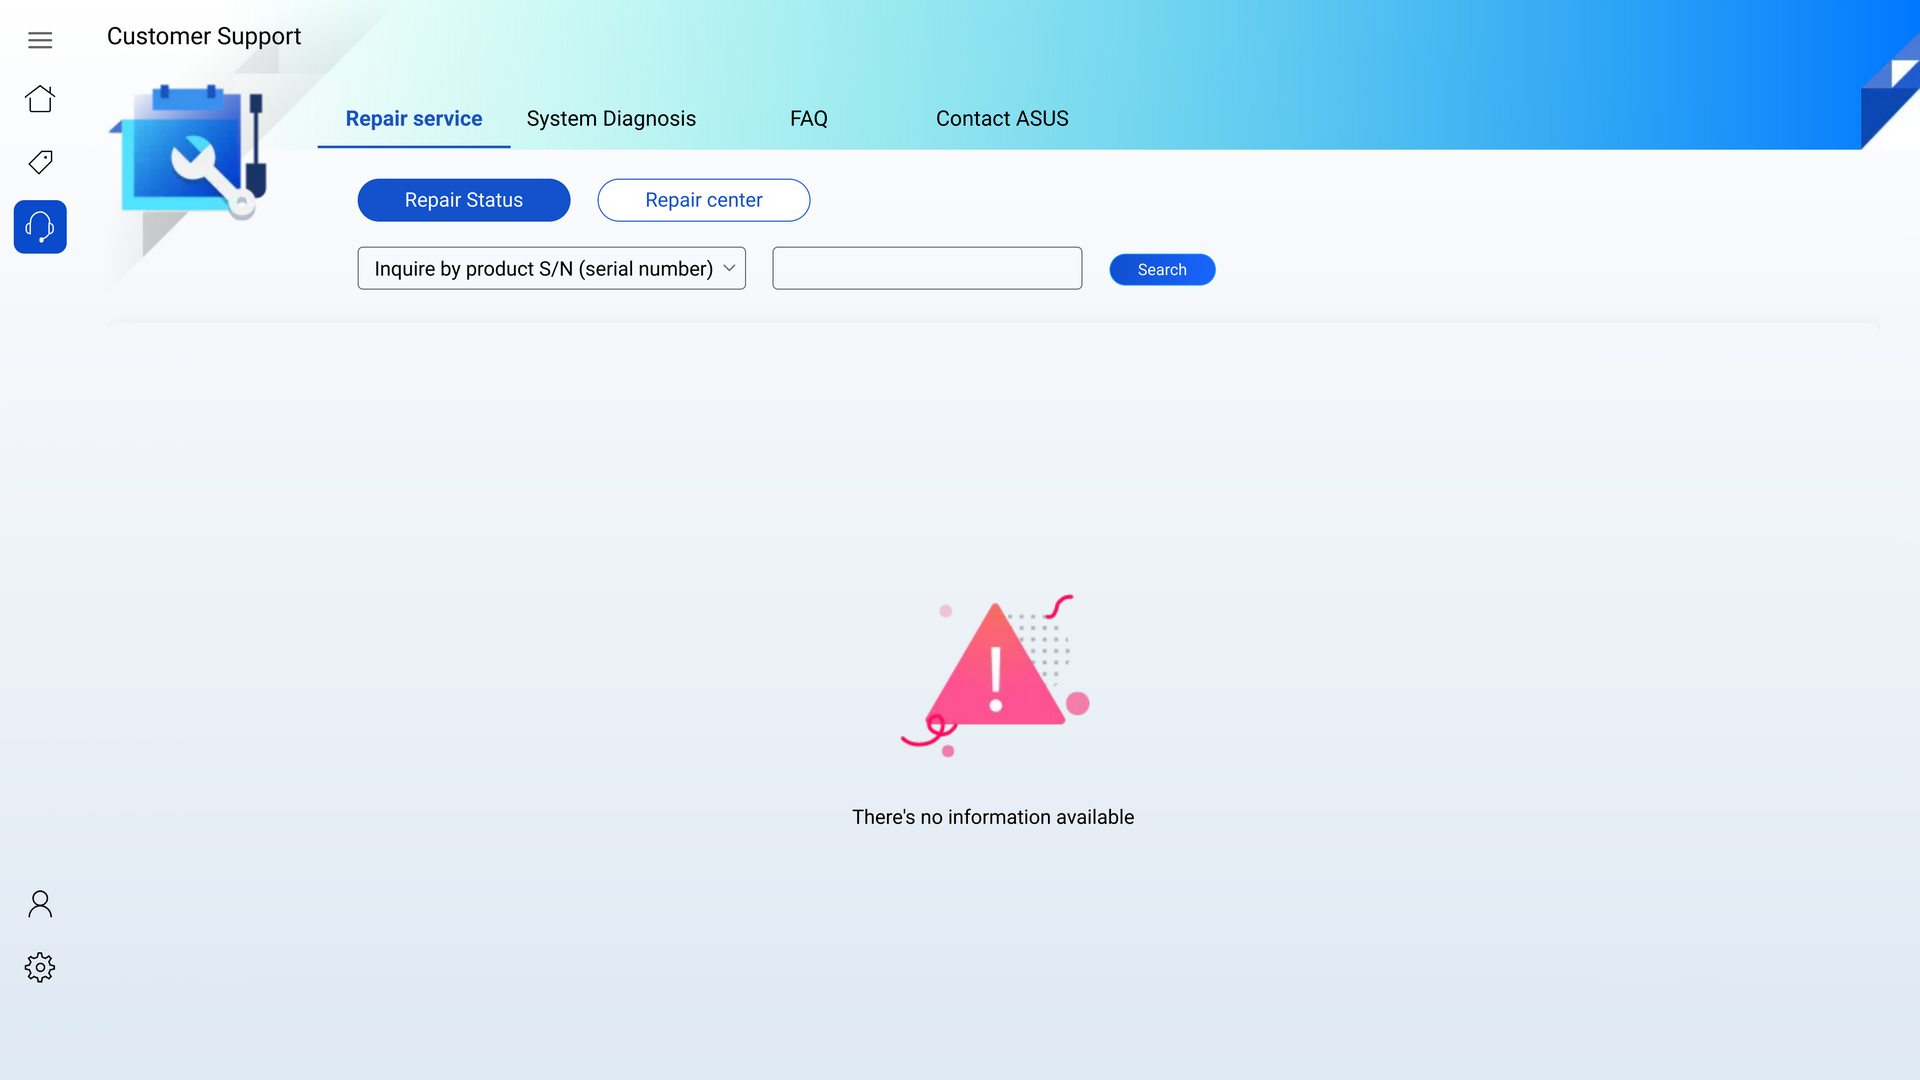
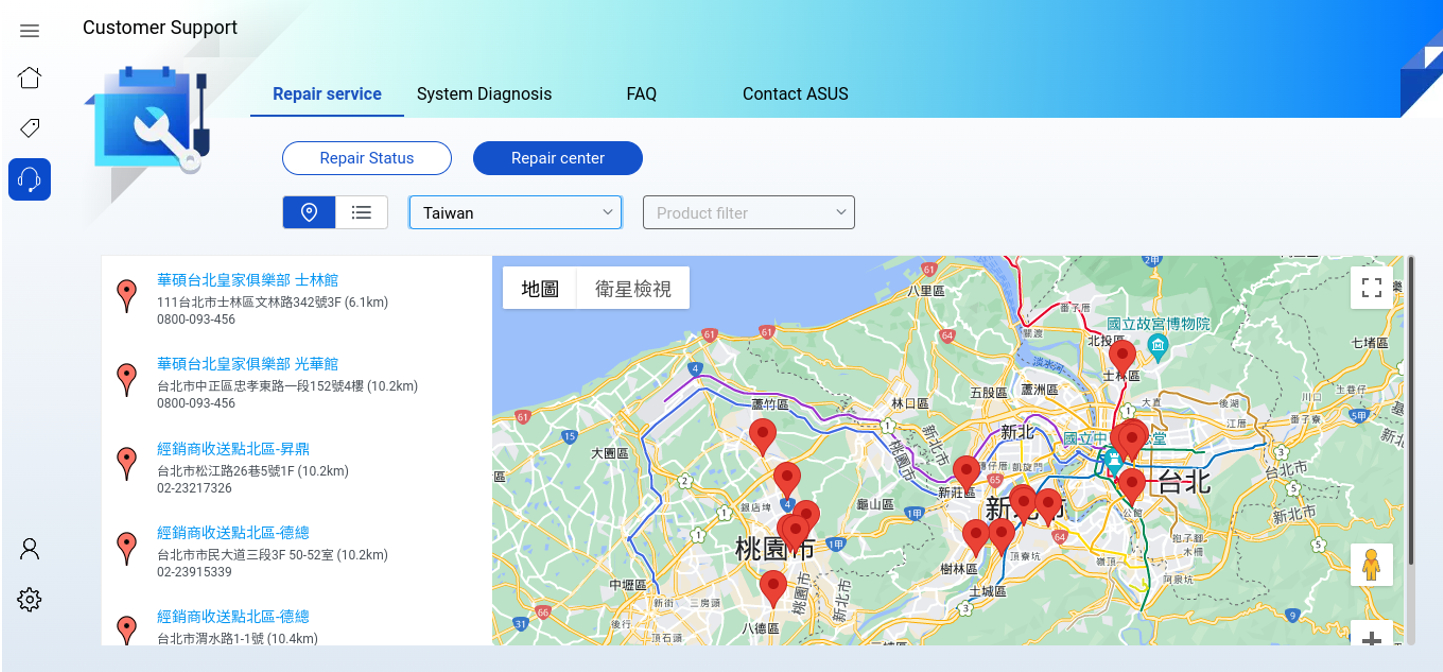
Repair Center: It shows all of repairment locations in your country.
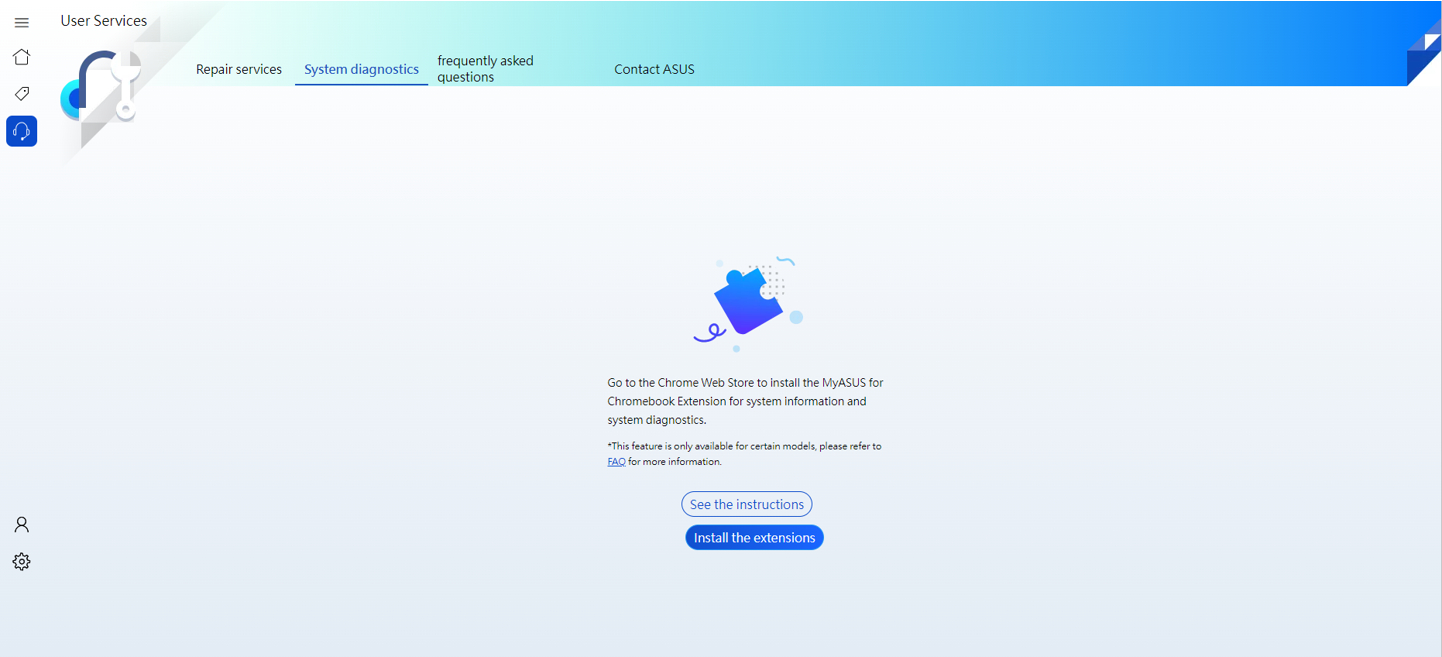
In order to access the features regard to system information and system diagnostics, please install MyASUS for Chromebook Extension on Chrome Web Store. Please follow the below steps to install the extension to support the system information and diagnostics function.
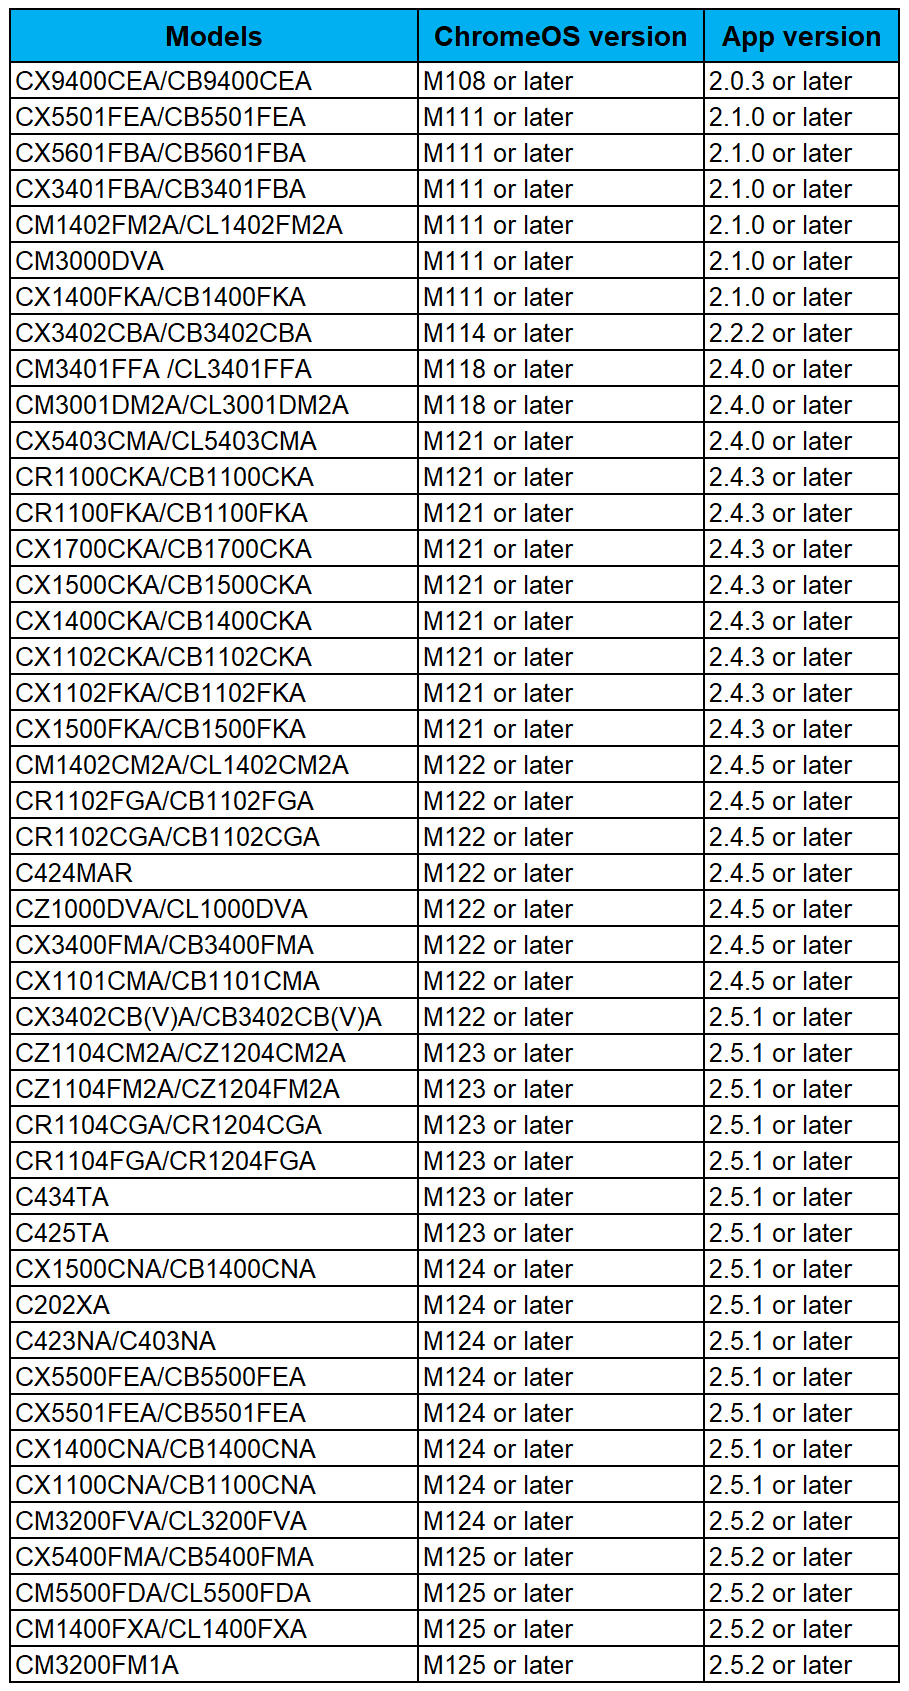
1. Please check your model name and ChromeOS version and see a list of the models and versions supported.
2. Check your account is in the owner account or not.
3. Install MyASUS for Chromebook Extension on Chrome Web Store.
You can use the features like system information and diagnostics function, when you finished the above steps.
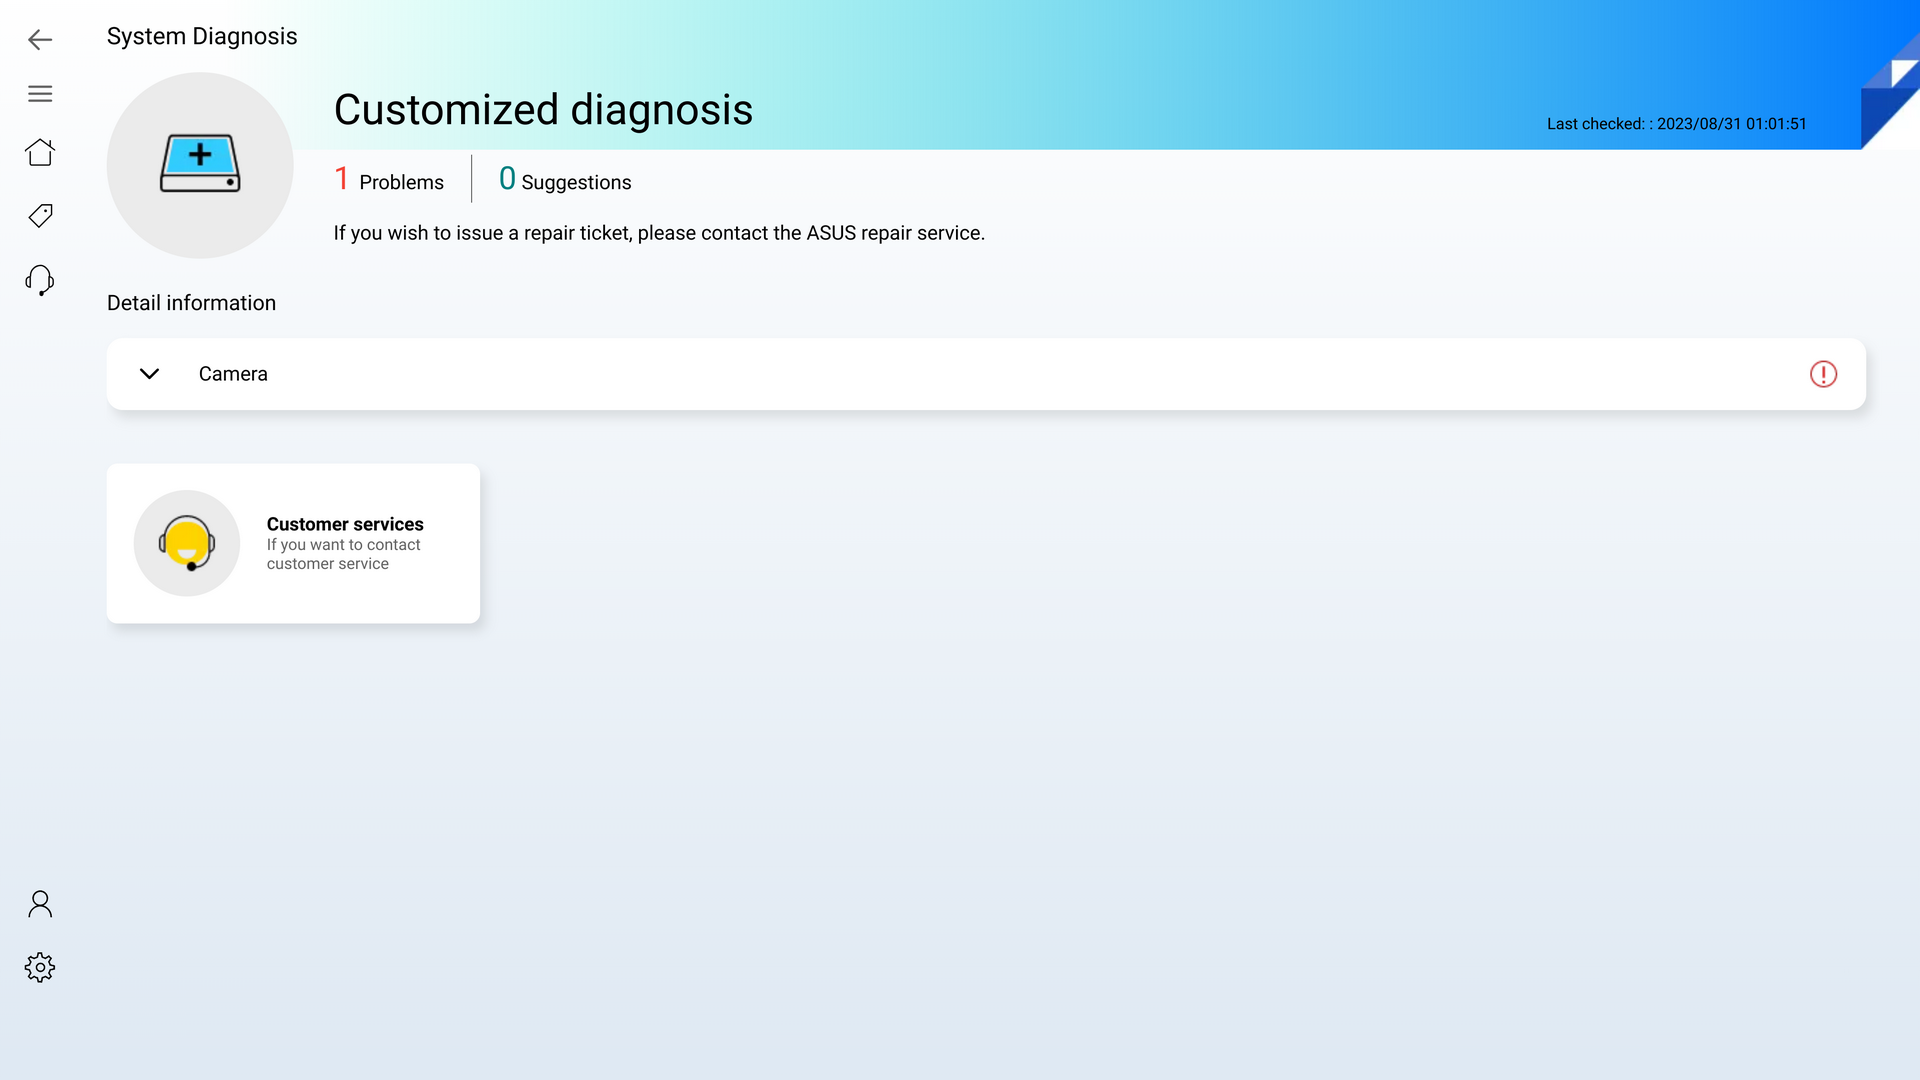
For example, MyASUS detects that there are some problems with your camera, you can click Customer Service for help. then it will direct to the page- Contact ASUS automatically, please refer to Chp4.4- Contact ASUS for more detail.
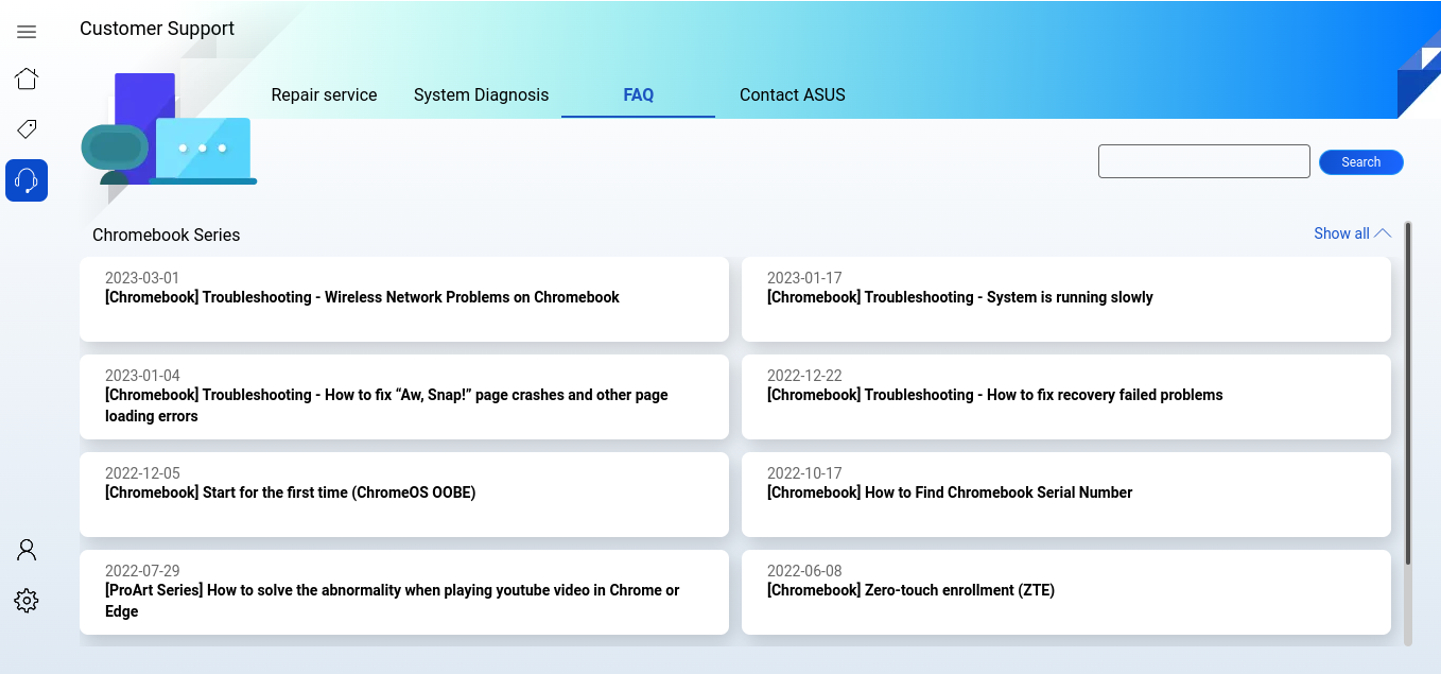
4.3 FAQ
Here will show some FAQ for MyASUS to solve your problem.
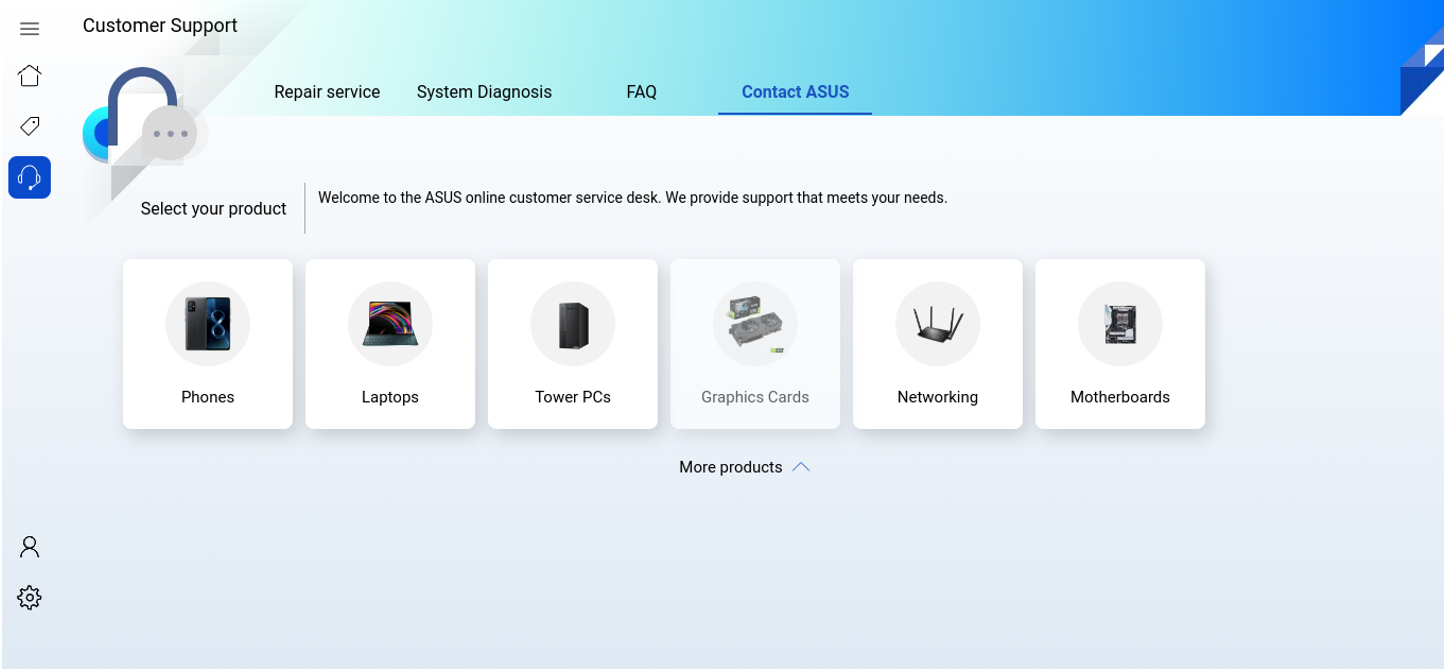
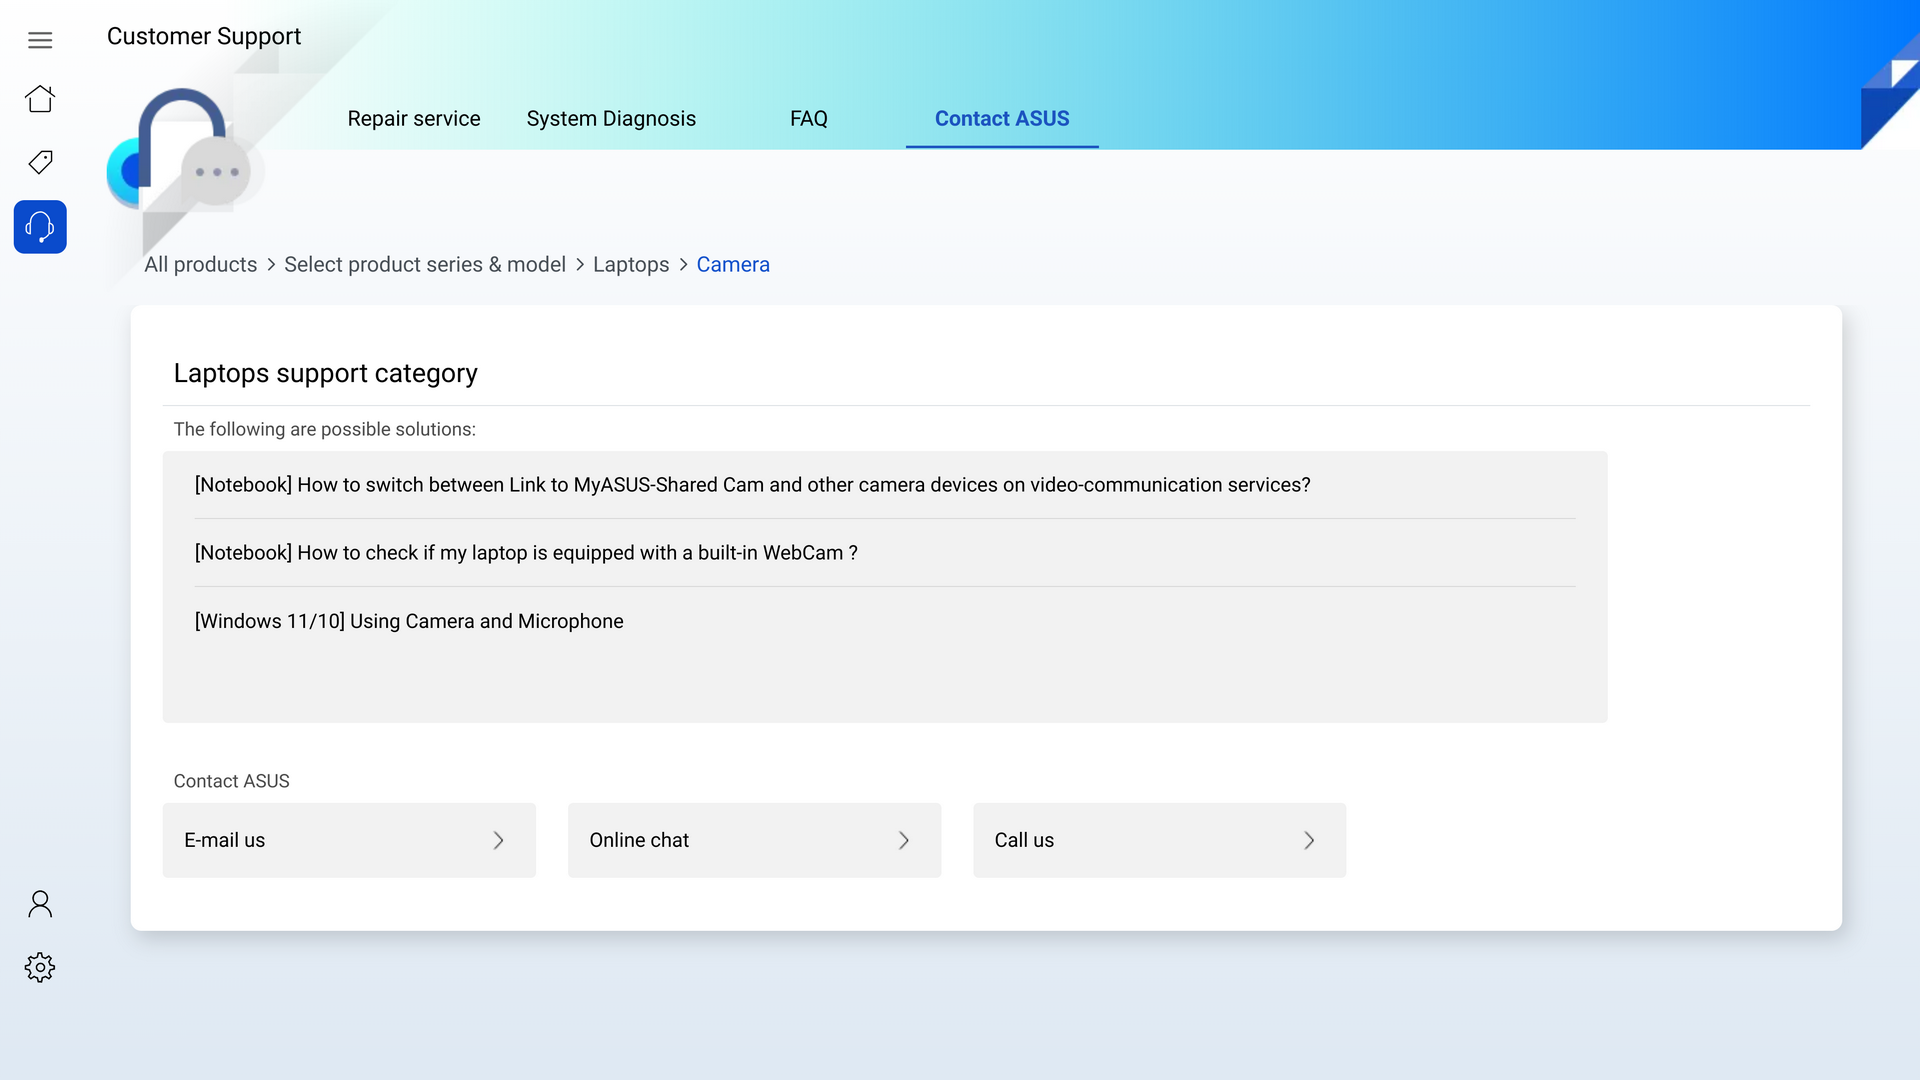
4.4 Contact ASUS
Click contact ASUS and select your product.
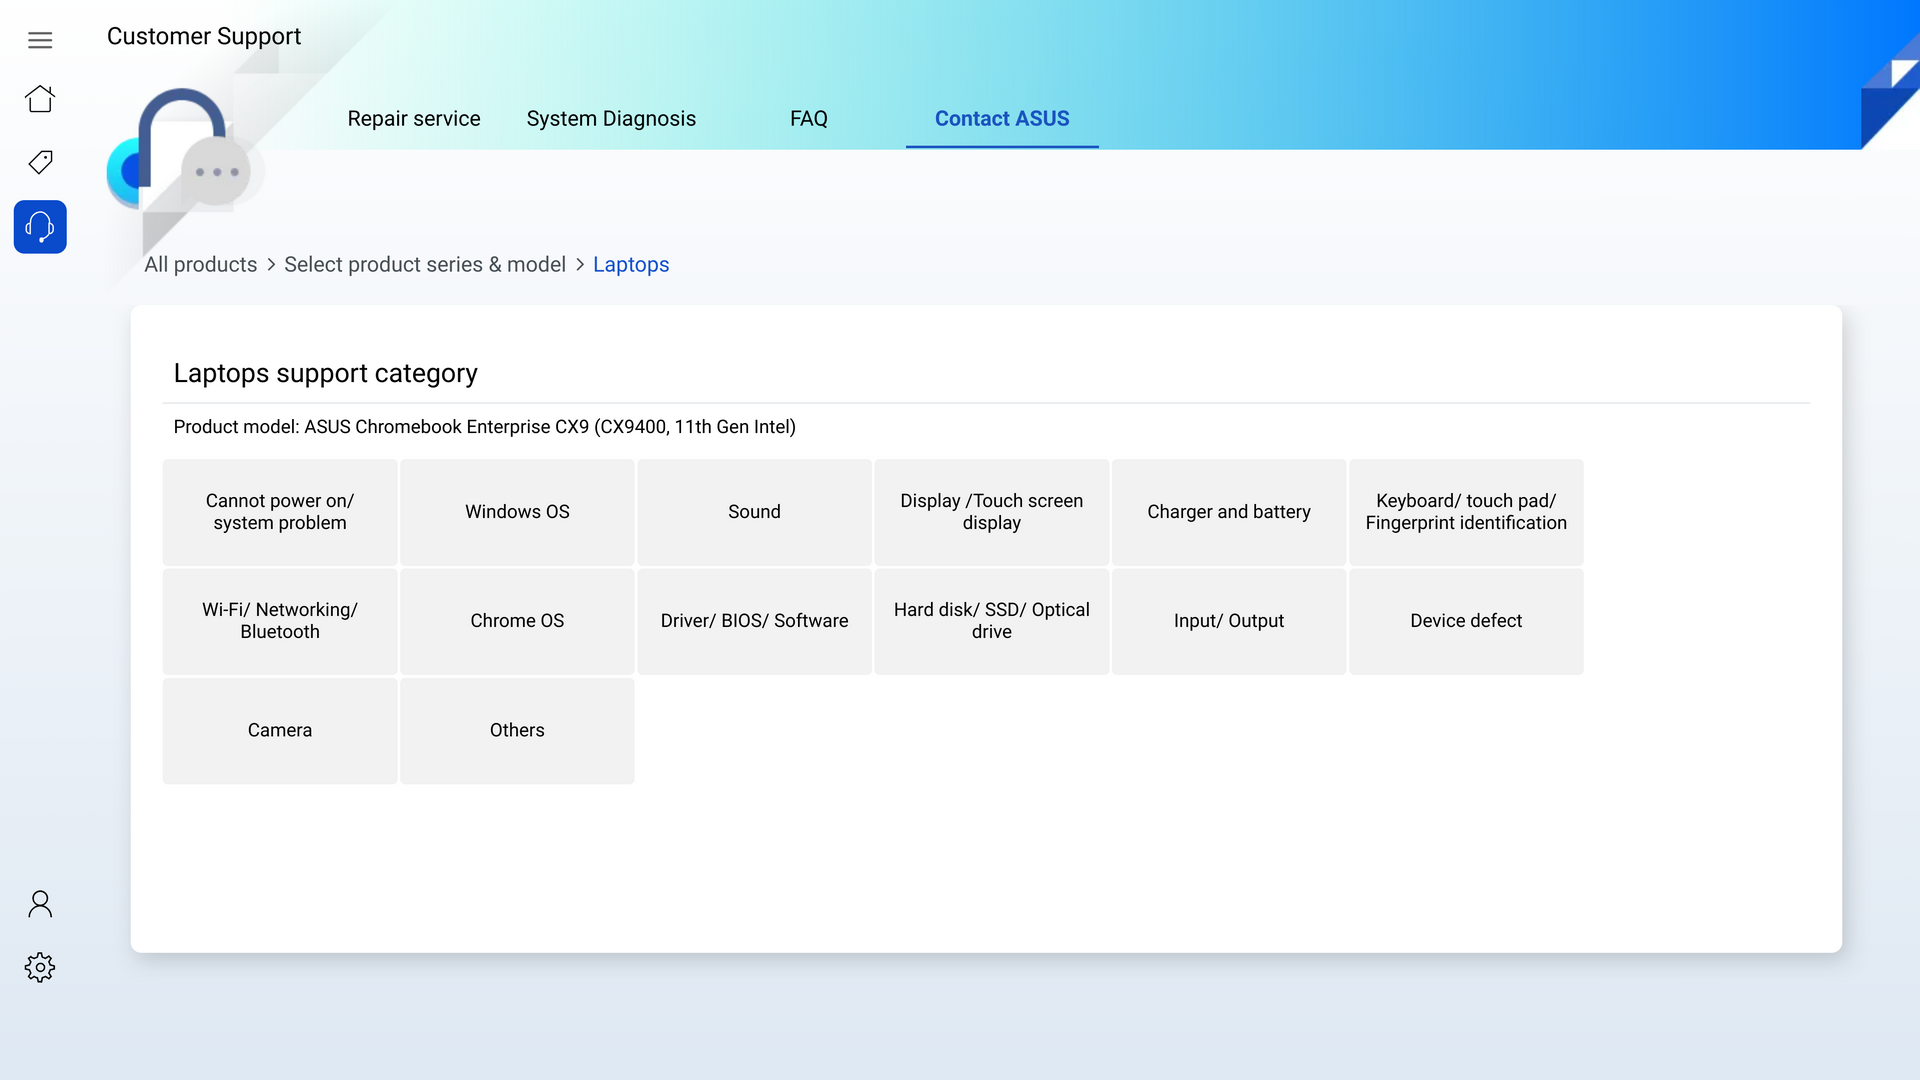
Choose the product series & model.

Click Camera.
Click Camera.
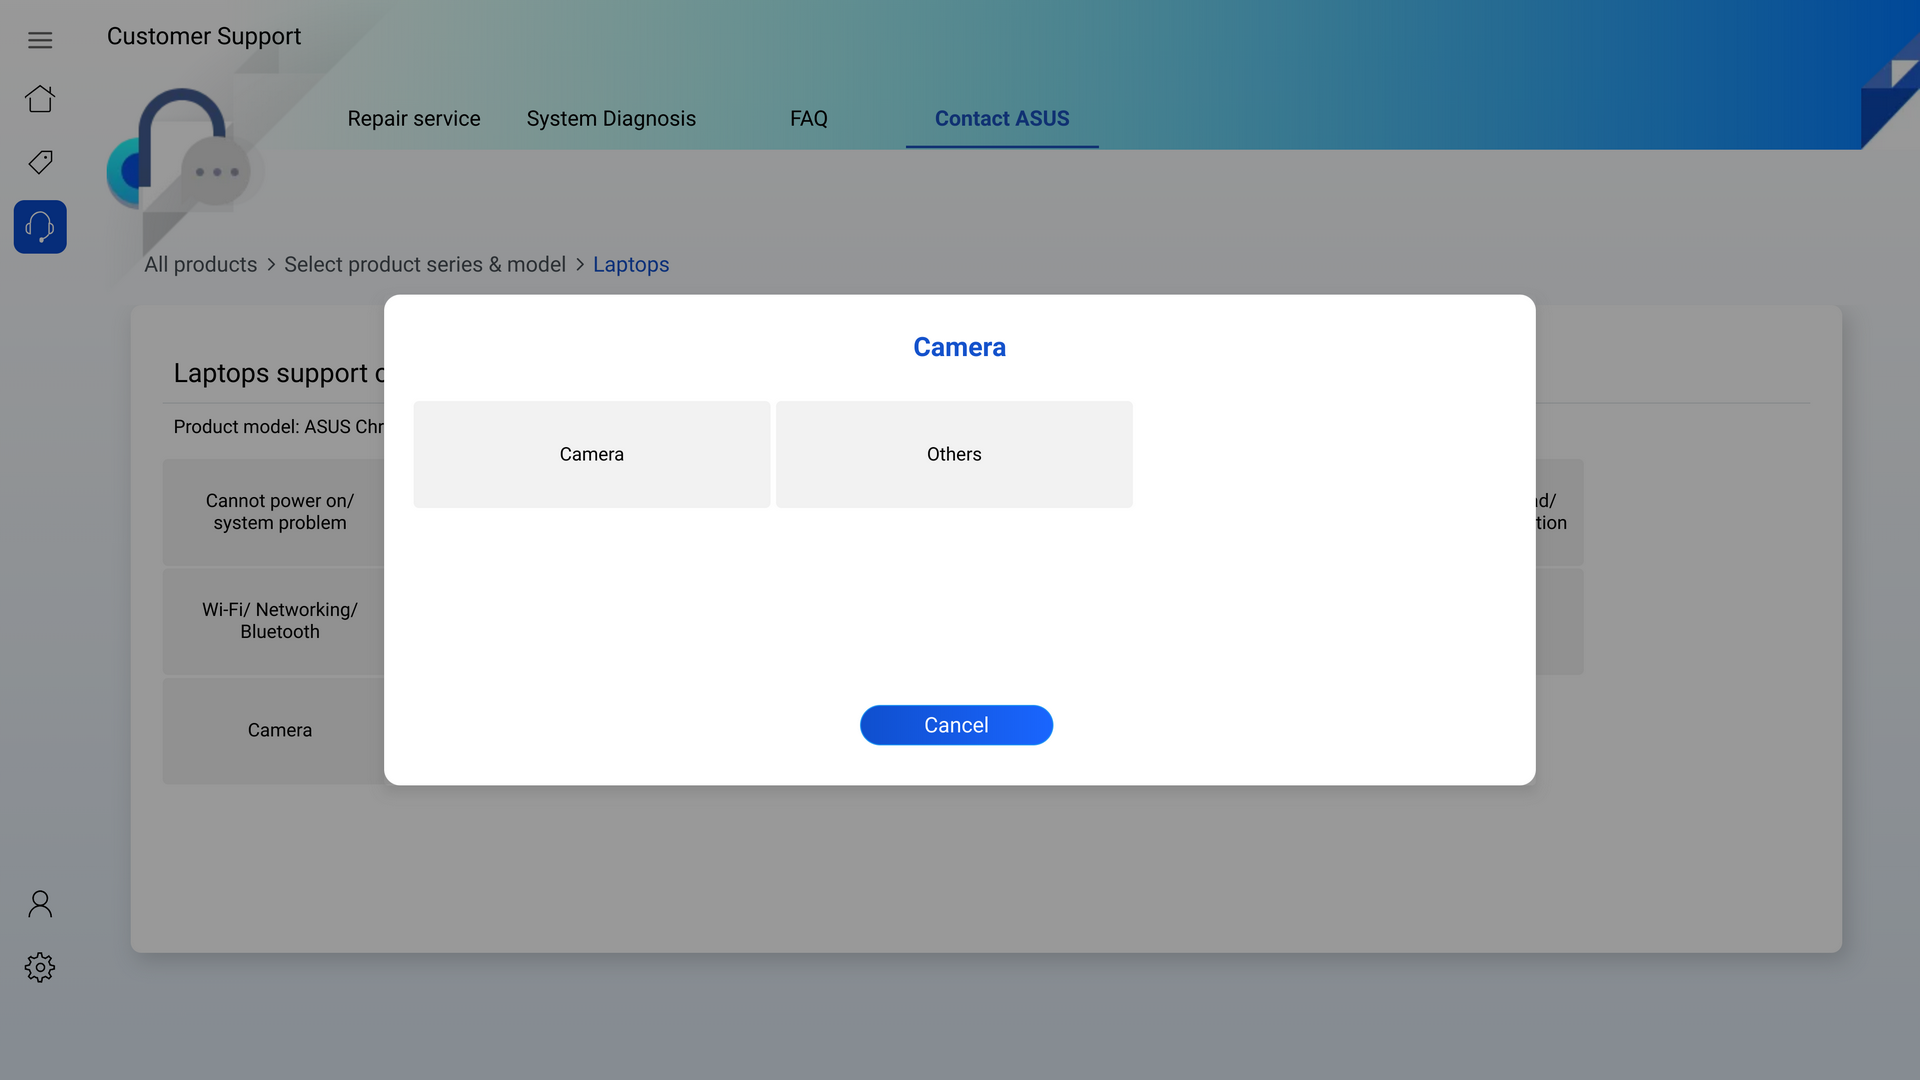
You can check the relevant FAQ or contact with ASUS for assistance.
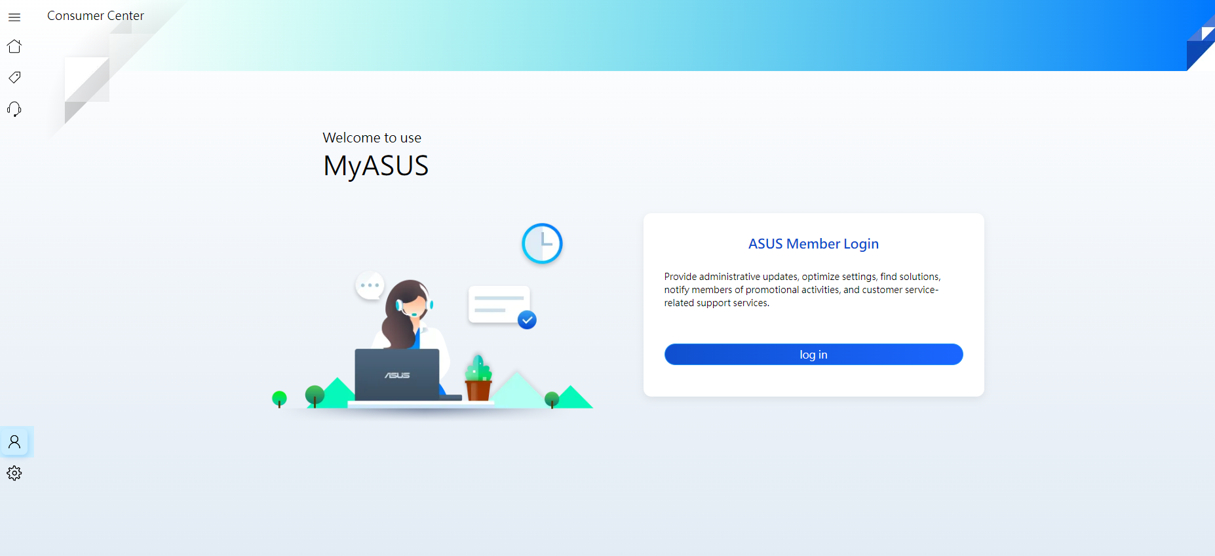
5. User Center
Support to update profile, password, and register product S/N.
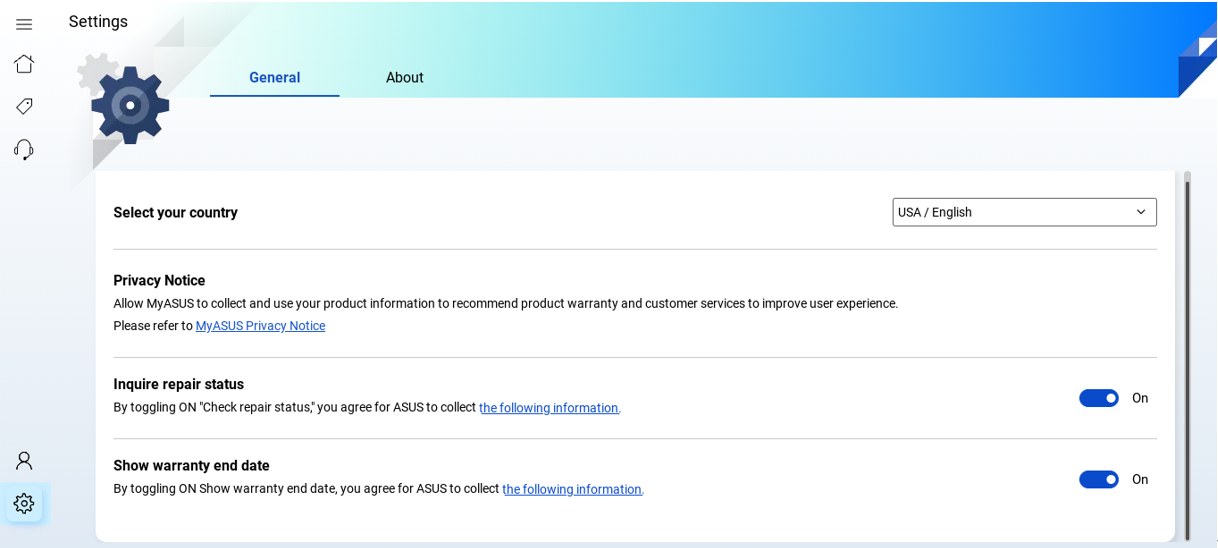
In page- General, users can adjust language settings, review Privacy Notice, and others.
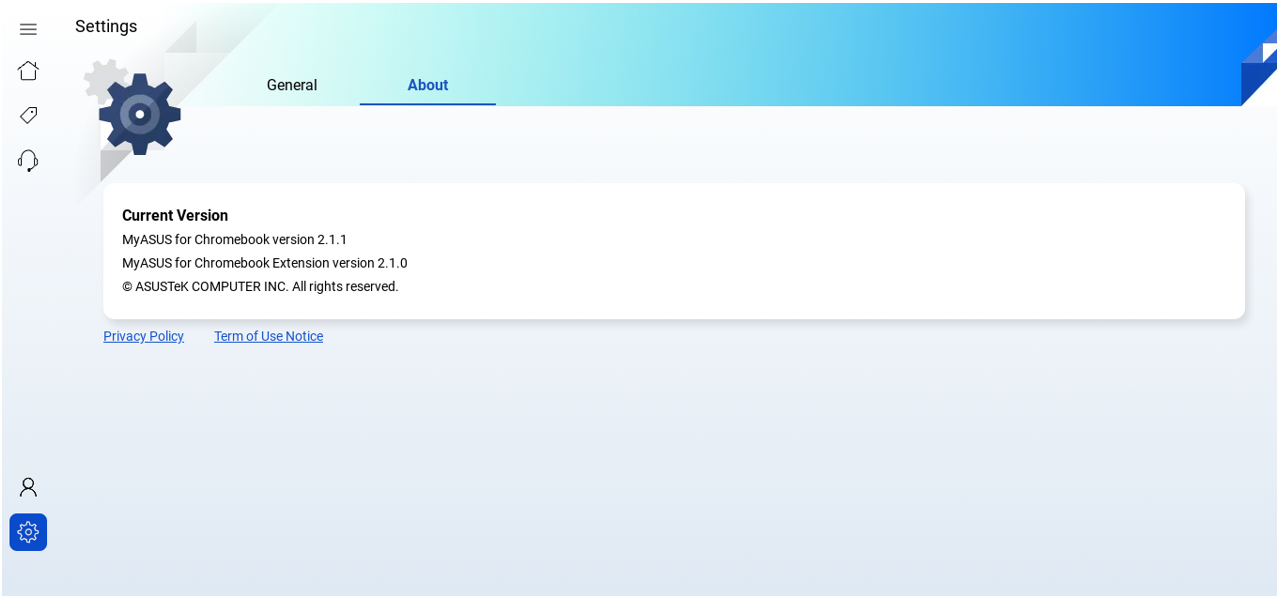
In page- About, users can check the current app version, review Privacy Policy and Terms of Use Notice.
MyASUS in your Chromebook is a web page, so you can simply press Ctrl+R to get the new version of MyASUS in Chrome.